
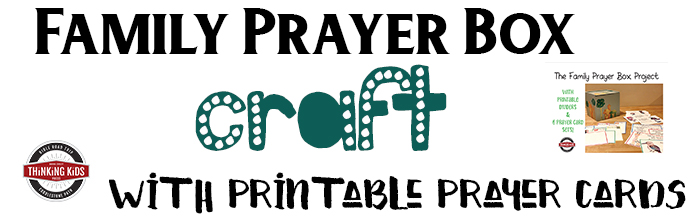
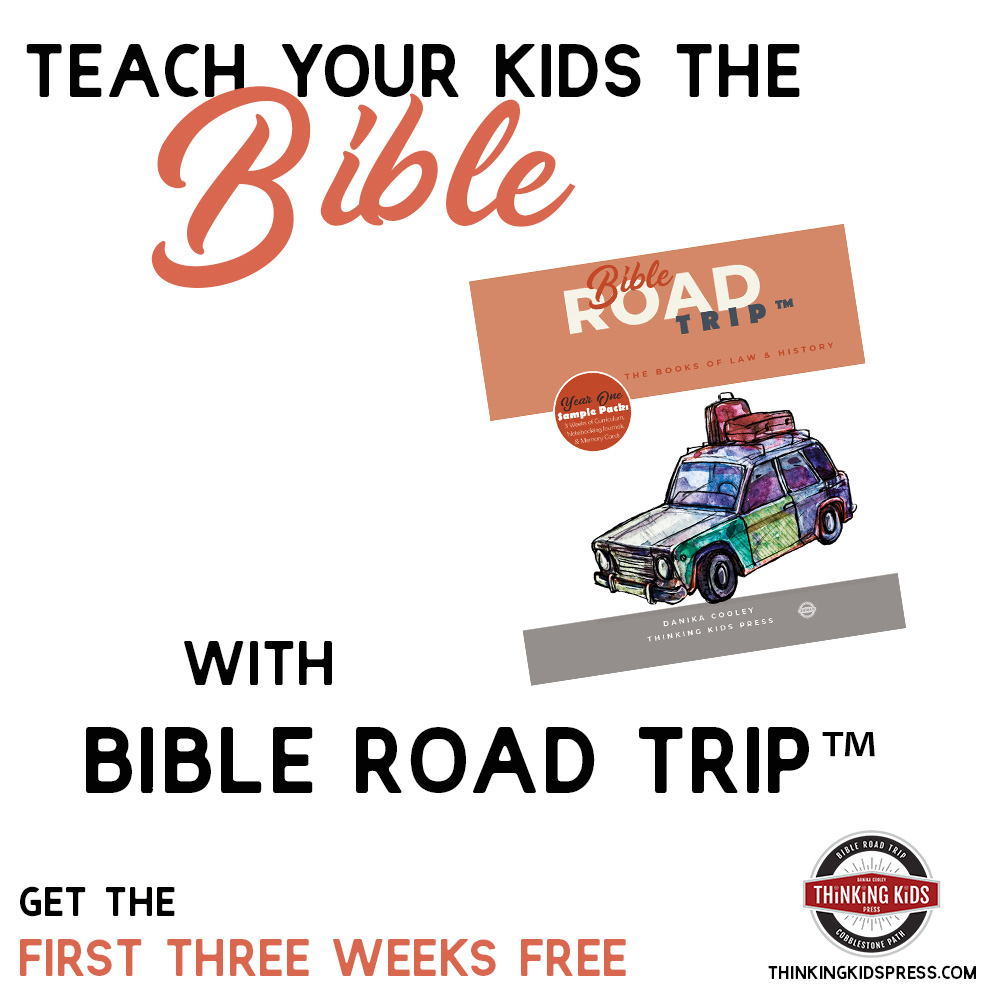
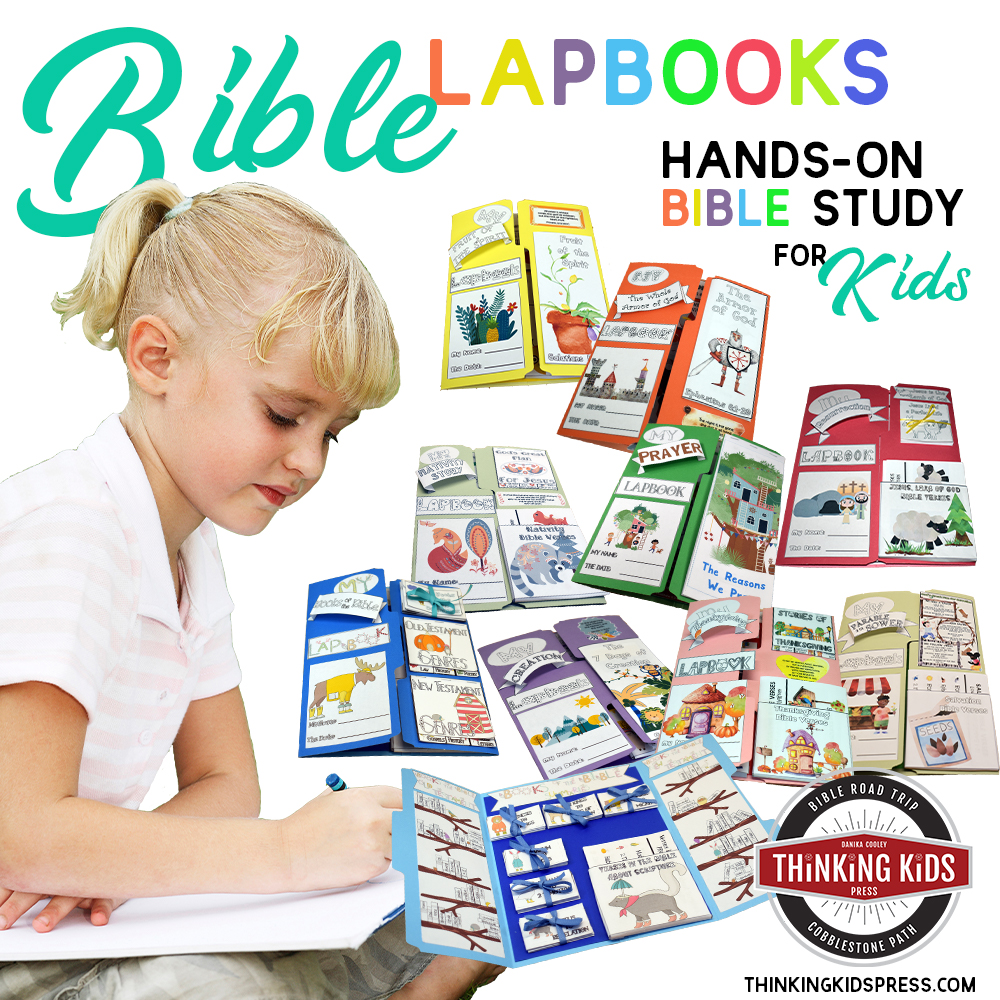
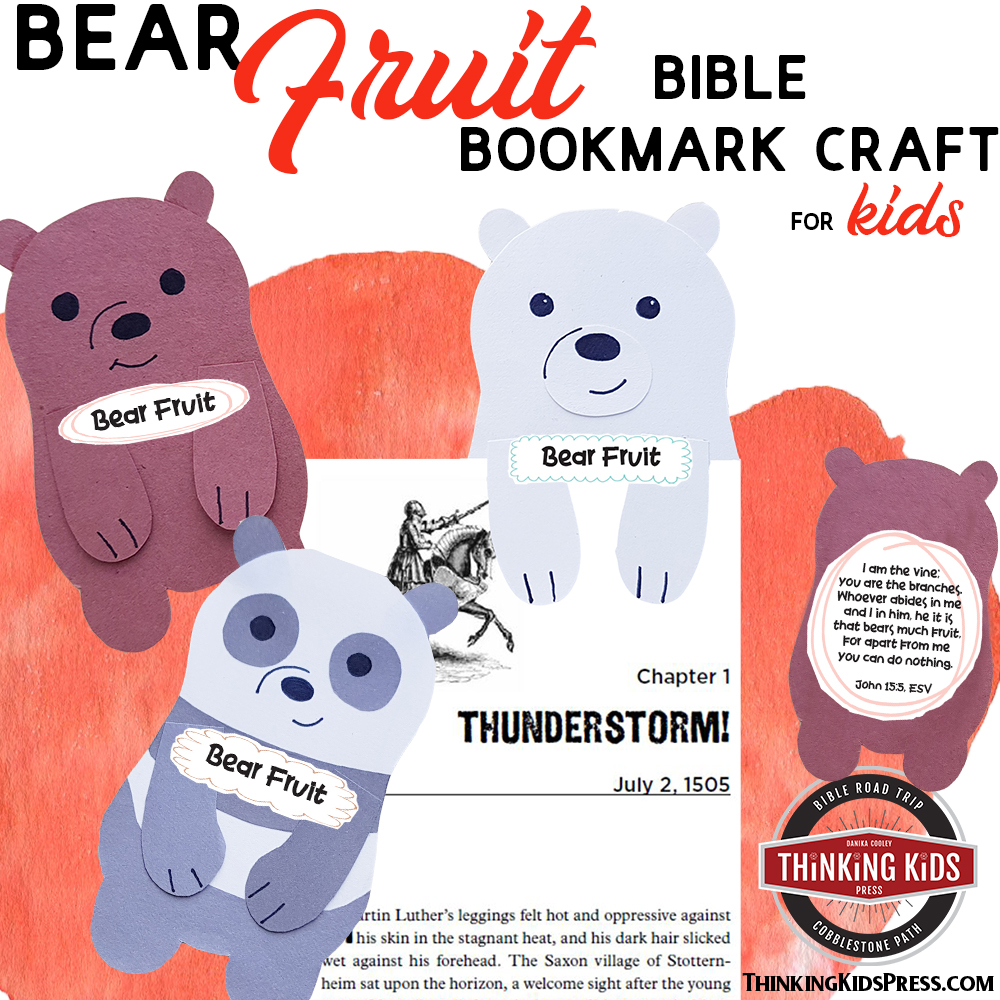
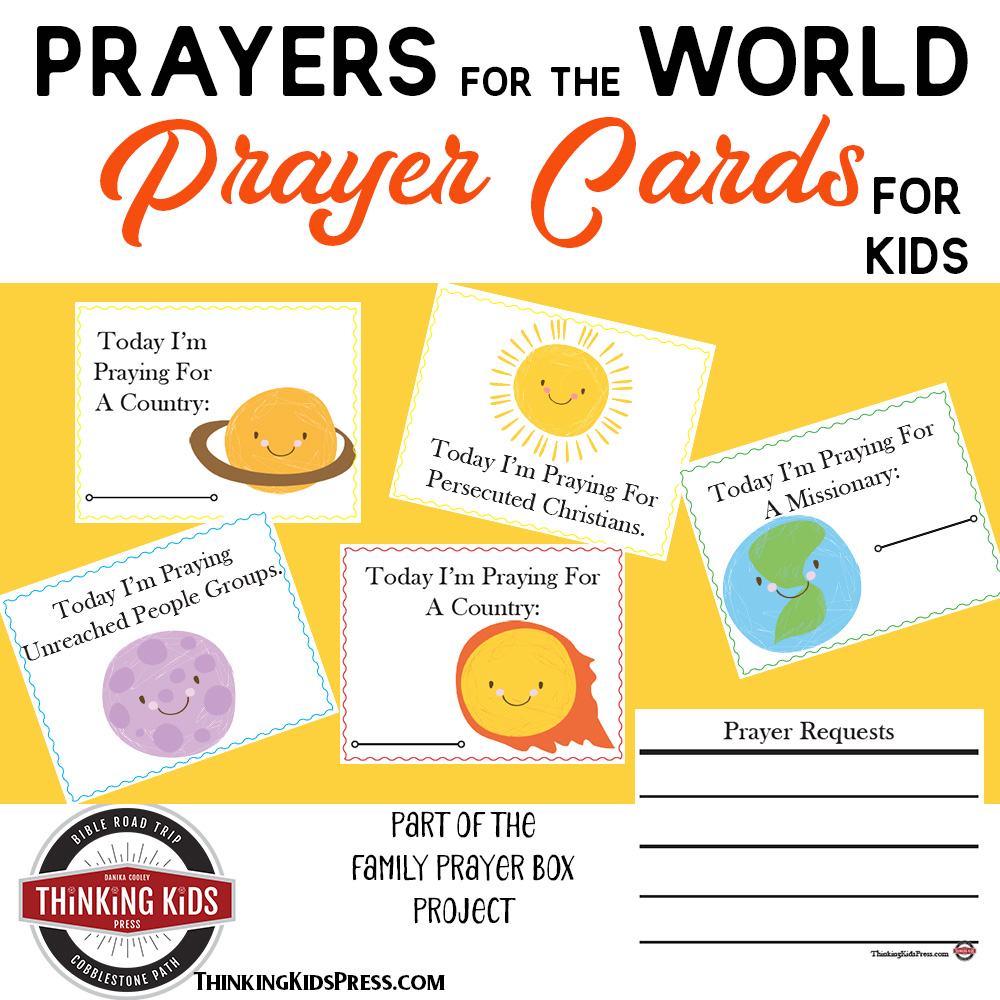
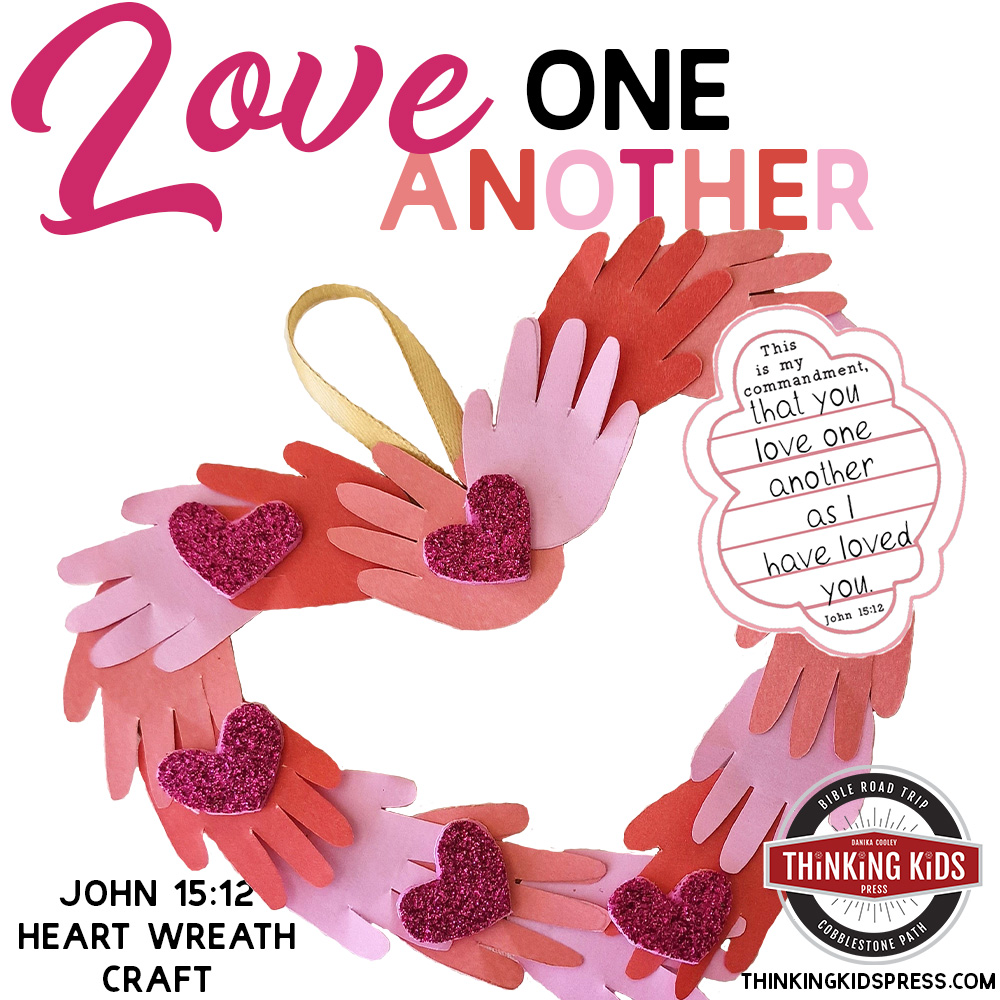
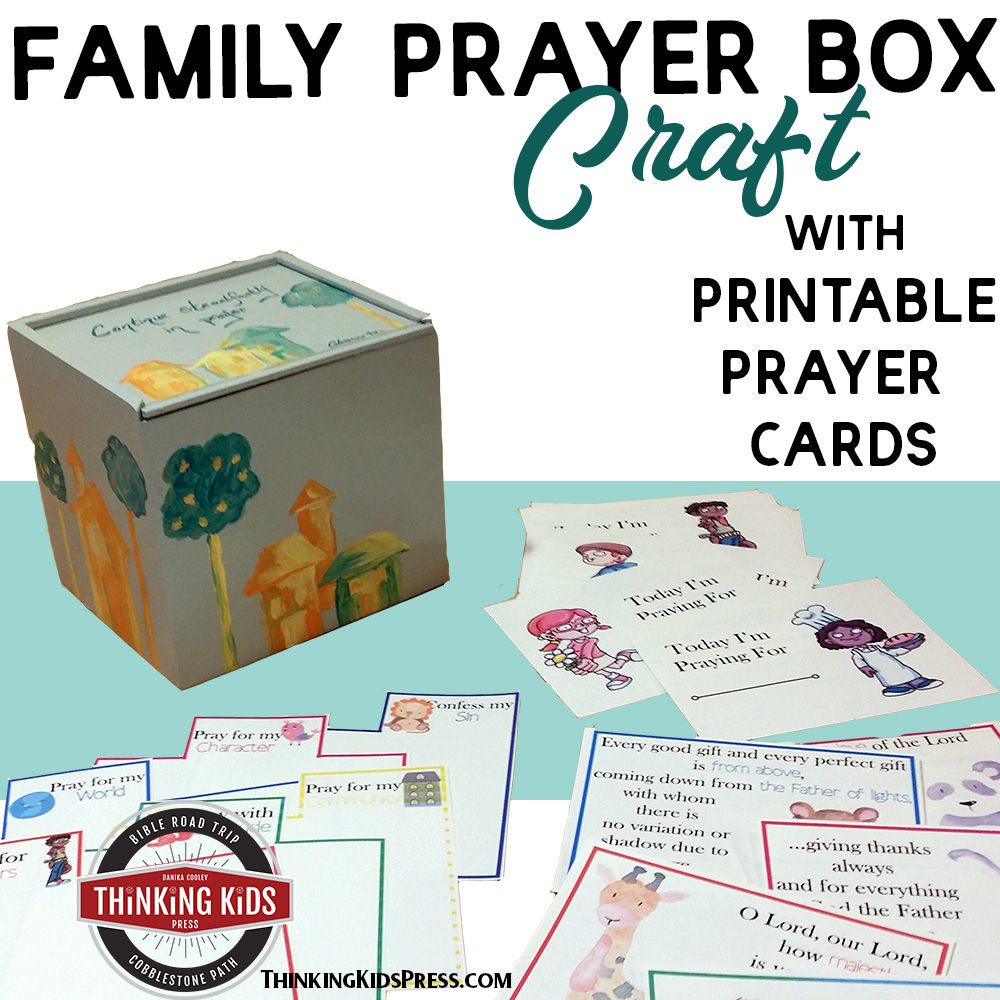
Do you ever wonder how you can really teach your children to pray effectively? The Family Prayer Box Craft with Printable Prayer Cards will help you teach your kids to pray!
Rather than teaching my kids to pray rote prayers or to use a specific formula, I want to teach them to pray for others, to pray with gratitude, to pray for the community and world around them, to pray earnestly for their own character, and to confess their sins.
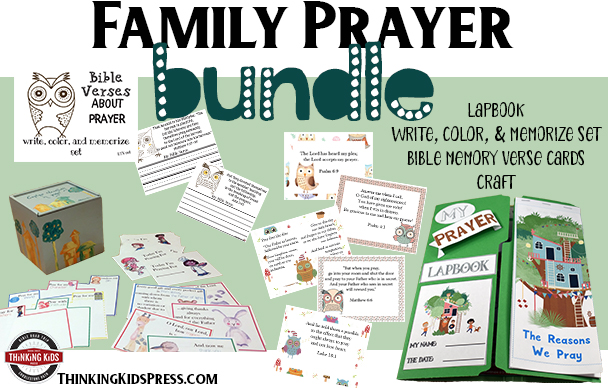
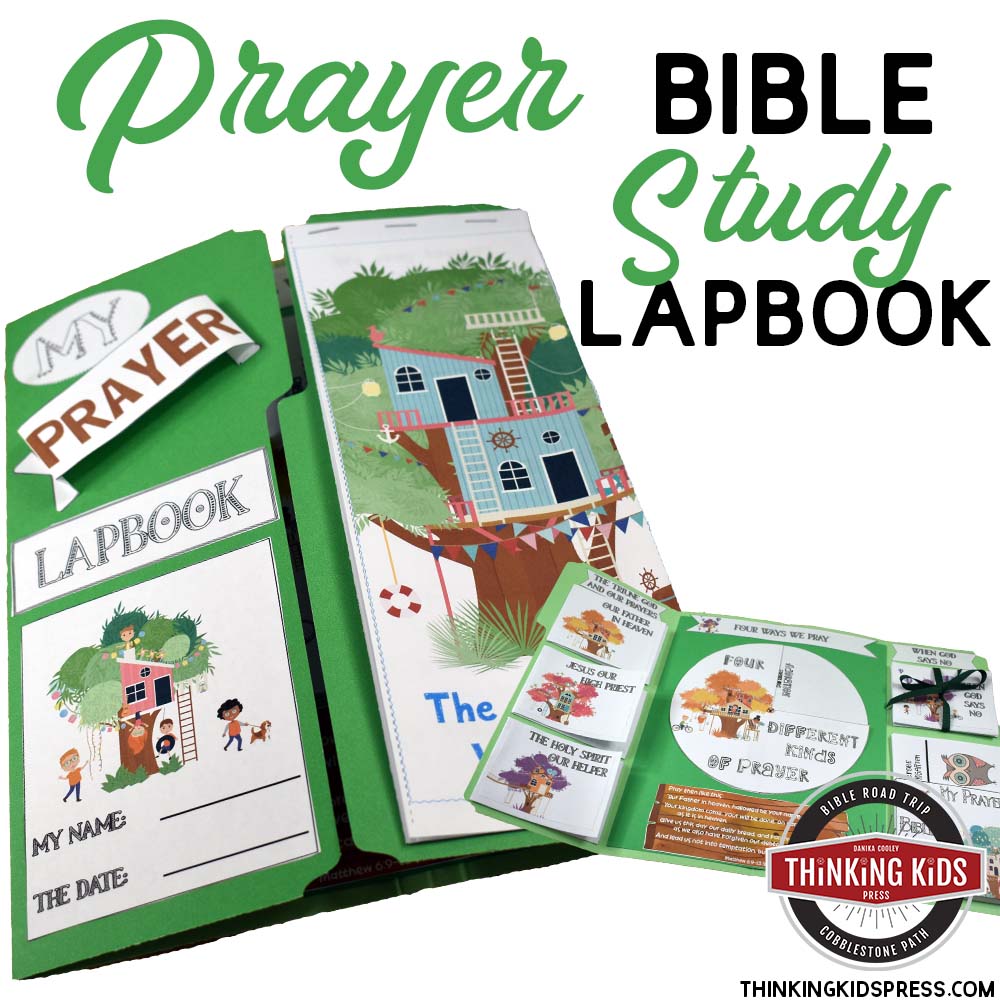
To help your kids develop a healthy prayer life that covers these areas, I’m going to share with you how to make your own Family Prayer Box. I also have six printable dividers for your prayer box, and six printable card sets for each category so you can complete your box. They’re all available in one easy-to-download prayer box craft ebook–my gift to you.

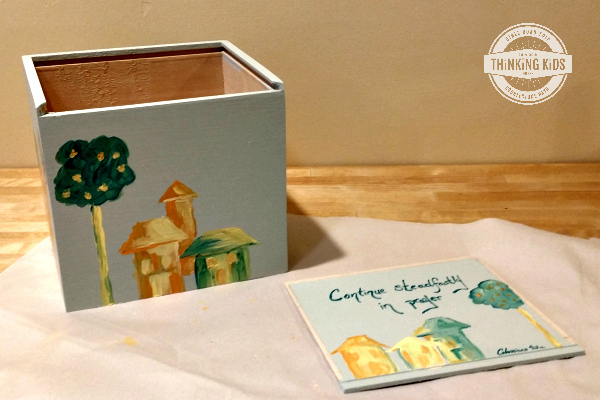
Prayer Box Craft
Check out this fun video about your prayer box craft and the printable prayer cards that come with it!
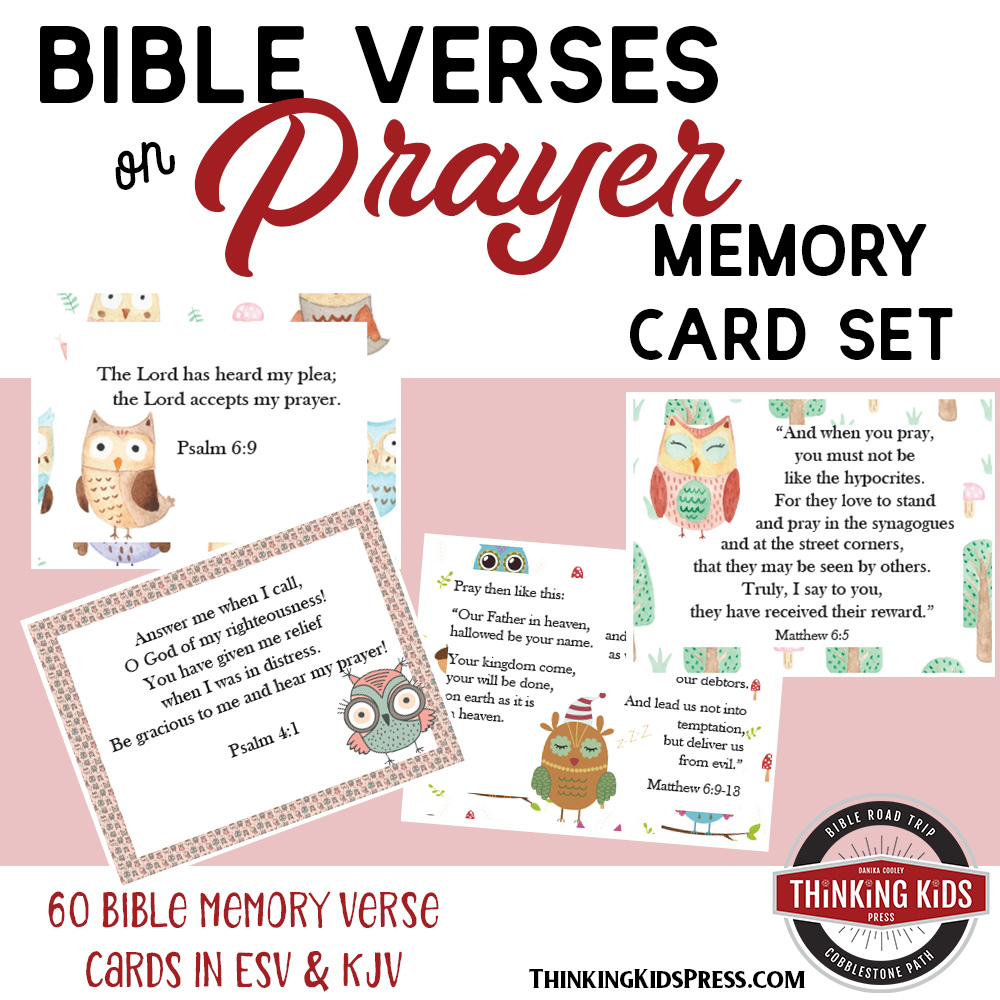
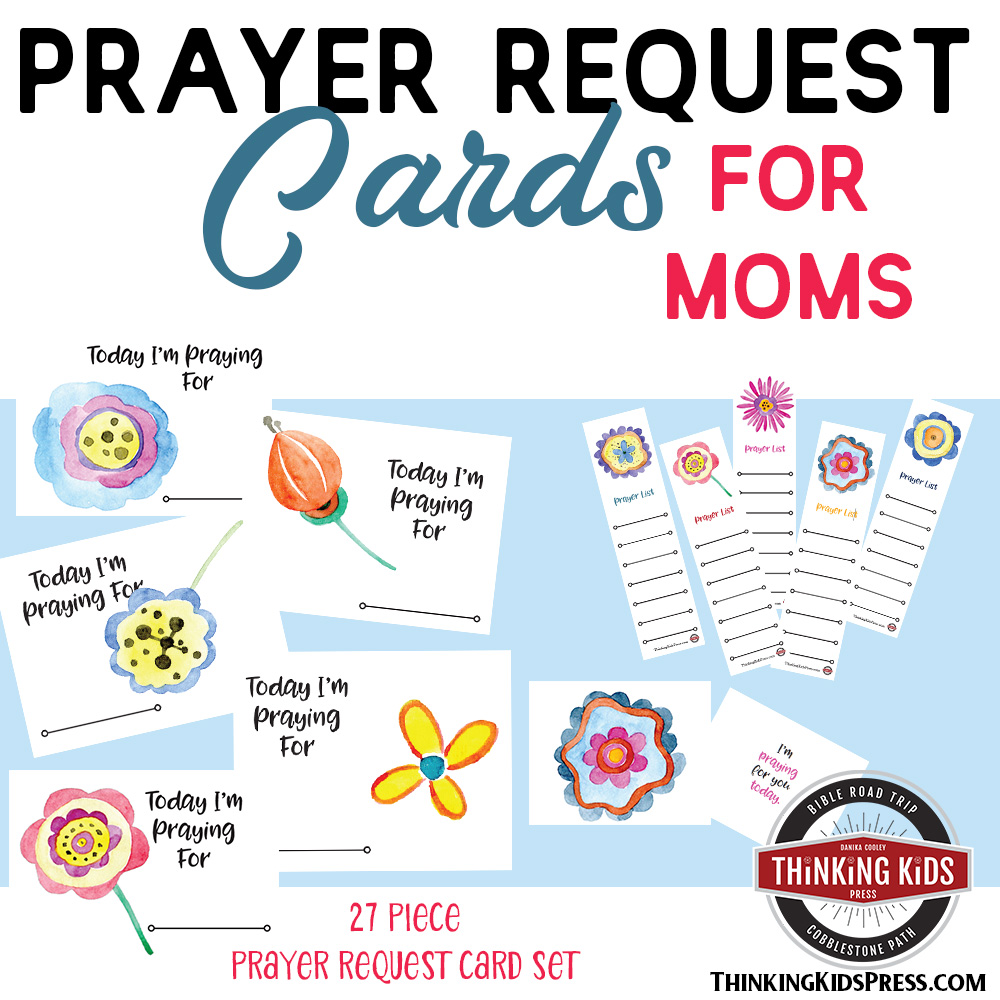
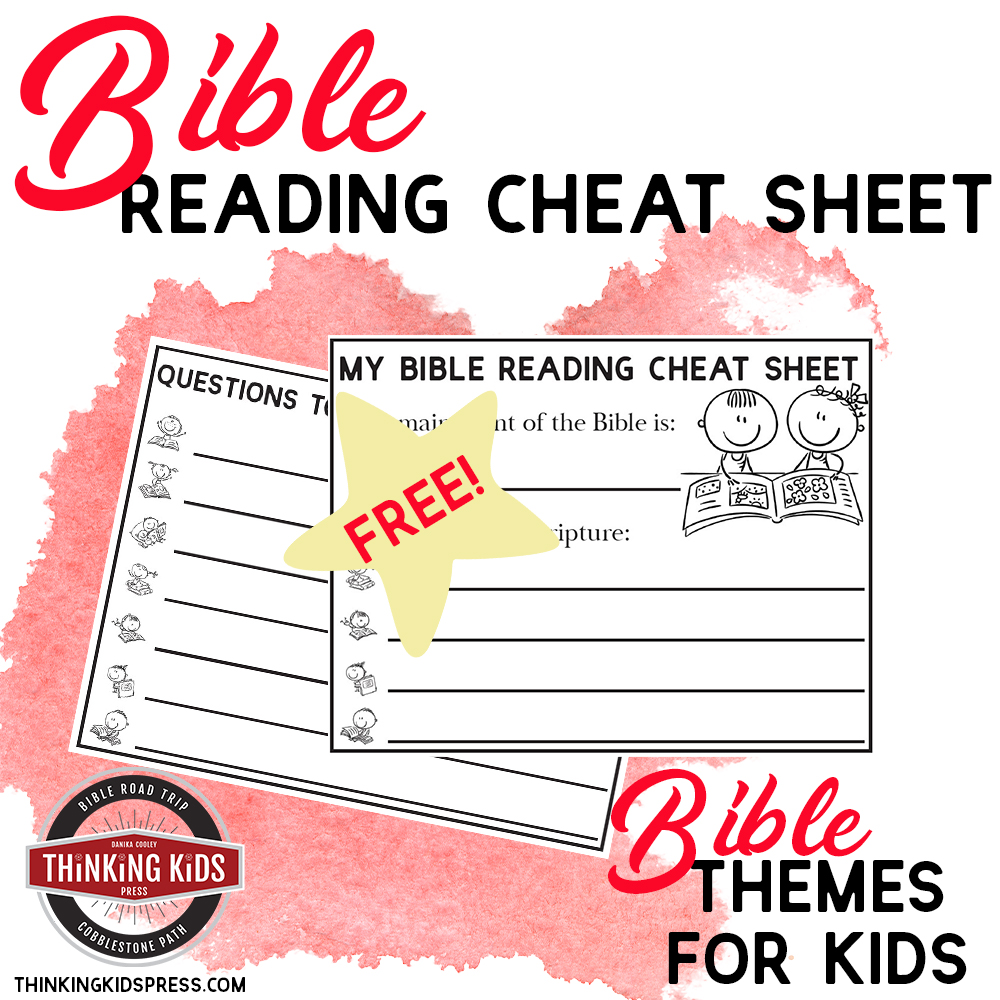
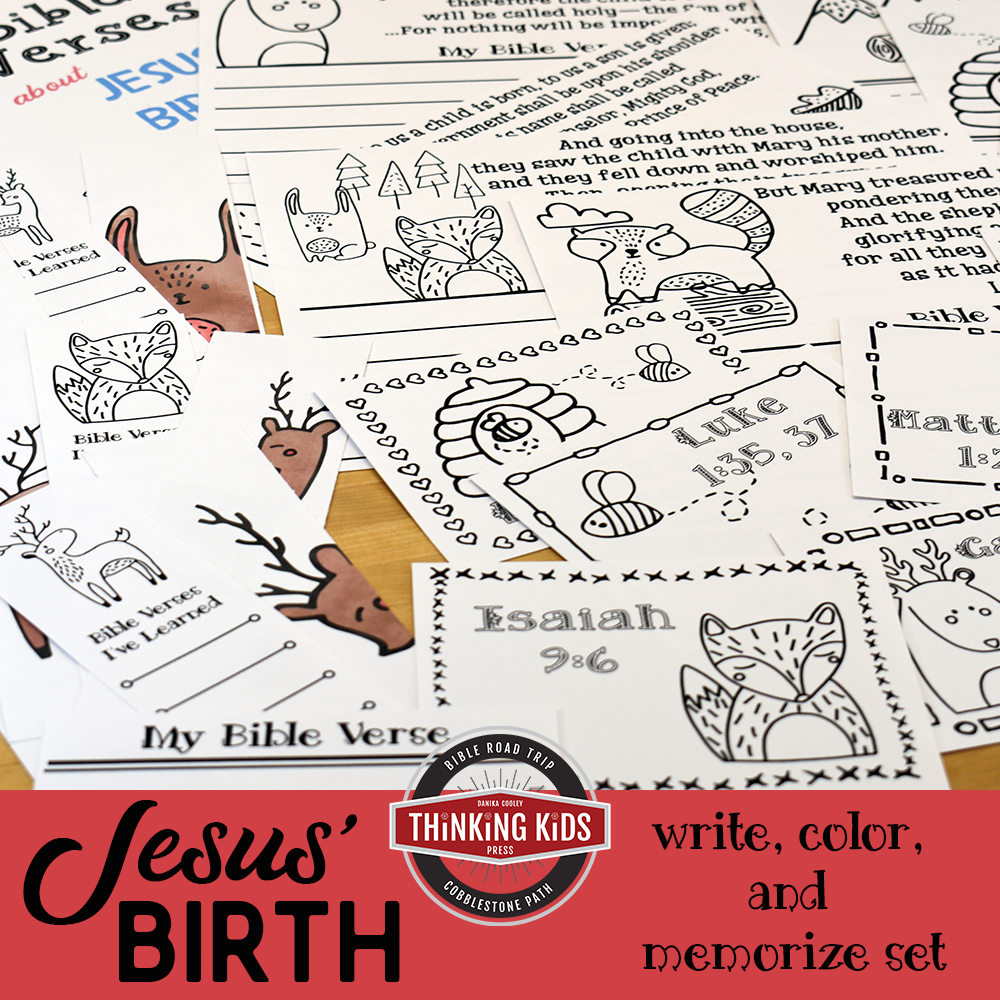
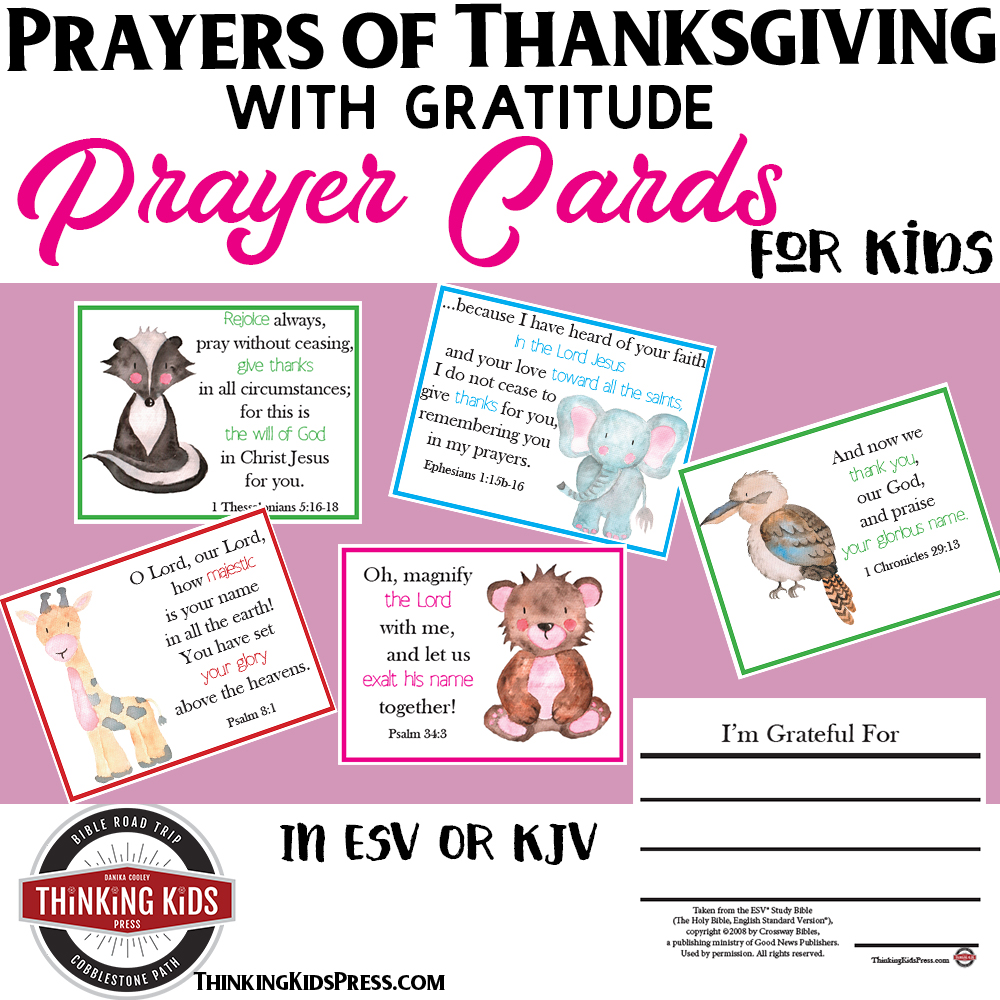
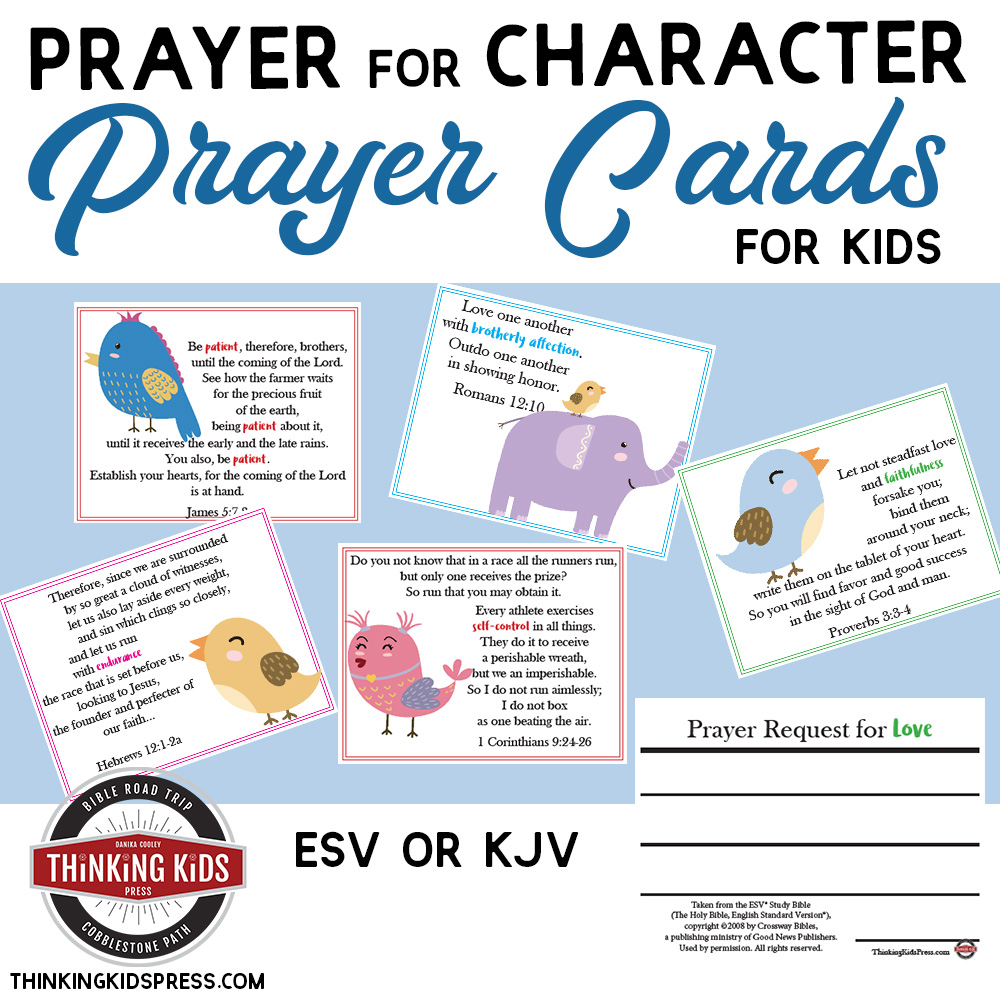
Printable Prayer Cards For Your Family Prayer Box Craft
You can get started making your Family Prayer Box and printing the dividers and available prayer card sets today. You can subscribe below to receive the Family Prayer Box Project eBook–including all seven printable sets!
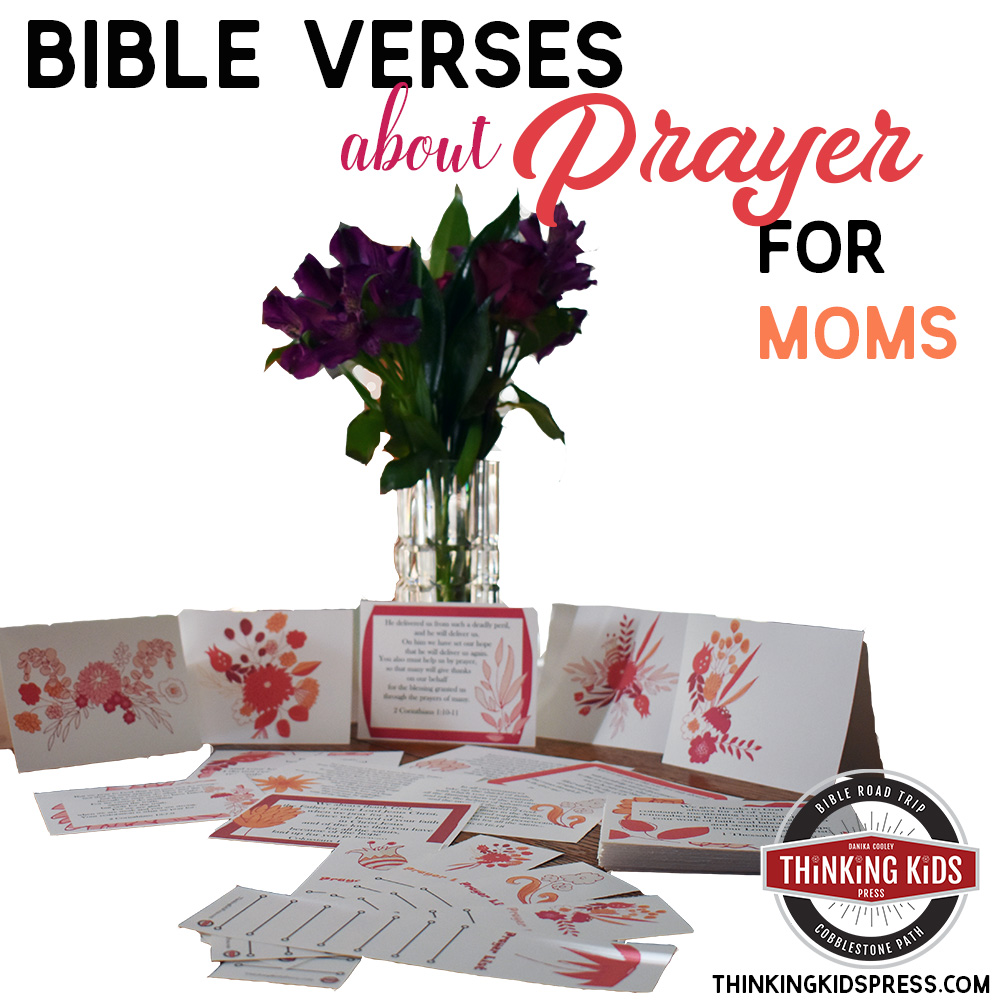
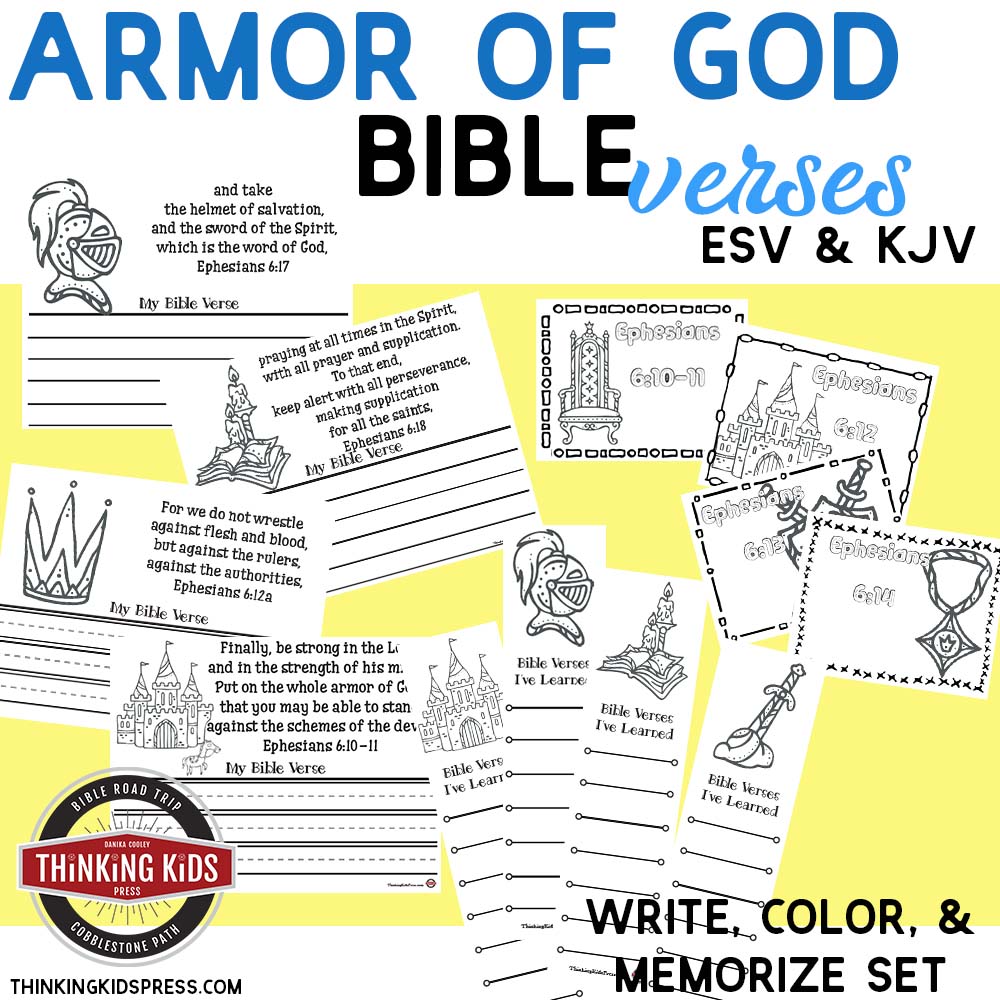
You may also want to add the 64 Card Prayer Memory Verse Set!
Printable Prayer Cards for Your Family Prayer Box Craft
I often get asked how to print Thinking Kids resources. Here’s my very best advice. Take it and adapt it for your own good uses.
-
- I often get asked how to print Thinking Kids resources. Here’s my very best advice. Take it and adapt it for your own good uses.
-
- Sometimes readers are concerned about using colored ink. If this is the case for you, there should be a setting on your printer that allows you to print in black and white. Printing in grayscale will still use some color, but it will come out prettier than black and white.
- Print these cards on duplex (back-to-back or double-sided). You’ll want to flip on the SHORT edge for these. You should be able to change the settings for this in the Properties tab of your printer box once you download and tell your computer to print.
- I recommend printing on white cardstock so the cards will be more durable and the back won’t show through on the front. This is my very favorite cardstock: Neenah Premium Cardstock.
- If you plan to rotate the cards to use at meals or during your family devotional time, consider laminating them so they will last longer.
- Let your kids write in pen! Frixion erasable pens show up well and erase perfectly. I use them on my planner everyday and I love them. They give kids a fun way to use bright colors–and they still allow room for mistakes.
-
Right now you can download the entire Family Prayer Box Project eBook, including detailed instructions and all seven printable sets by subscribing to Thinking Kids. Just add the project to your cart, using the button below, and it will be free!
 (Add it to the cart to get it free!)
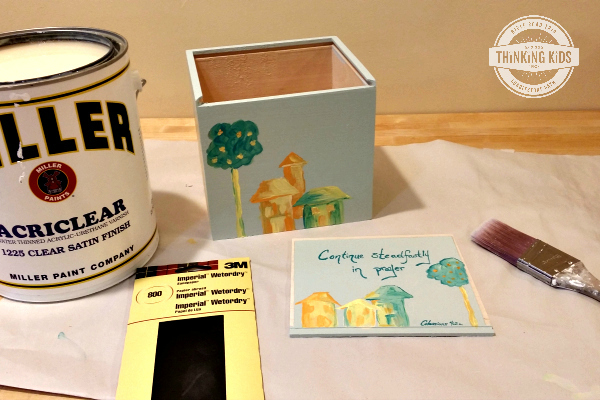
Supplies Needed to Make Your Family Prayer Box Craft
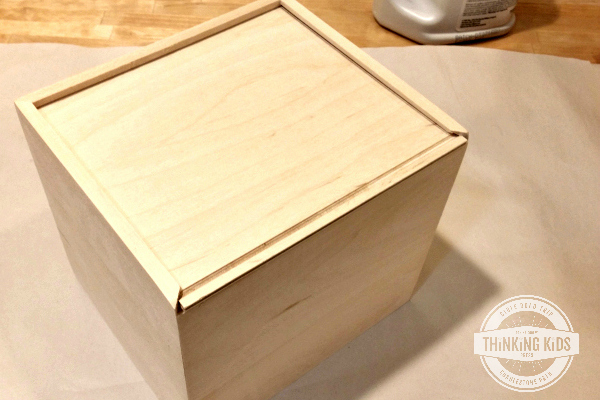
You’re going to need a few things to make your family prayer box. You may already have a few of these. If so, that’s awesome. I’ll tell you what I used below so you can make sure you’re all set up before you get started. Because we’re moving, a few of the supplies I used are not what I would normally use. I’ll tell you what I usually prefer. I have a bit of a wood furniture painting obsession, so I do this a lot.
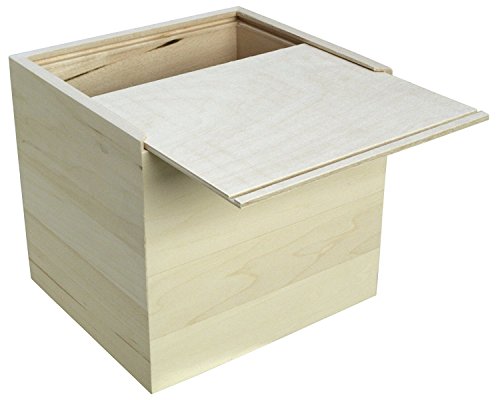
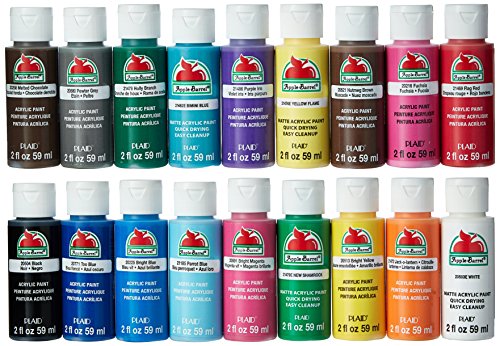
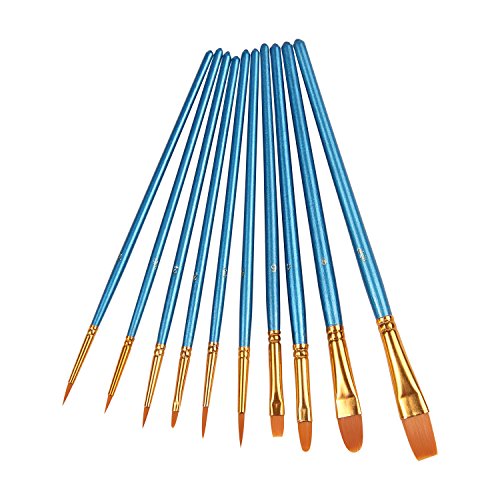
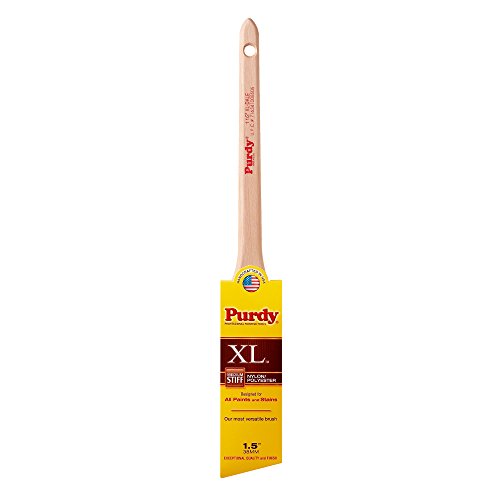
Walnut Hollow (38365) Unfinished Basswood Box, Card Keeper Apple Barrel Acrylic Paint Set, 18 Piece (2-Ounce), PROMOABI Best Selling Colors IHeartybay 10Pieces Round Pointed Tip Nylon Hair Brush Set, BluePurdy 144080315 XL Series Dale Angular Trim Paint Brush, 1-1/2 inchScotch Greener Masking Tape for Performance Painting, 2050-24A-BK, 0.94-Inch by 60.1-Yards, 1 RollMinwax 230004444 Fast Drying Polyurethane Gloss, 1/2 pint3M 03022 Imperial Wetordry 3-2/3

You’ll need:
-
-
- This wooden box fits the dividers and prayer cards, with room to add extra sets as you decide to pray over more issues.
- You’ll need a nice set of craft acrylics. You don’t need to use professional (artist) grade acrylics, but you definitely don’t want to use poster paints.
- Pick up a set of paint brushes. One of the sets for $10 or less will do.
- A Purdy 1.5″ paint brush for painting the body of the box with acrylics and polyurethane. You can use a disposable chip brush, but the bristles tend to come off in your paint, so I recommend getting a Purdy brush and washing it well, then storing it in the packaging to keep the bristles straight.
- You may want a sharp pencil and some masking tape for the lid.
- You’ll use water-based polyurethane to coat the box after you’re done decorating it.
- 800 grit sandpaper will help you gently sand the polyurethane between coats.
-
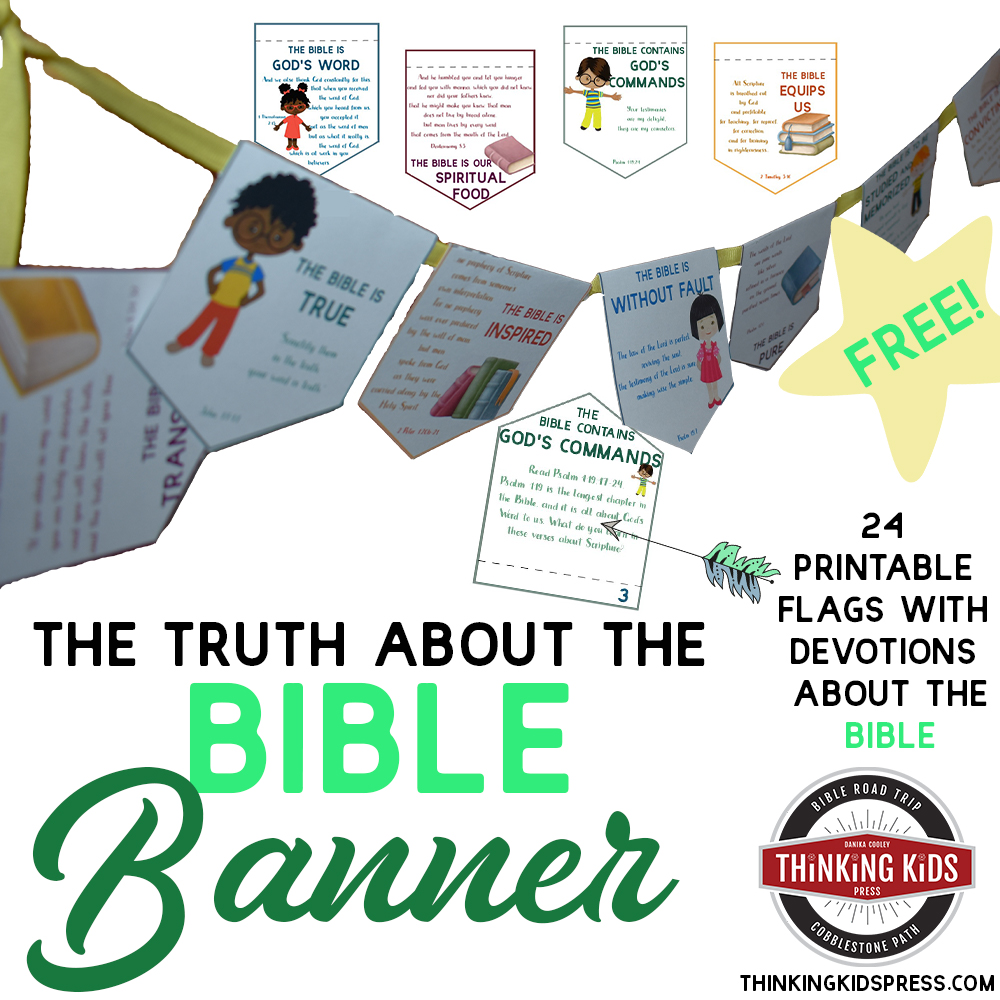
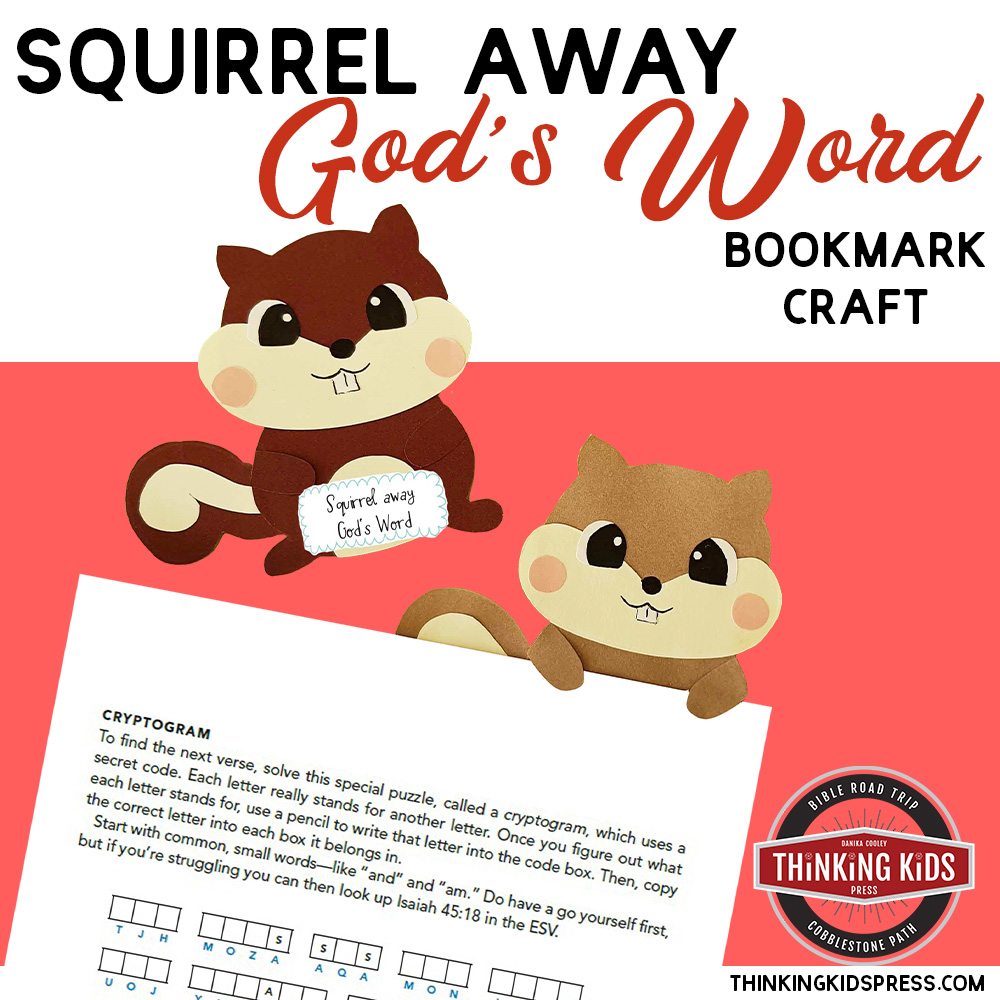
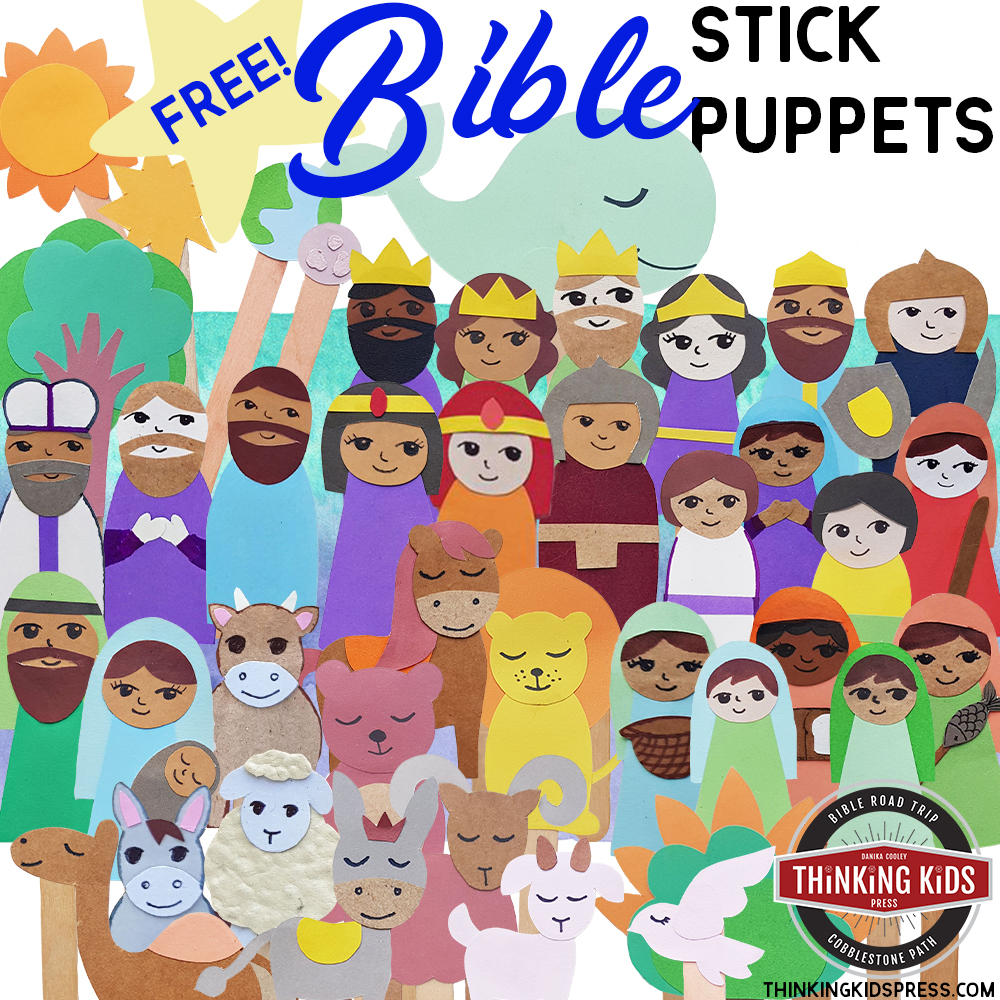
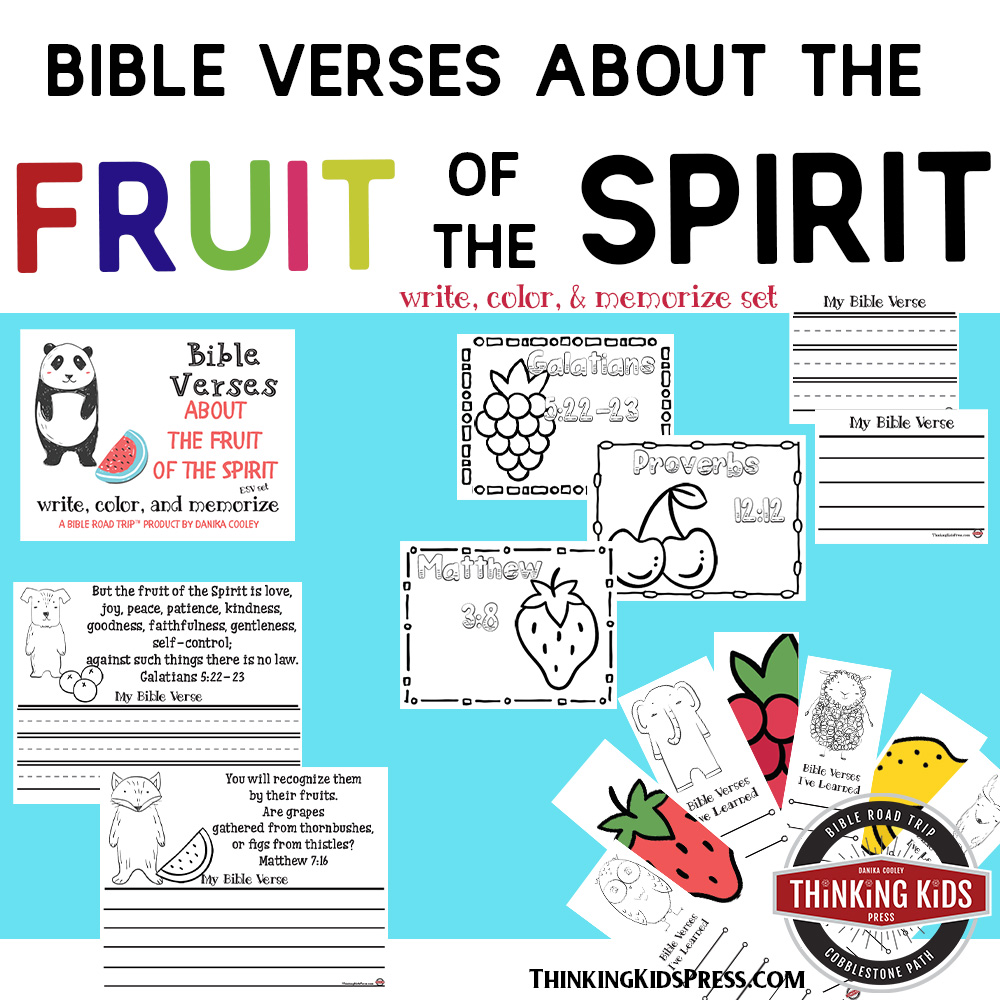
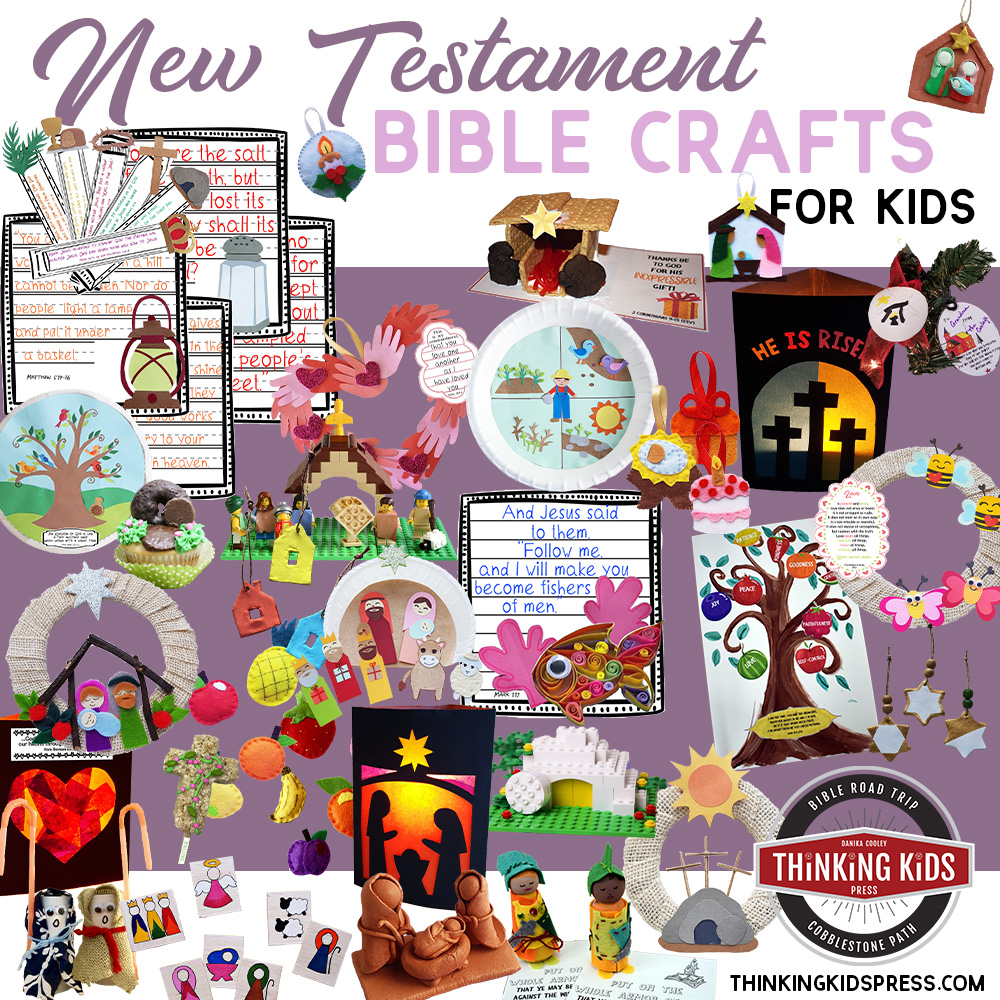
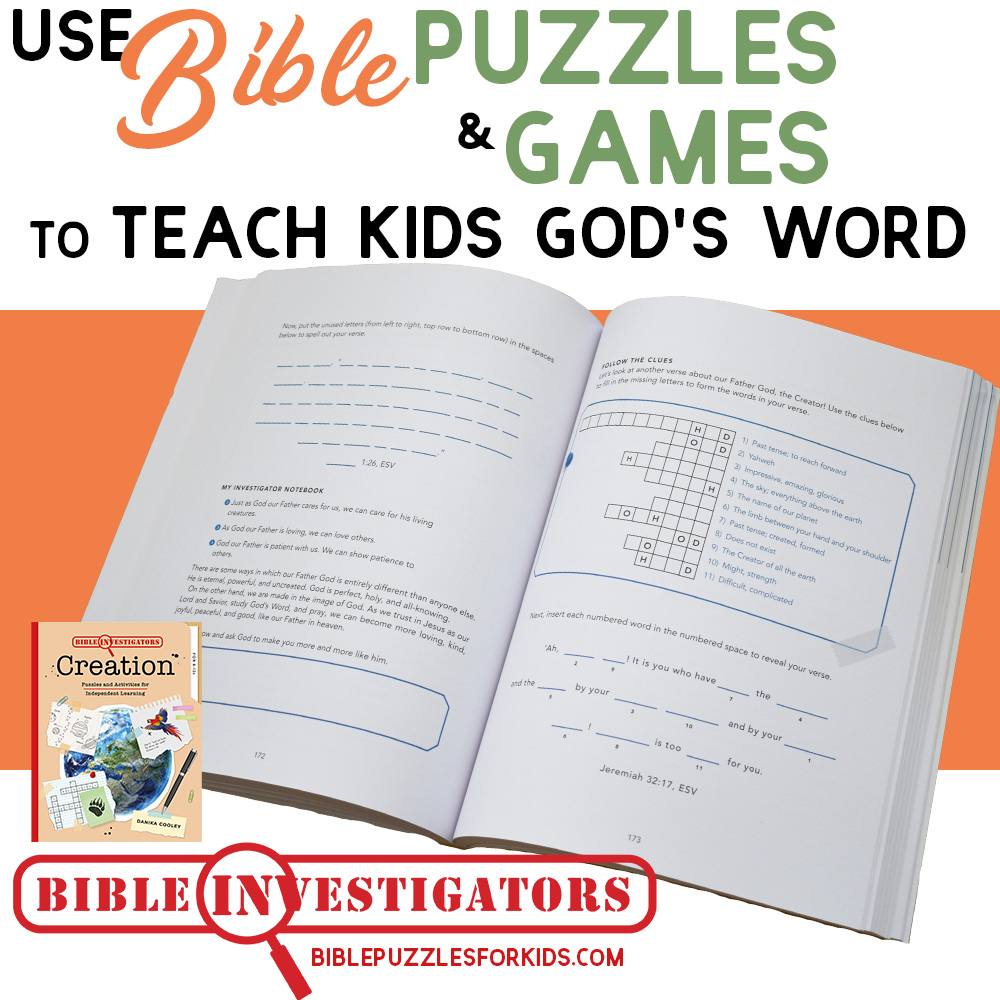
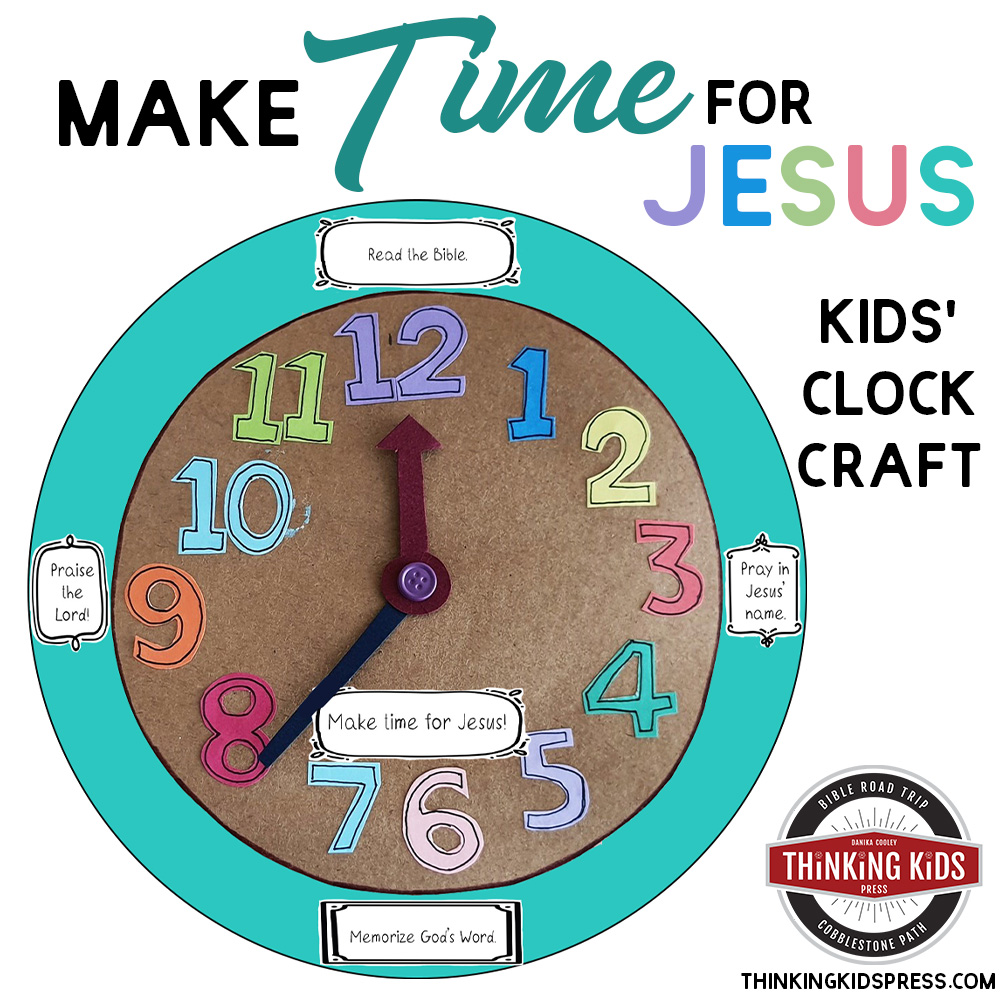
Great Prayer Resources


Creating Your Prayer Box
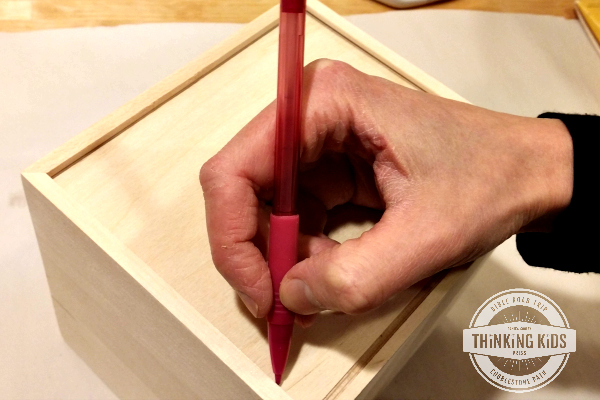
1) Trace lightly around the lid perimeter.
The lid slides tightly into the box and if you paint it, you won’t be able to close the box. Take a sharp pencil or mechanical pencil and lightly trace the perimeter.

2) Use masking tape on your perimeter line.
While you can carefully paint up to your pencil line on the lid, it’s a better idea to just use masking tape to seal off the edges of your box top. You don’t want to have a problem sliding the lid closed.
When you paint the lid, leave the underside unpainted. Be sure to carefully peel off the masking tape while the paint is still wet. If you wait until the paint is dry, you may rip off the paint.
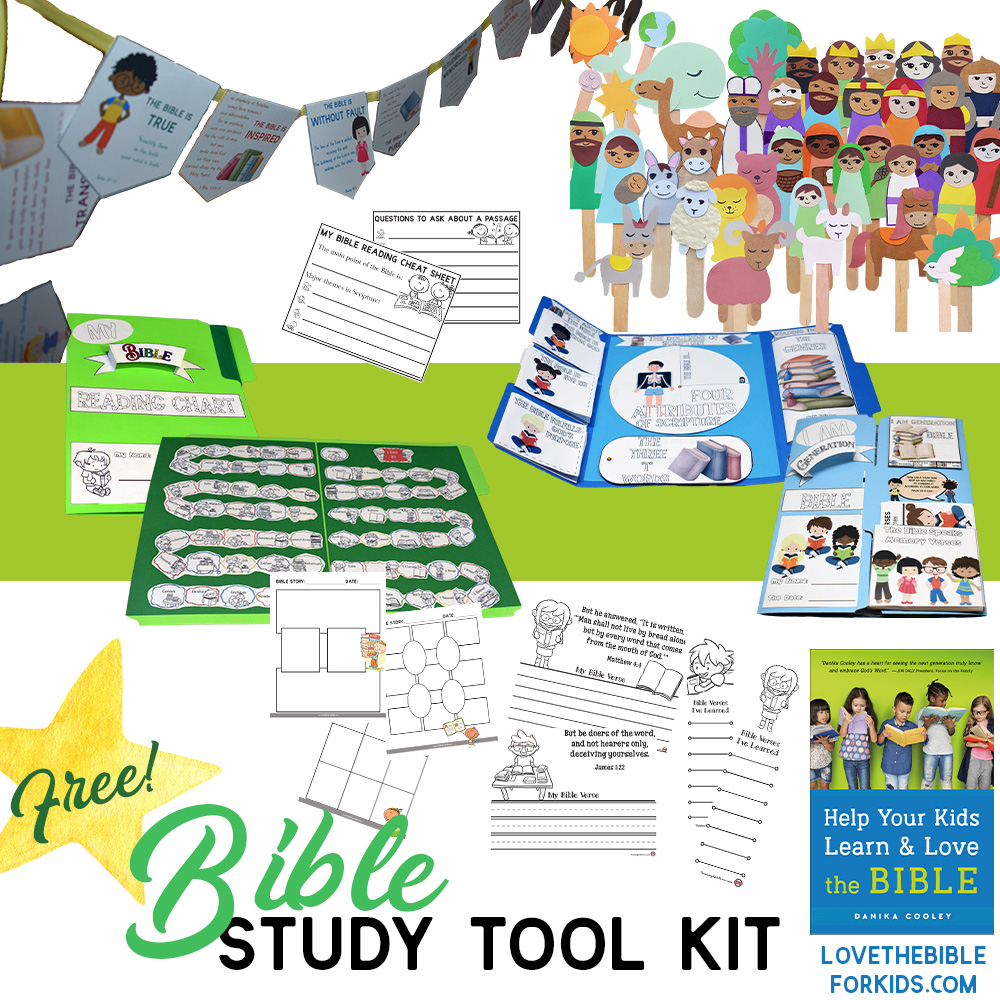
Grab your FREE Bible Study Tool Kit–over 130 pages of Bible resources for your family!
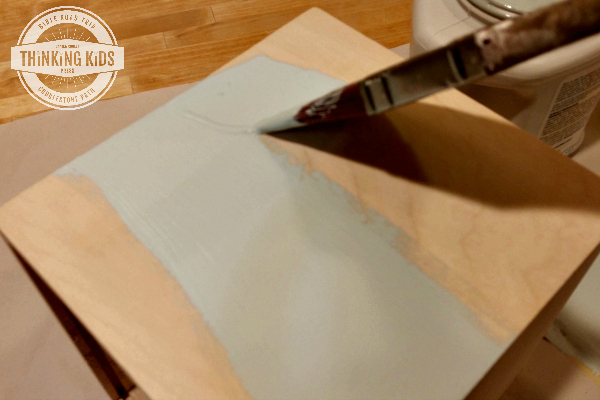
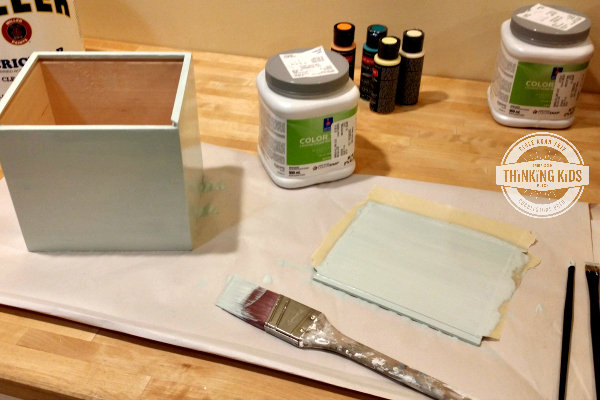
3) Paint the outside of the box and the top of the lid.
Use your 1.5″ brush to paint the outside of the box and the top of the lid. Use a good amount of paint (but not enough to drip) with even brush strokes in one direction all the way across. You can paint the rim of the top of the box, but be careful not to paint the track. You still want the lid to slide in.
4) Remove the masking tape and apply a second coat later if necessary.
Once you’ve painted the top, carefully peel off your masking tape while the lid is still wet. You may want to apply a second coat of paint once the body of the paint has dried. You’ll need to reapply the masking tape first. I had a quart of the interior paint I want to use in our new home when we get there, so I used that and only needed one coat.
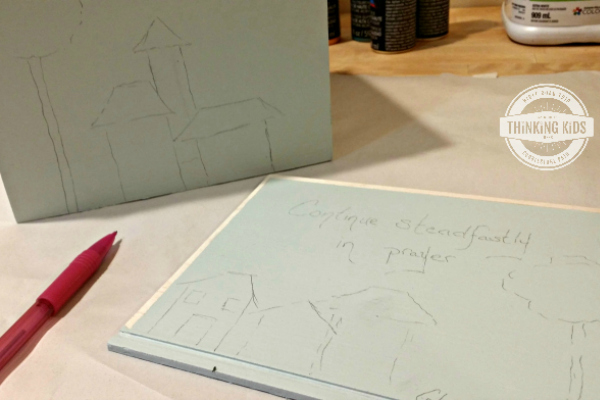
5) Lightly pencil your design on the box.
If you’re having trouble coming up with some fun ways to decorate your box I recommend looking around on Pinterest for painted boxes. You can get your kids involved too if you like!
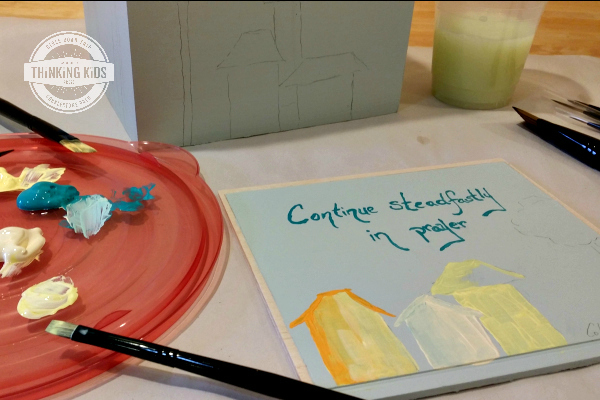
6) Use acrylics to decorate the outside of your box.
Have fun. You can make your decorations as complex or as simple as you’d like.
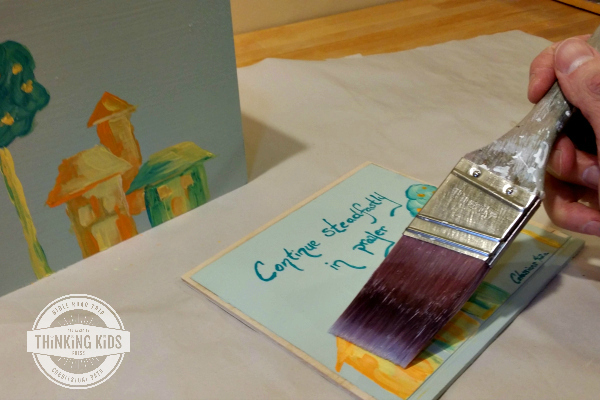
7) Use your polyurethane to clear coat your finished design.
Once you’re done decorating your Family Prayer Box, you’ll want to get ready to clear coat it. The polyurethane will make it bright and shiny, easy to dust, and it will help protect the finish. I love polyurethane. When my boys finish a project on canvas, I coat that with polyurethane too.
Here I’m using a different clear coat product from Miller Paints. Most of my supplies are packed for our move, so I borrowed this from my husband.
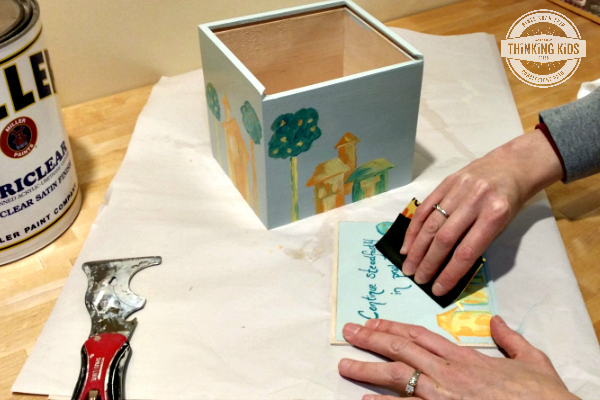
8) Gently sand the dried polyurethane finish.
Once your clear coat has dried for a couple hours, gently sand the clear coat evenly with your 800 sandpaper. If you sand too aggressively, you’ll affect the finished decorative paint. The goal is only to disrupt the clear coat a bit to allow proper adhesion for the next coat.
After you’ve sanded the clear coat, apply another coat of polyurethane. Be sure to check for drips. Let this dry for several hours or overnight before using your box.
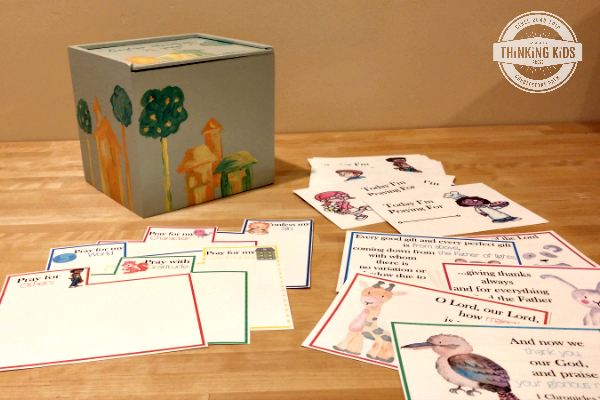
9) Print your Family Prayer Box dividers and prayer card sets.
Print your dividers and all the available prayer card sets and cut them out. Assemble these inside your Family Prayer Box. Put your Family Prayer Box somewhere you’ll be reminded to use it during your family devotions like on your dining room table or in your living room–wherever you pray!
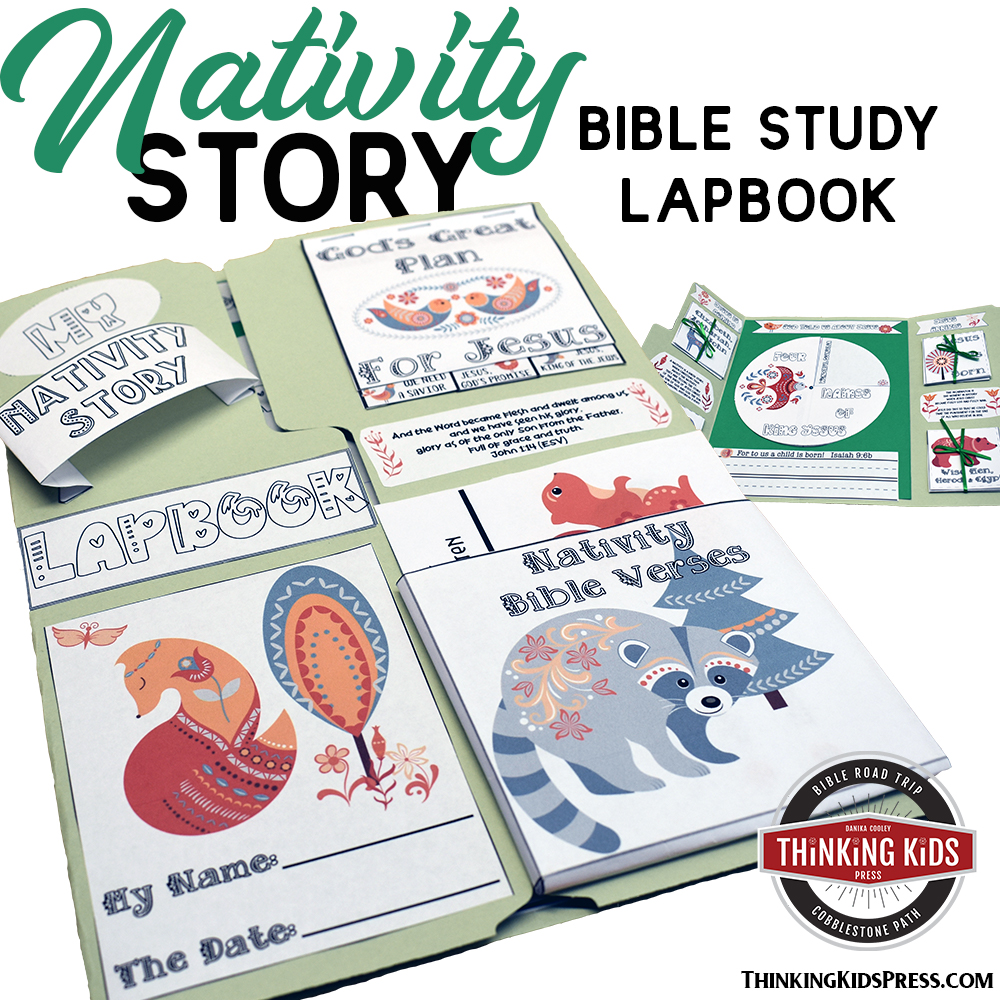
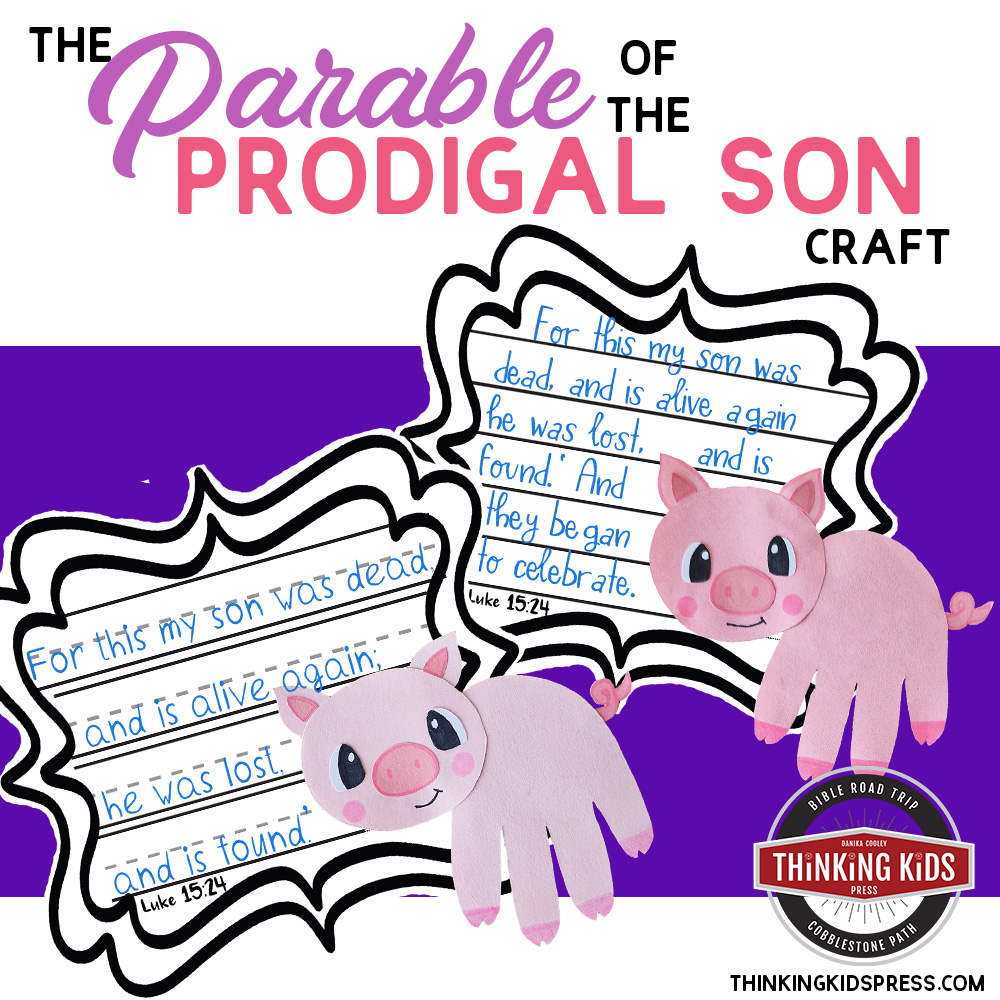
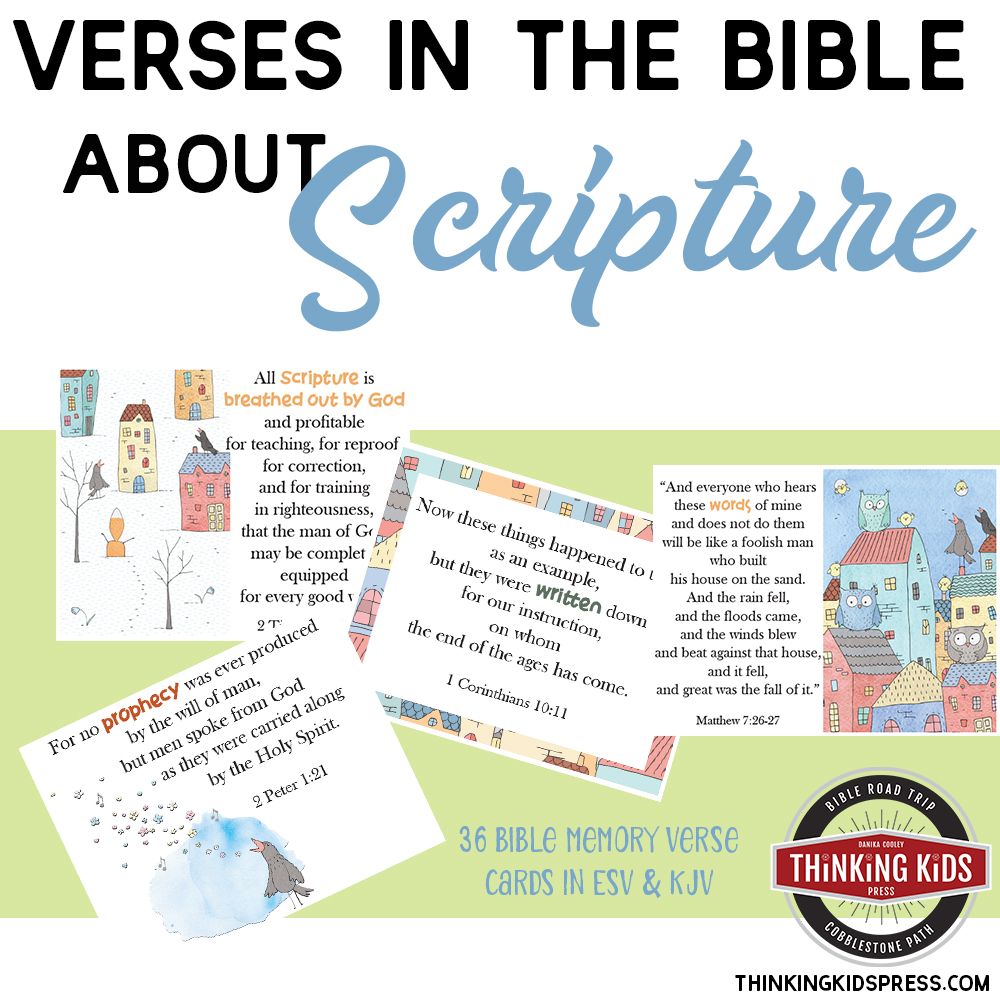
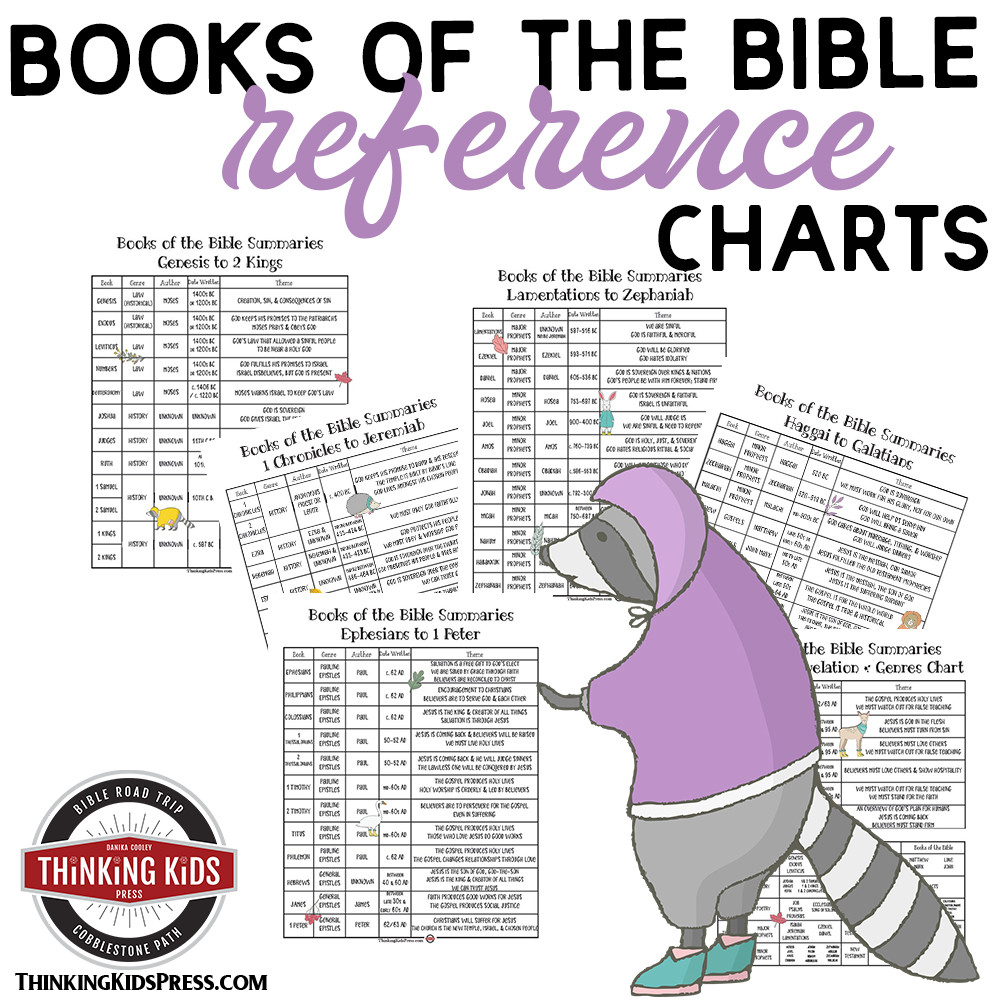
Bible Resources for Your Kids
Learn More HereLearn More HereLearn More HereLearn More HereLearn More HereLearn More Here
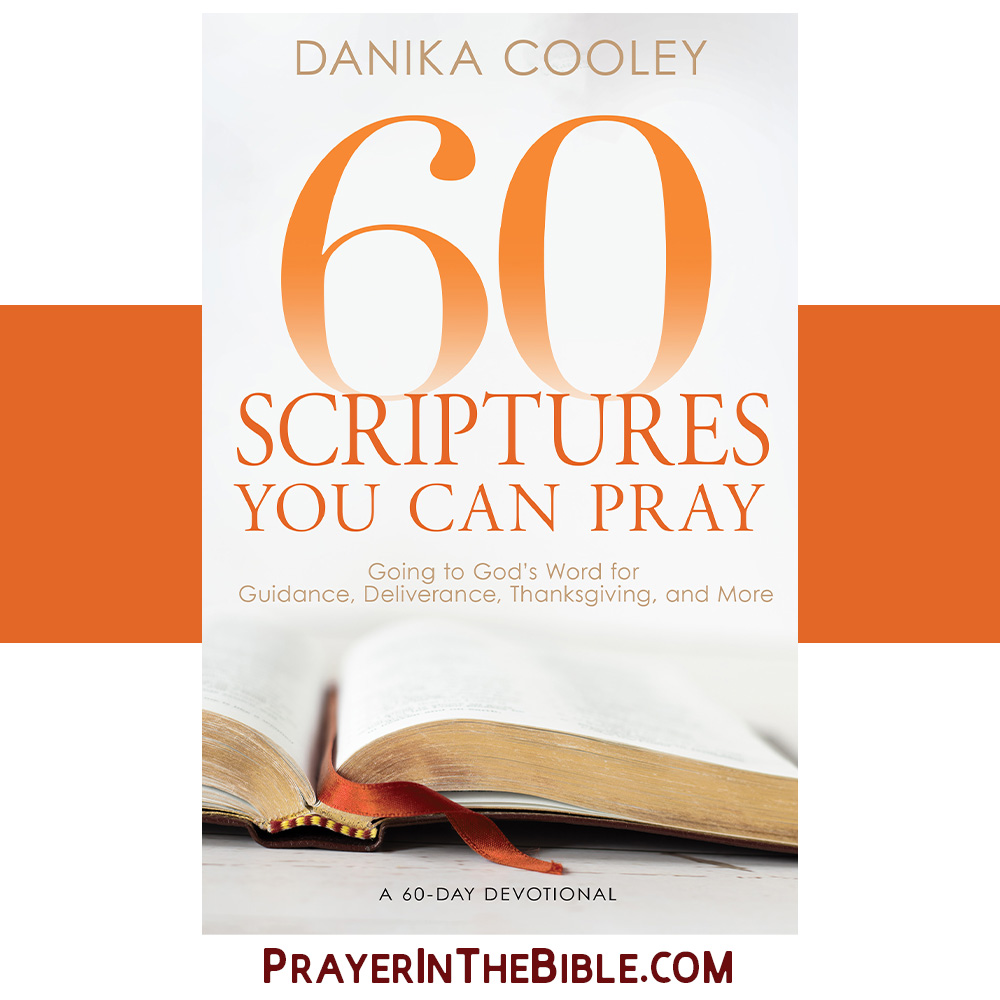
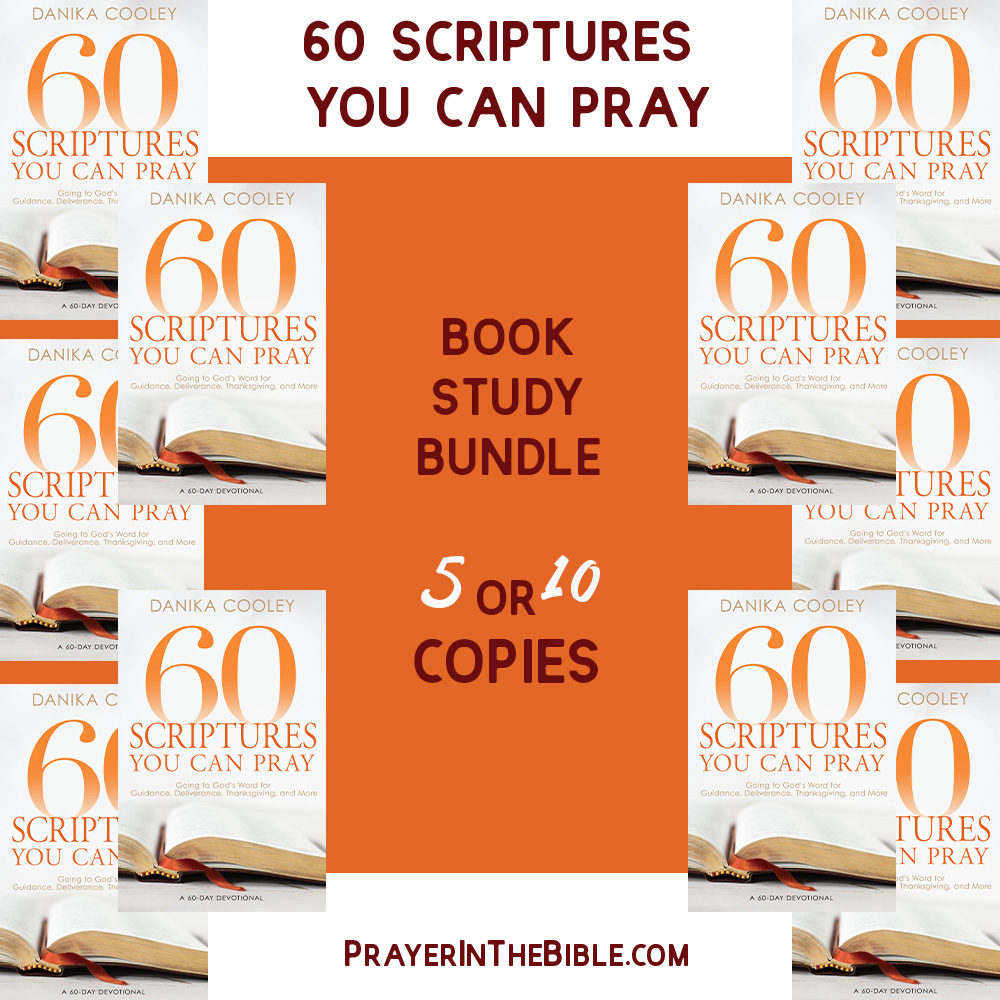
60 Scriptures You Can Pray

The Bible is full of prayer that you can pray too!
How do you pray when you don’t know what to say? The Bible holds the answer.
God doesn’t expect us to pray without guidance. In fact, Scripture is full of examples of ordinary people approaching our extraordinary God in prayer.
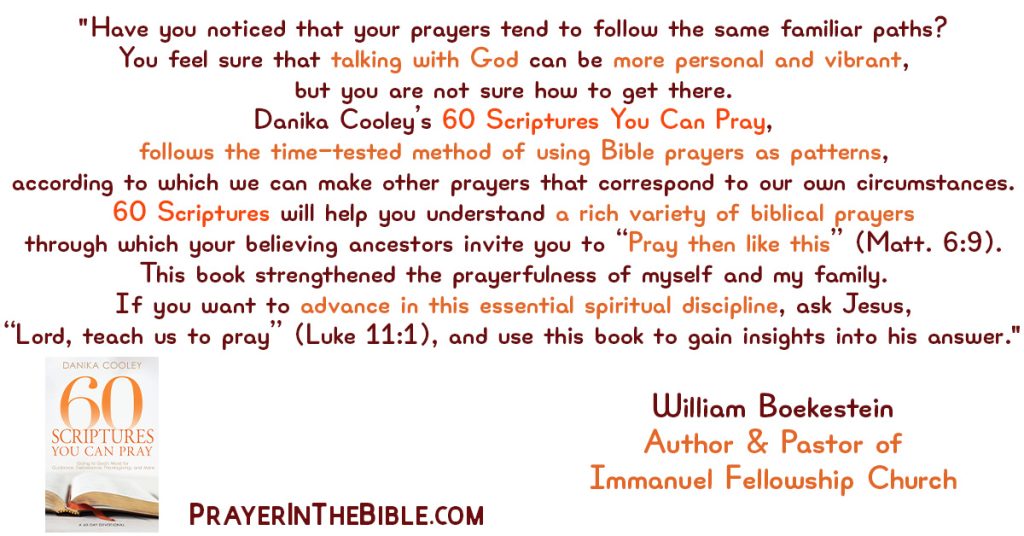
Award-winning author Danika Cooley believes that praying God’s Word teaches us how to best communicate with our Lord:
“There are so many lessons we can learn from Scripture about how to approach God and what to expect when we do.”
Danika’s devotional 60 Scriptures You Can Pray covers eight types of prayer from the Bible, the expectations we should have when we pray, and the right heart attitude for prayer.

- Praise | We adore God for who he is.
- Thanksgiving | We thank God for all he has done.
- Confession | We admit our sin to the God who saves us.
- Supplication | We humbly ask God to provide for our needs.
- Intercession | We ask God to meet the needs of others.
- Deliverance | We cry out to God for help in times of trouble.
- Lament | We bring our sorrow to God, our comforter.
- Guidance | We ask for God’s help in determining his will for our lives.
When you read 60 Scriptures You Can Pray, you will:
- Develop a habit of praying daily over a two-month period
- Learn more about prayer in Scripture
- Understand eight different types of prayer
- Expand your understanding of how to pray biblically
- Become better acquainted with God, His Word, and why we pray
Packed with thoughtful explanations of biblical prayer and practical application in each devotion, 60 Scriptures You Can Pray is the tool you need to learn more about prayer–straight from God’s Word.
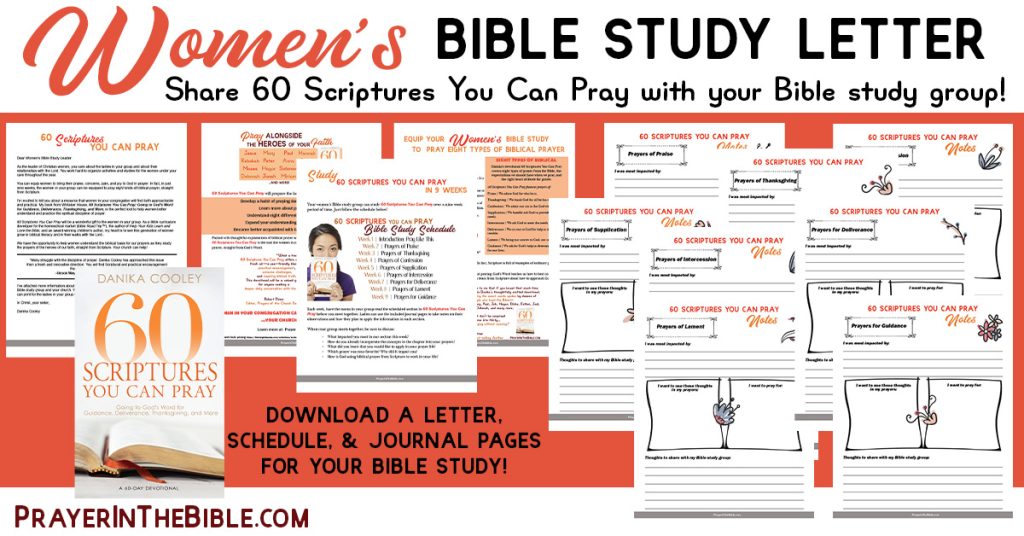
Want to equip the women in your church to pray biblically?
Books Make Great Gifts!
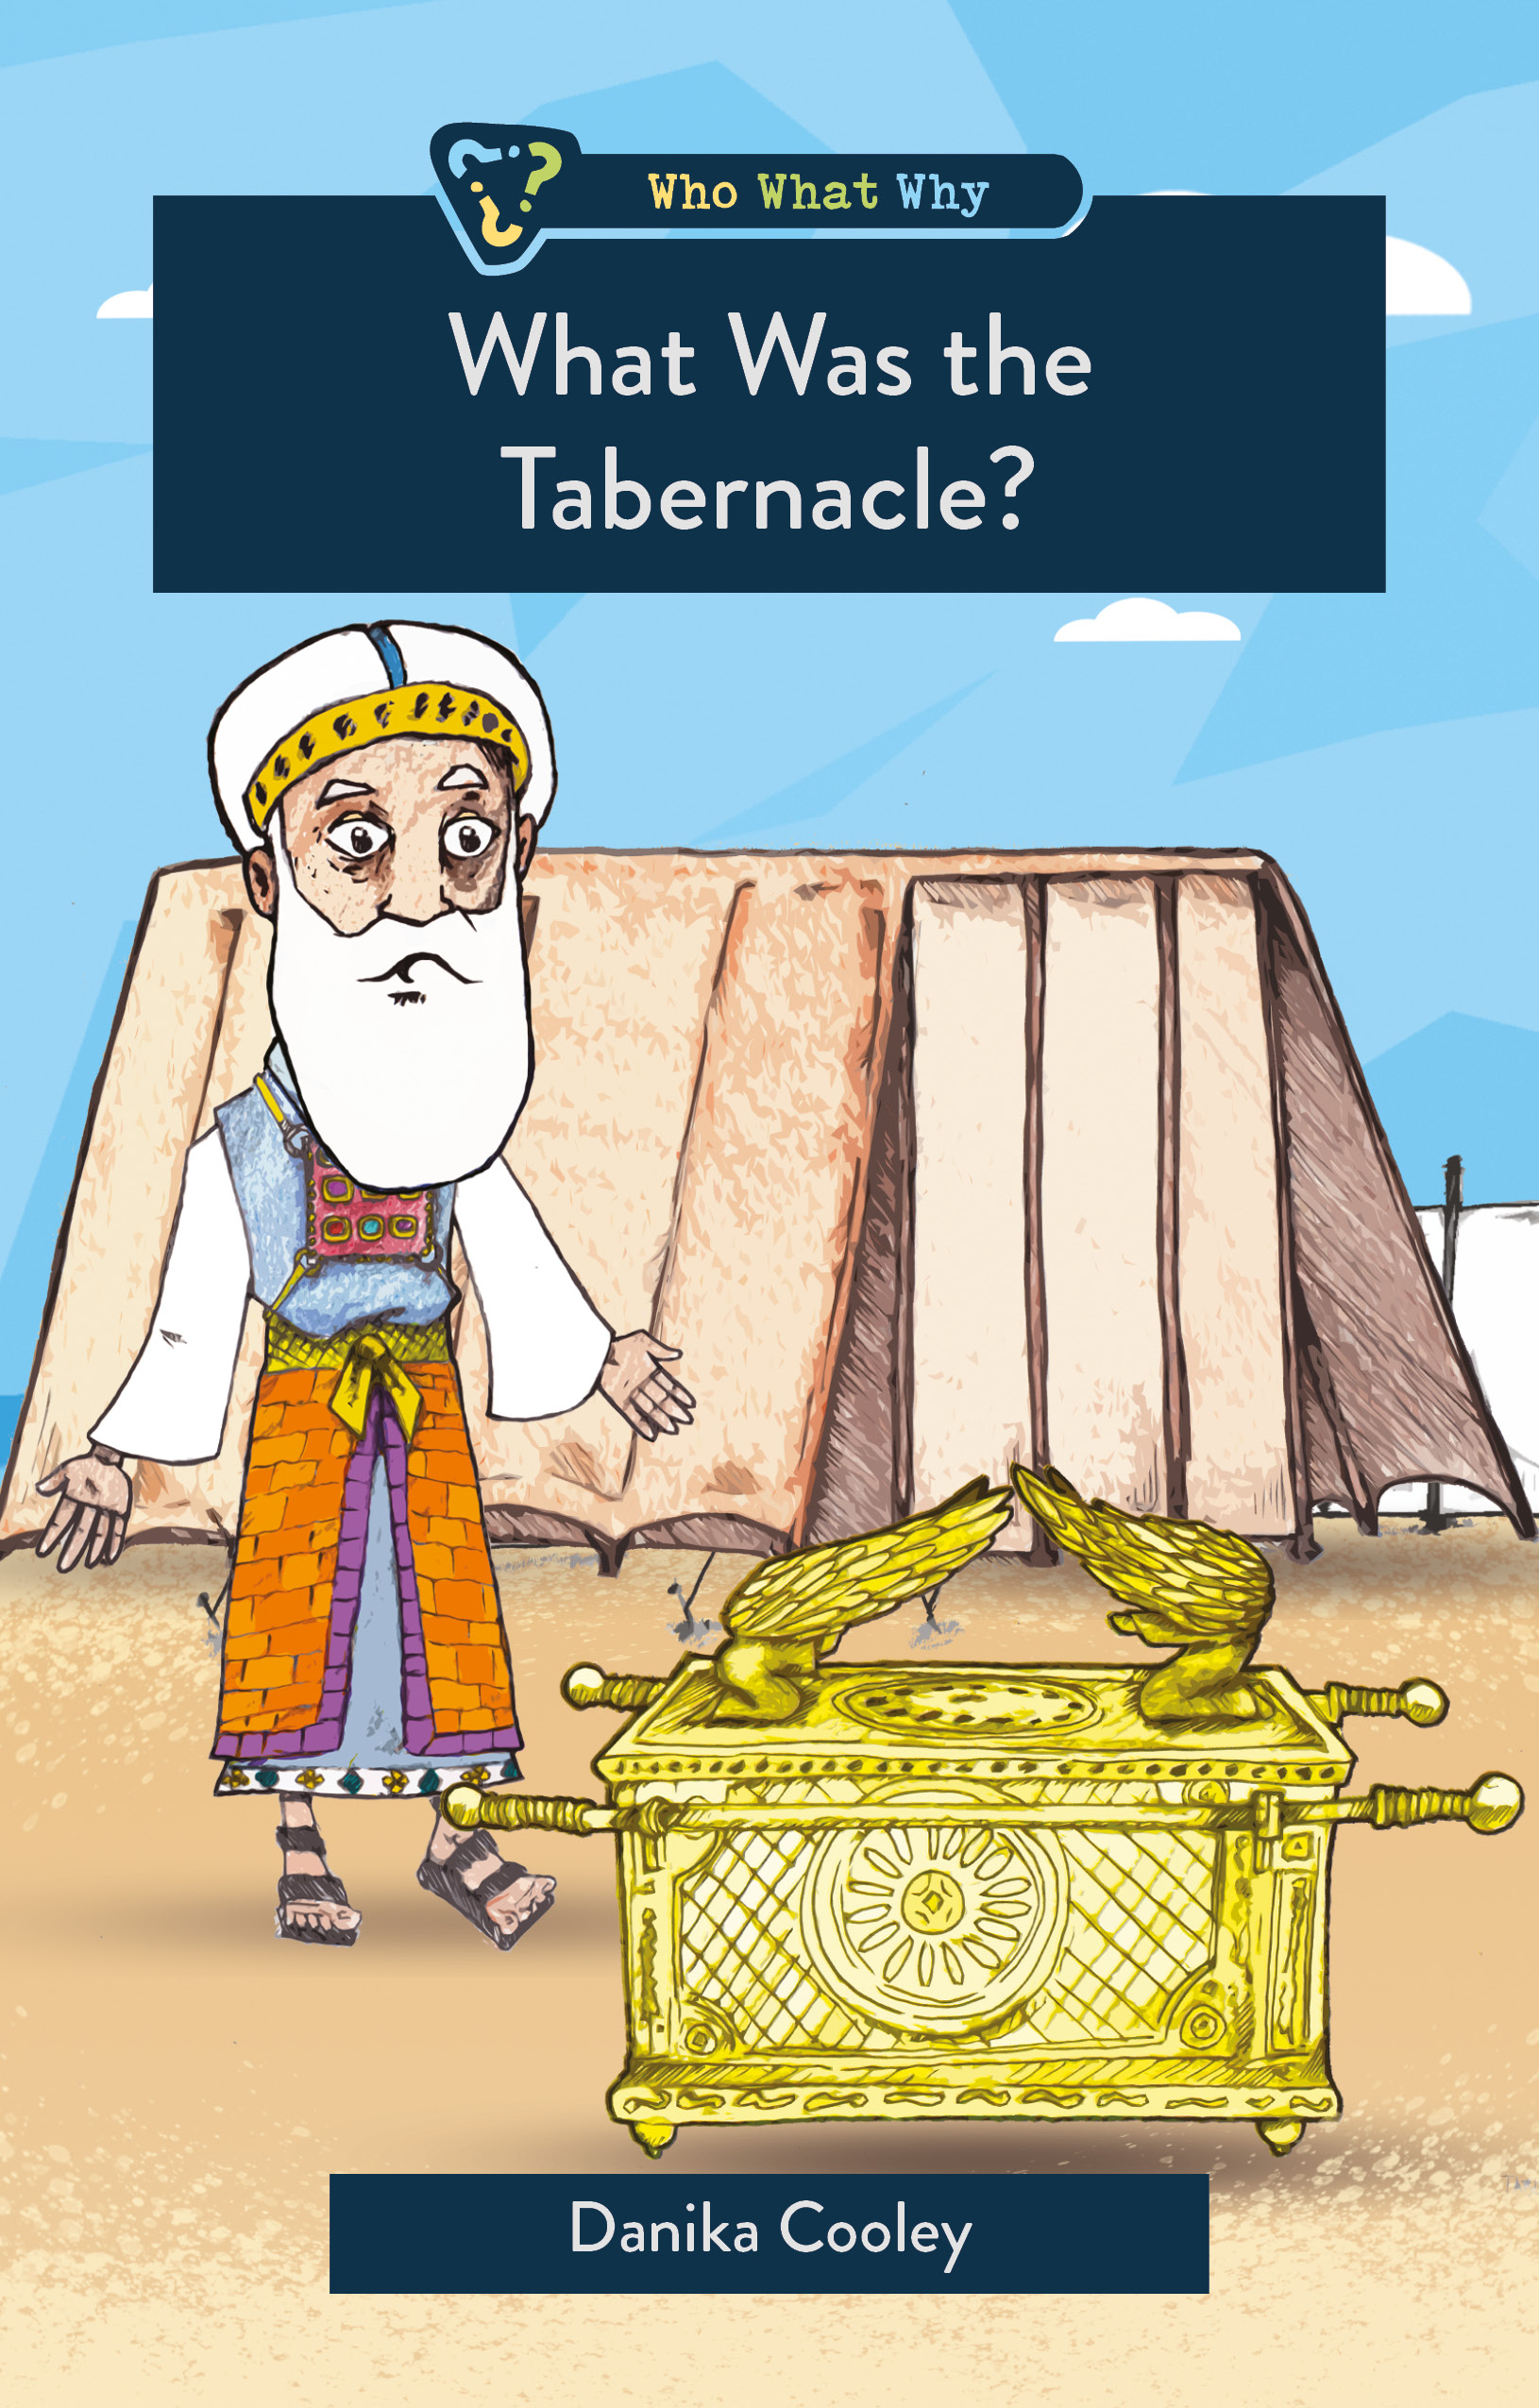
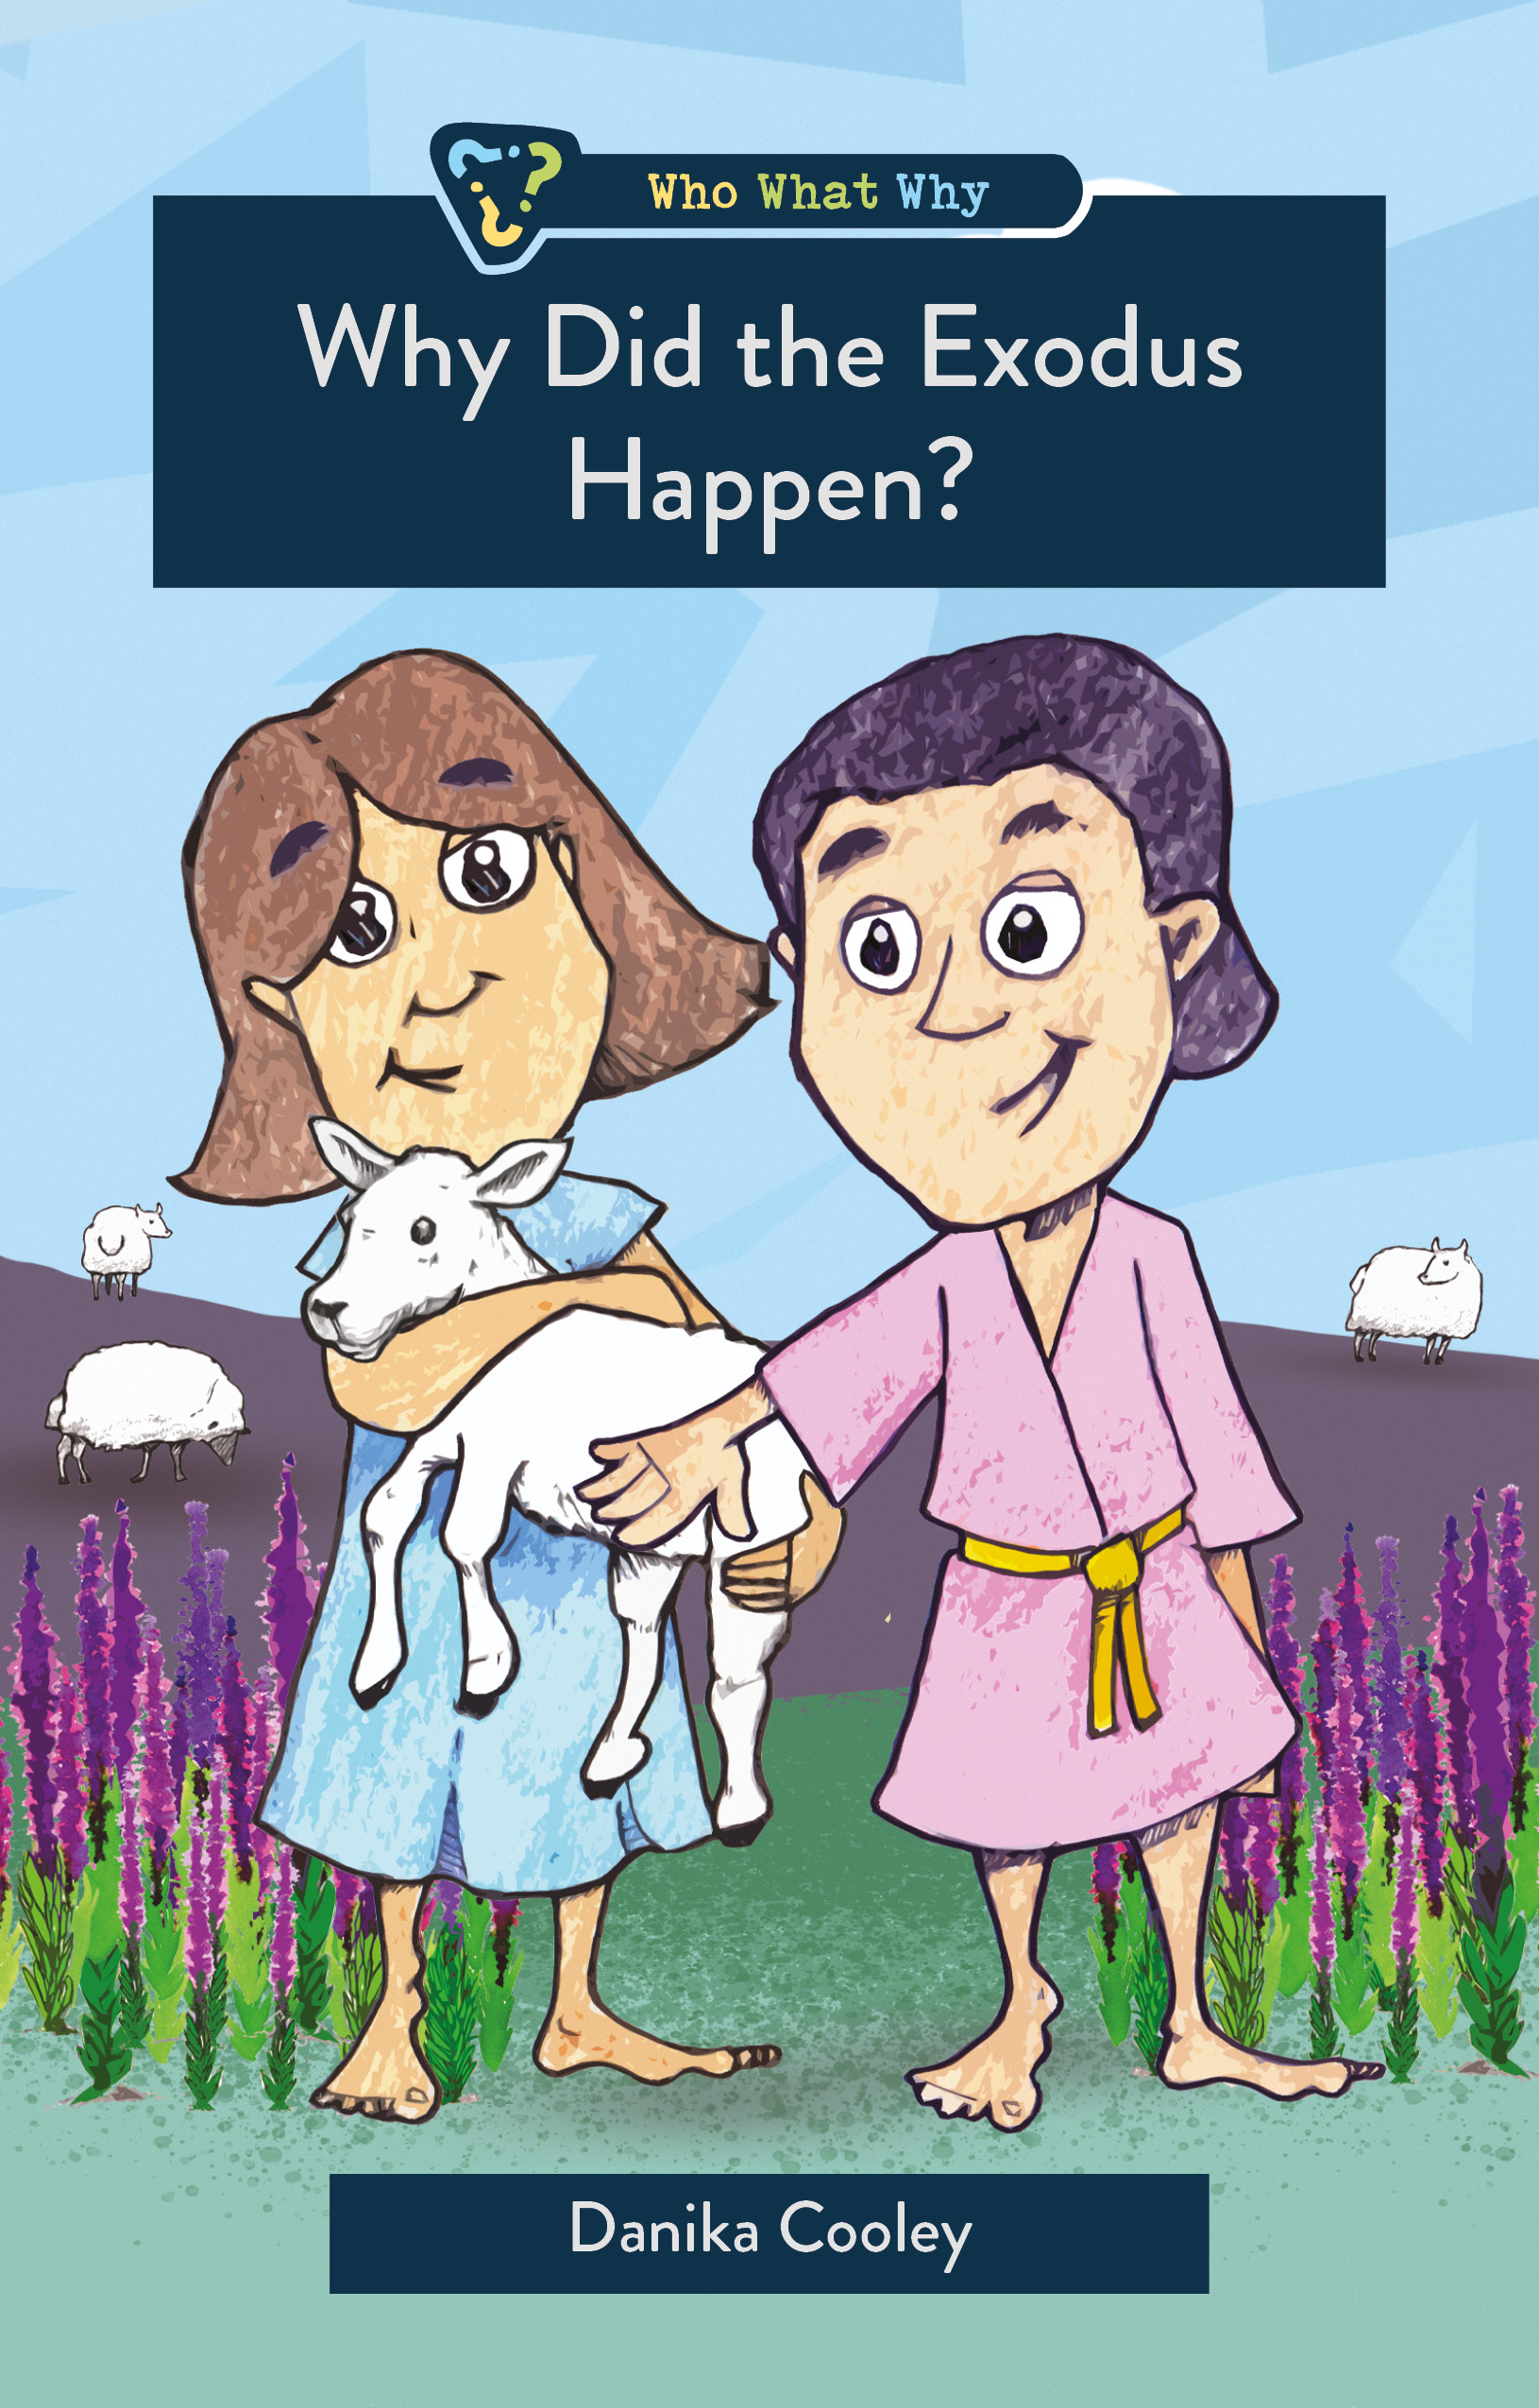
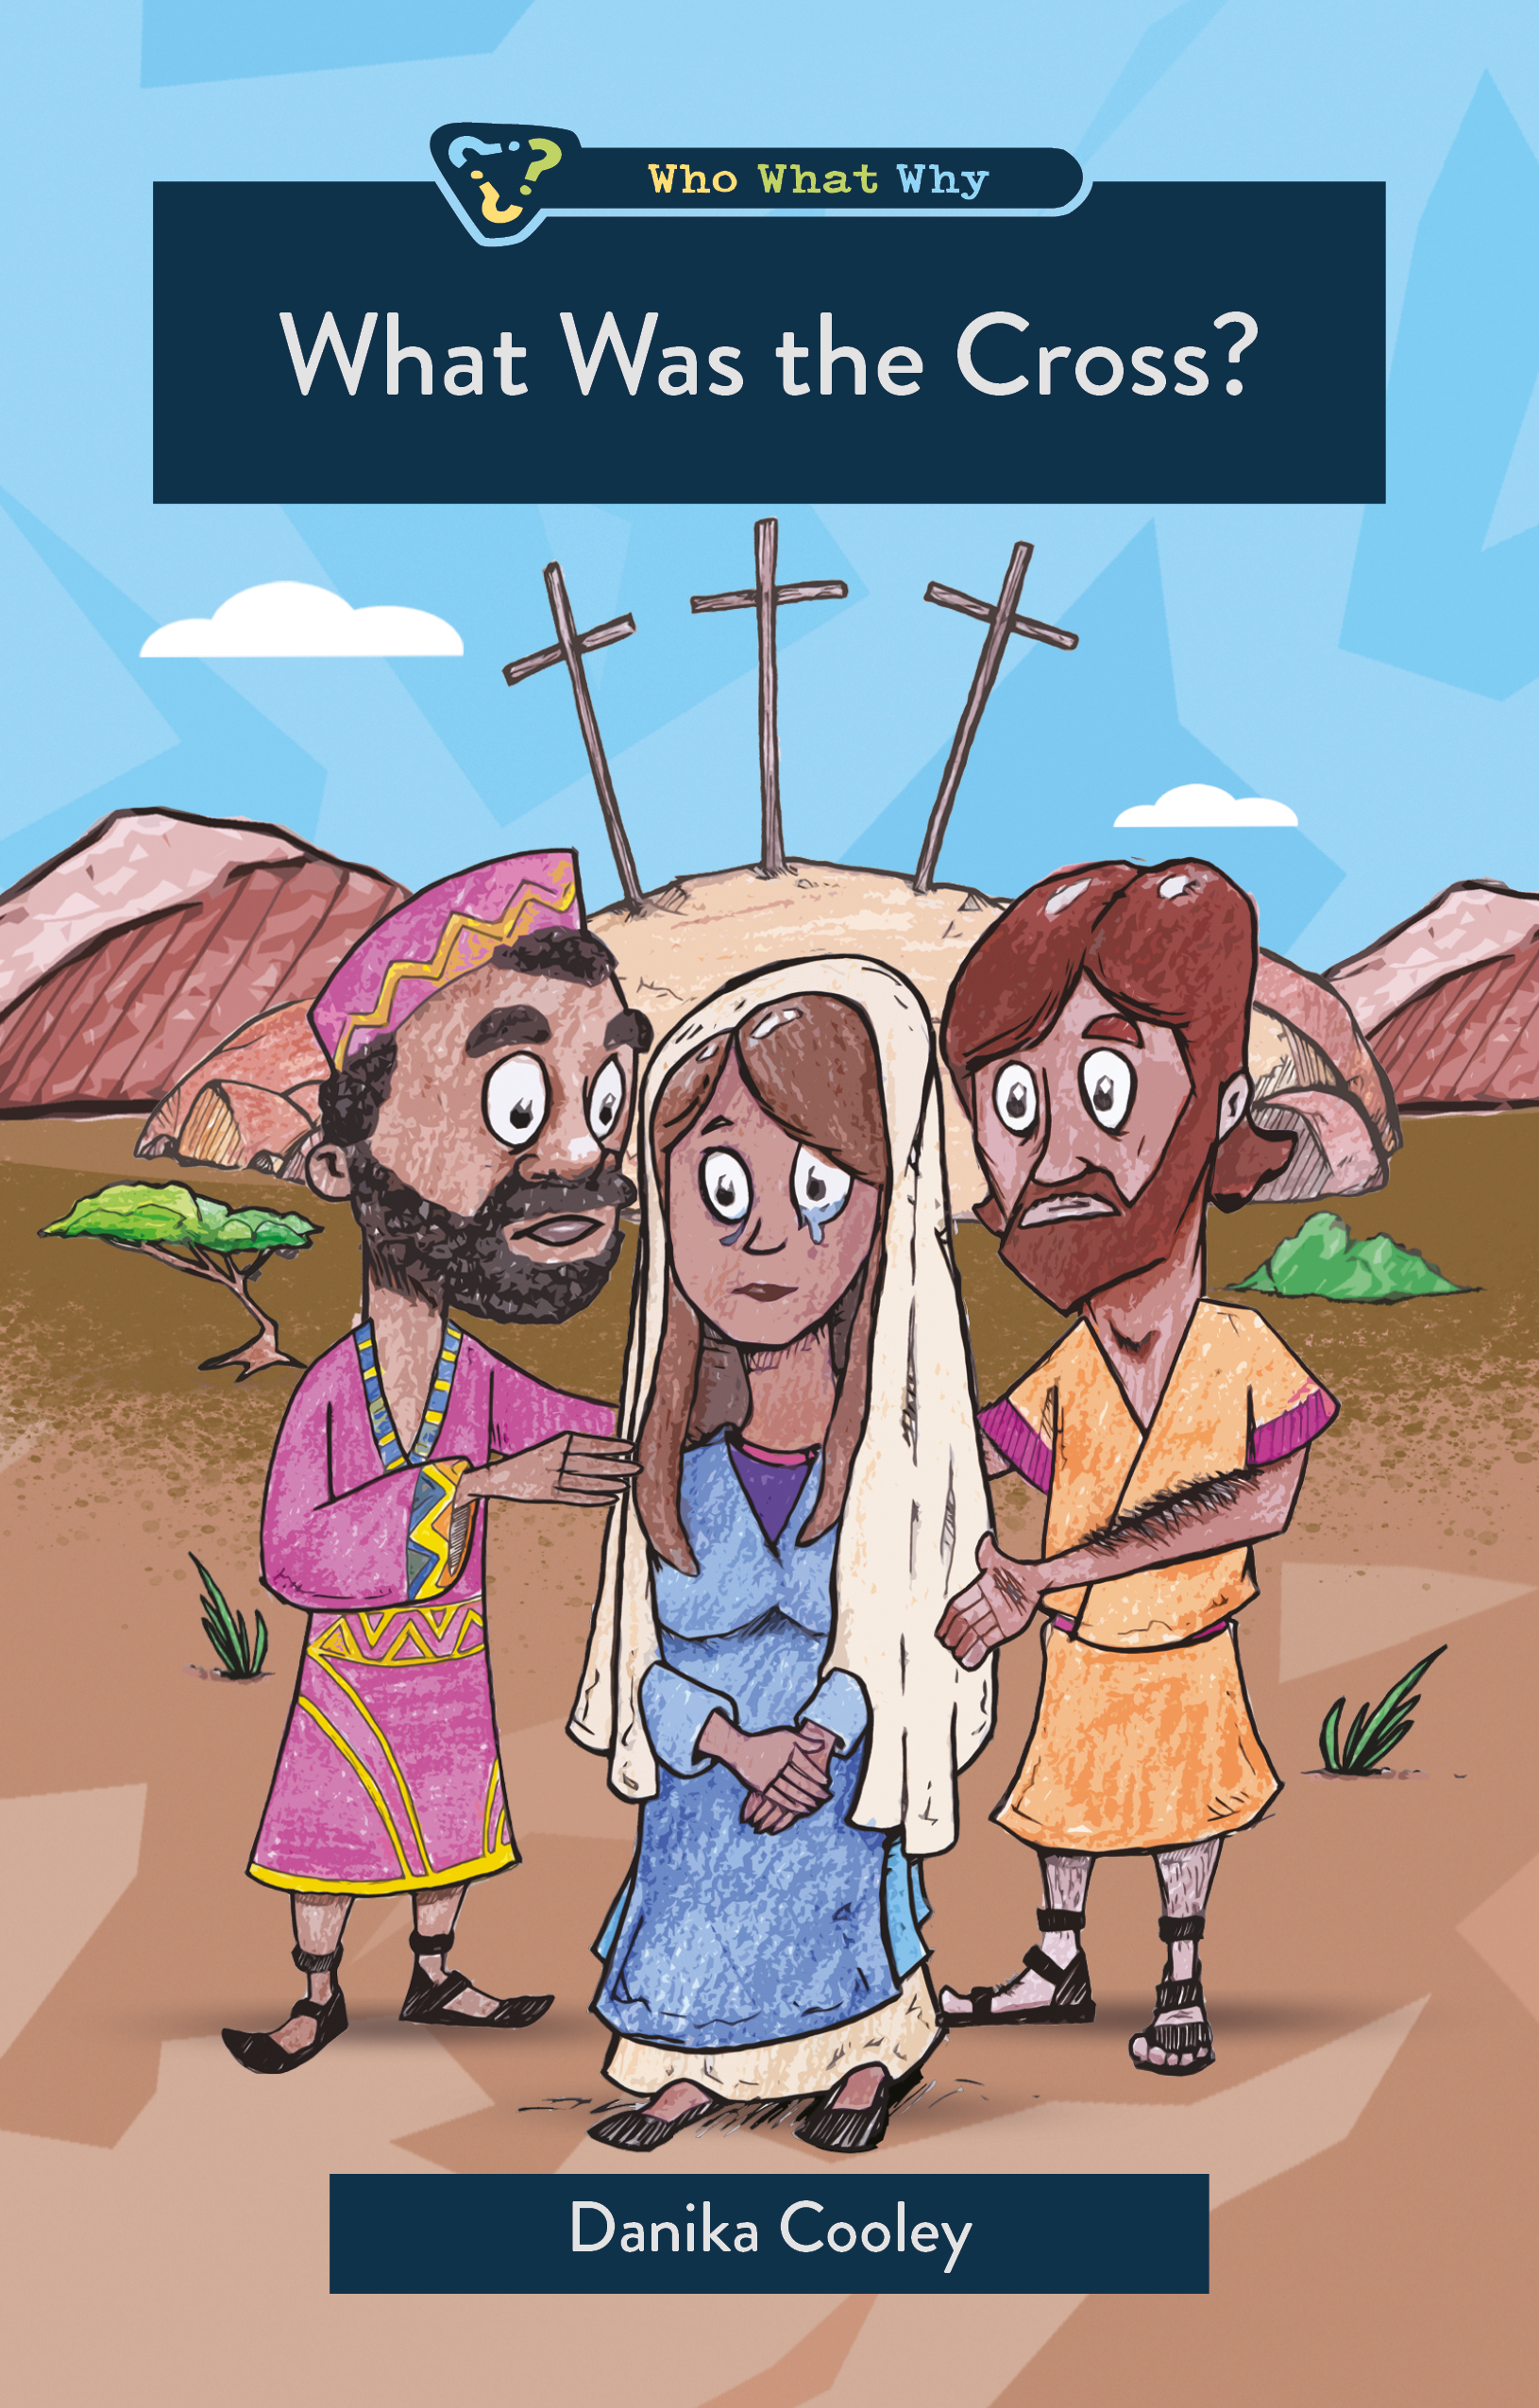
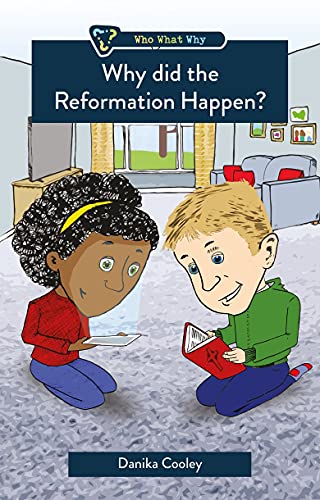
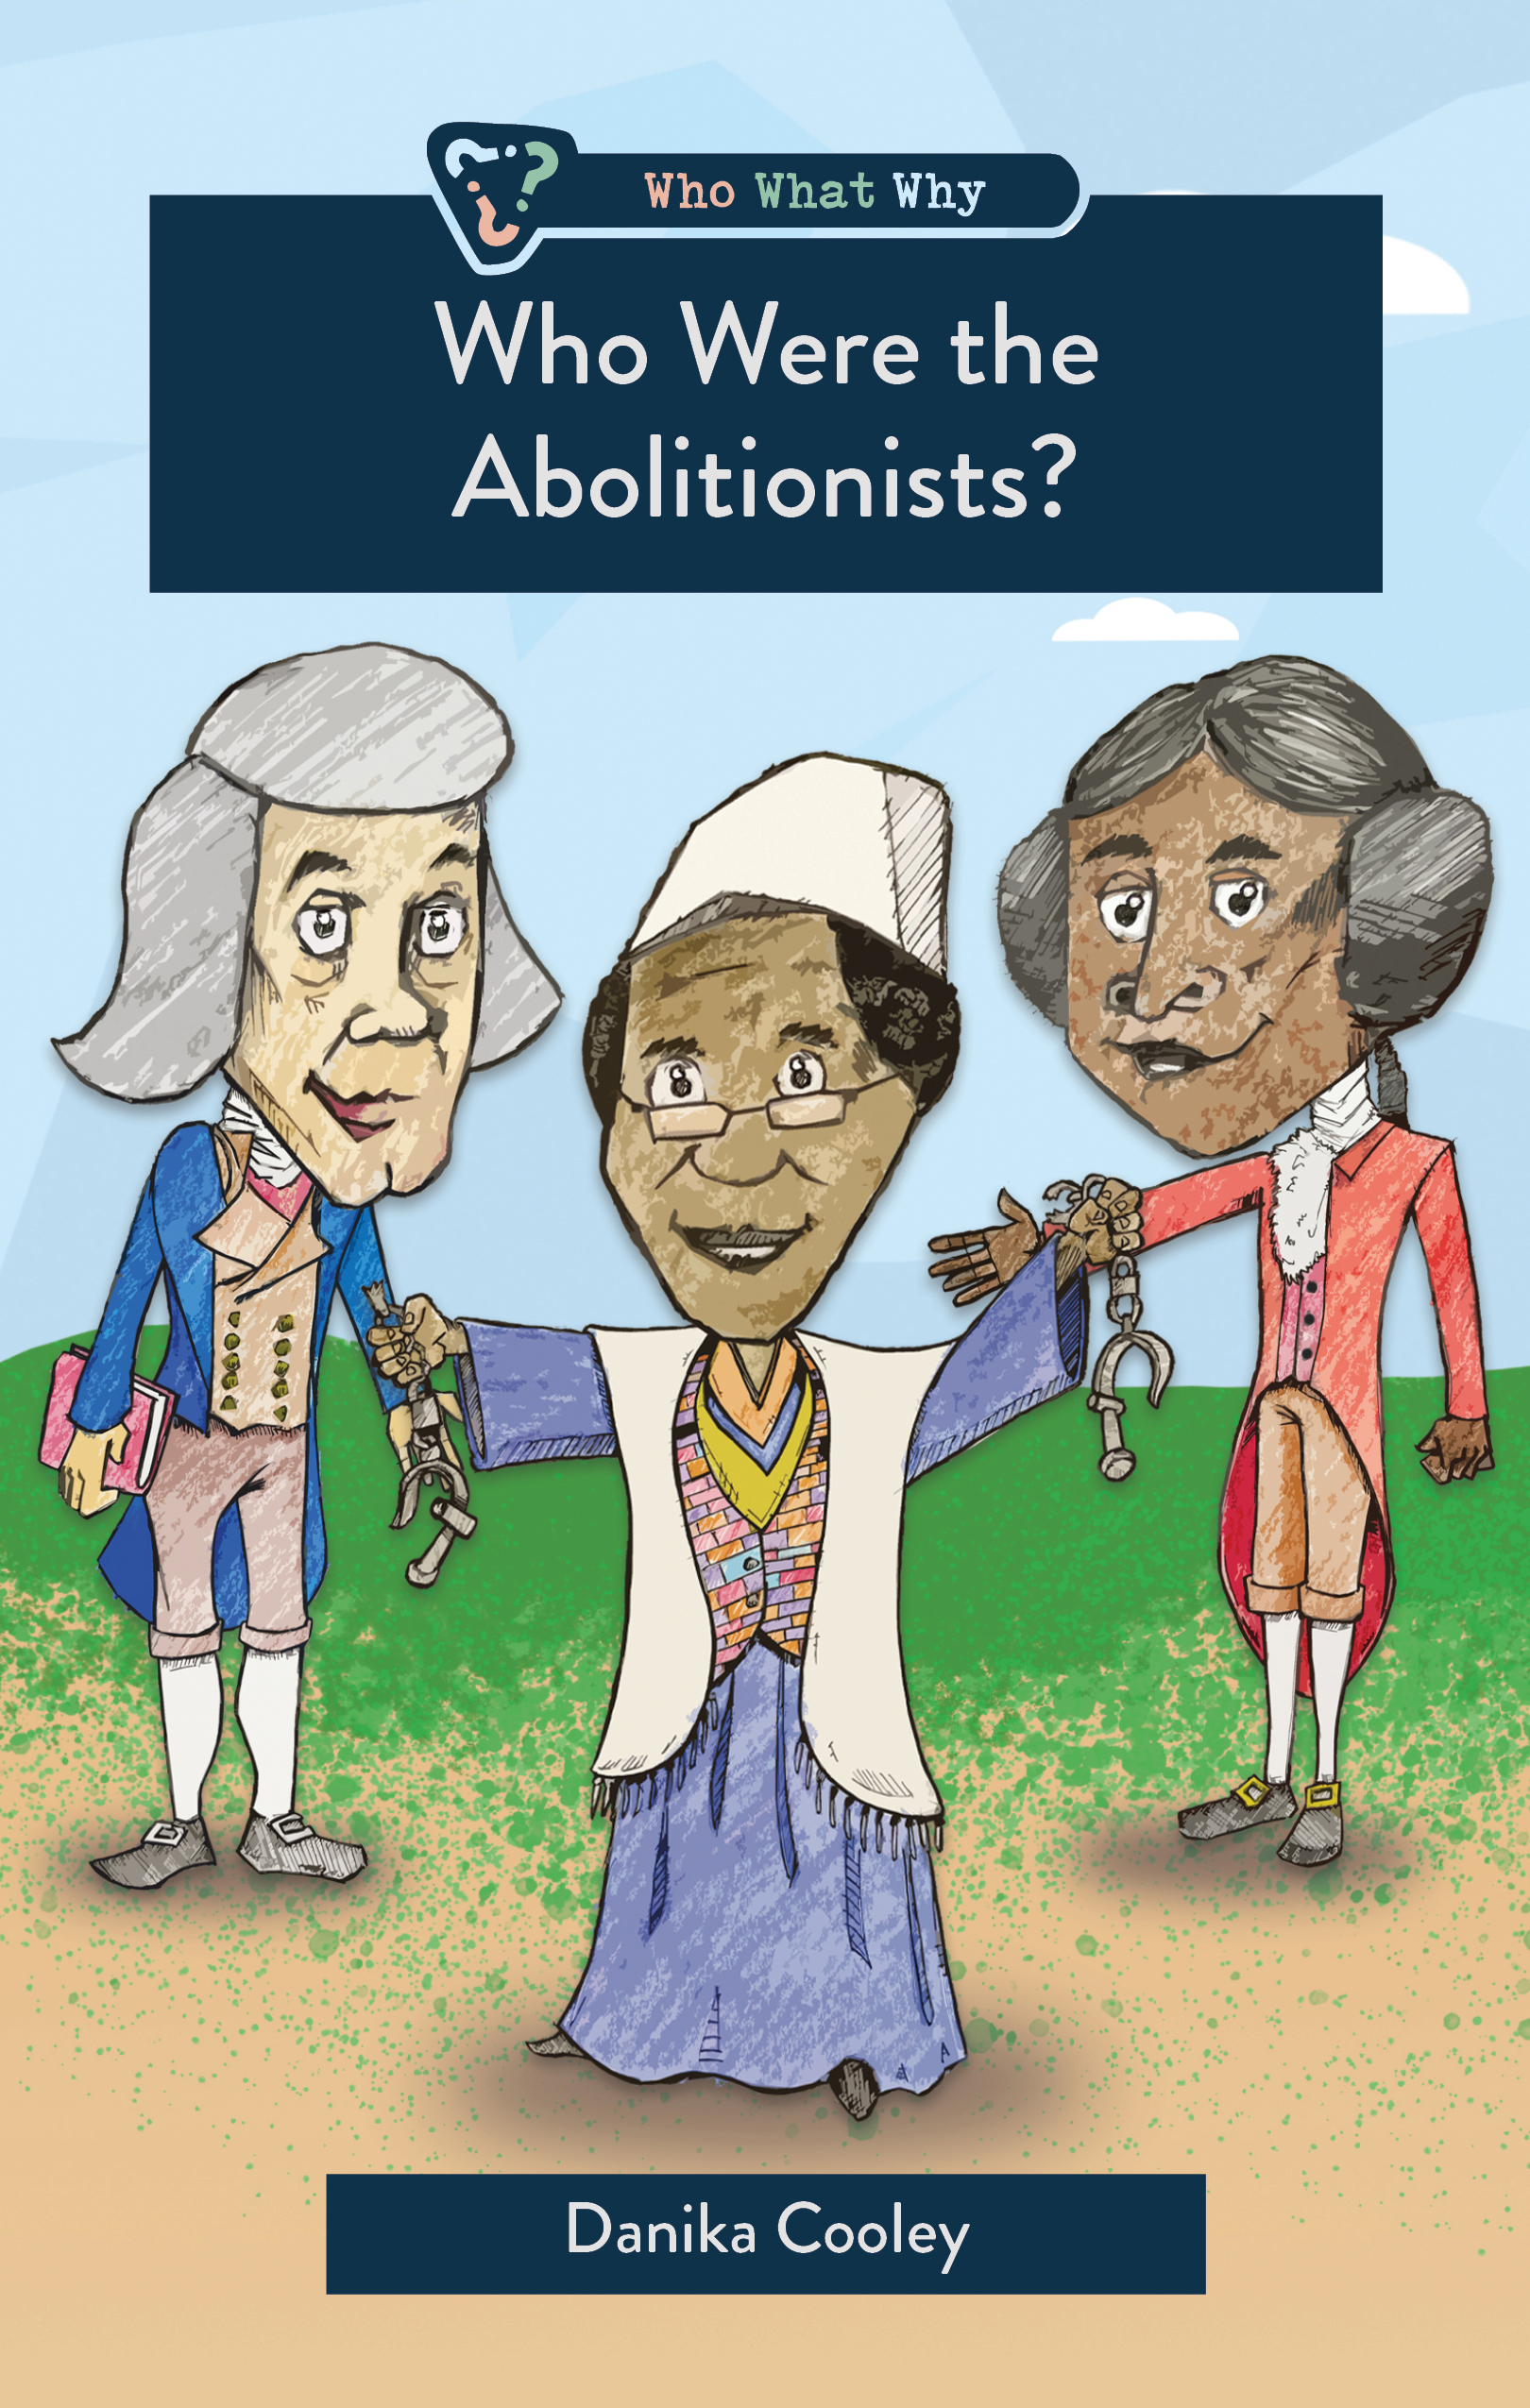
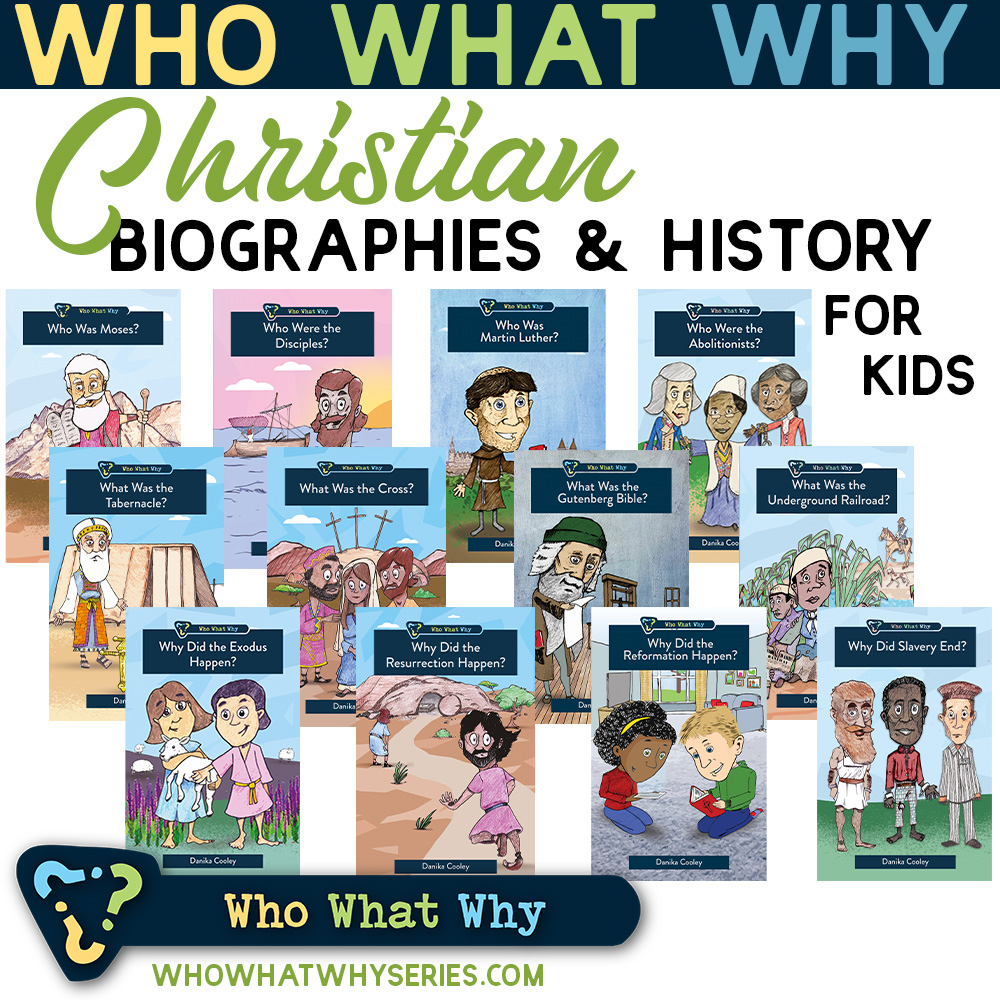
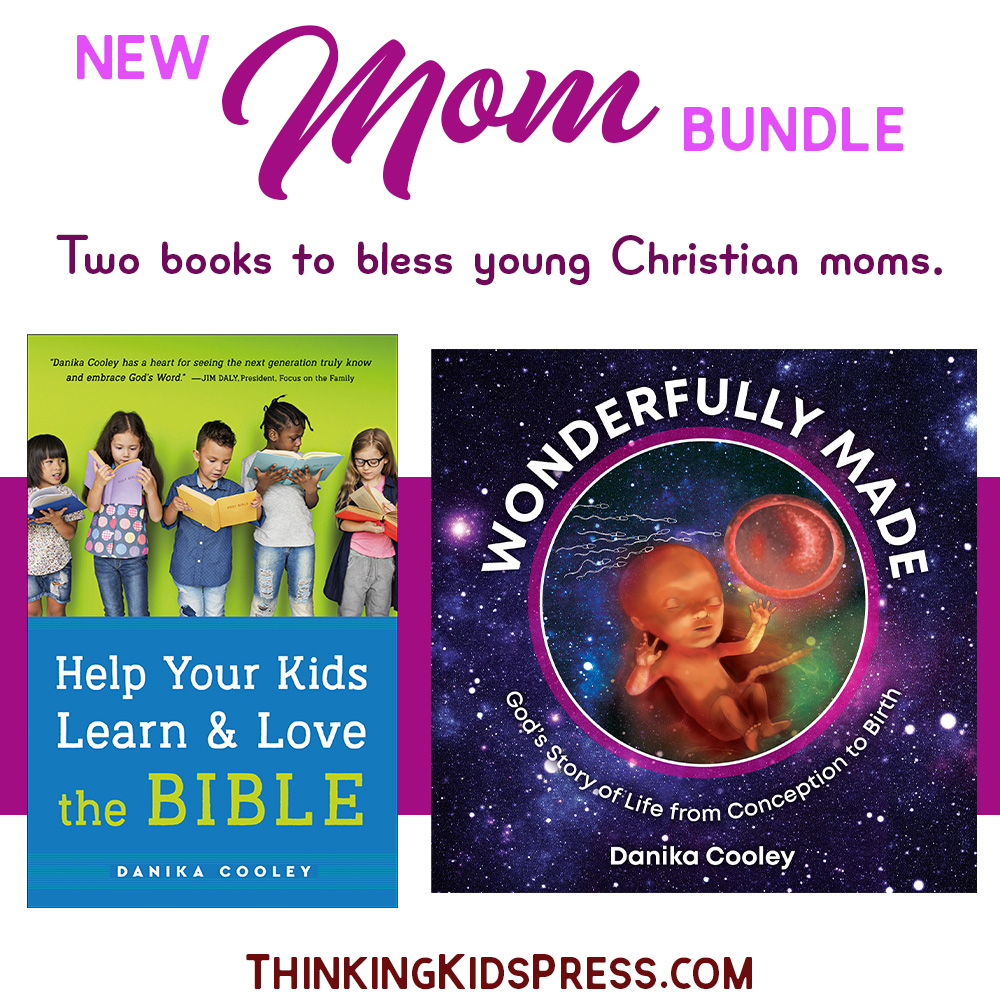
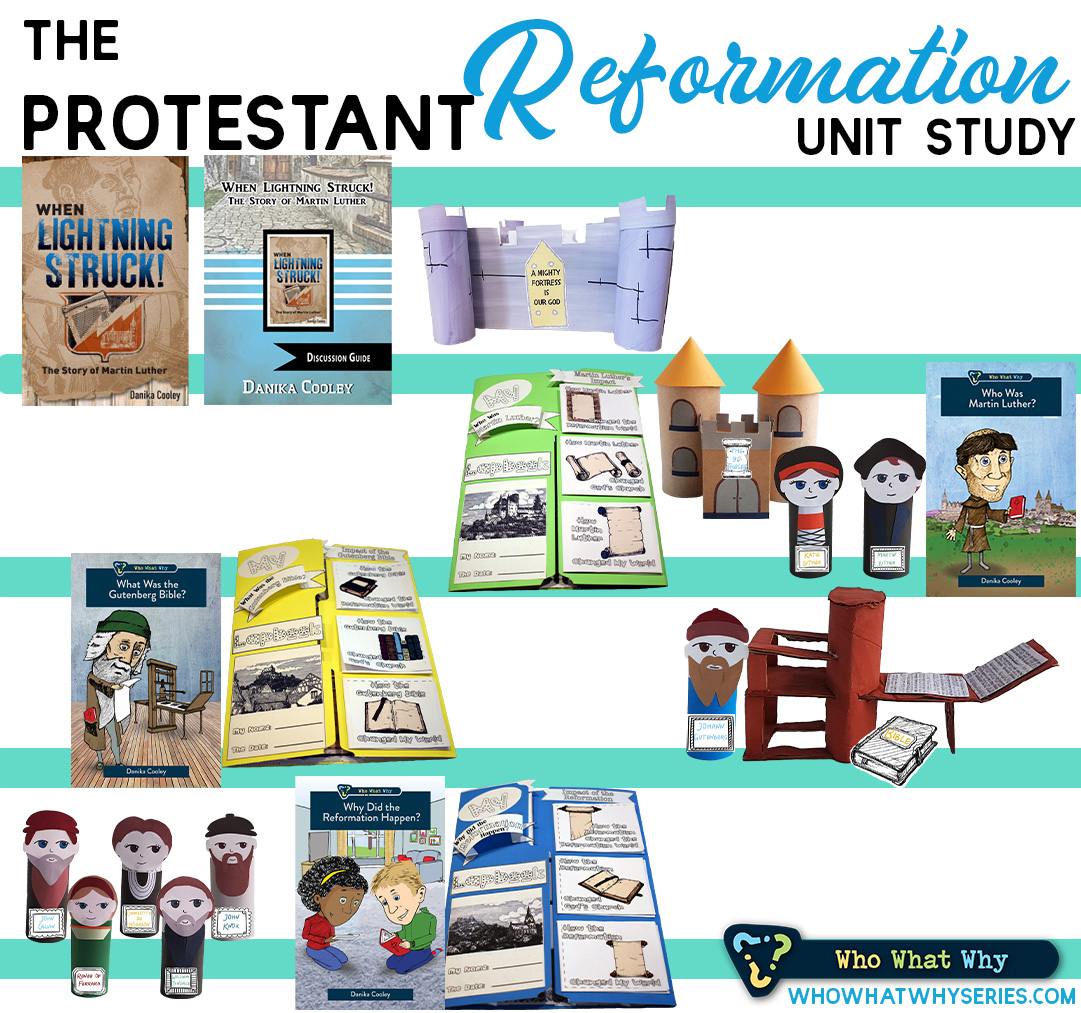
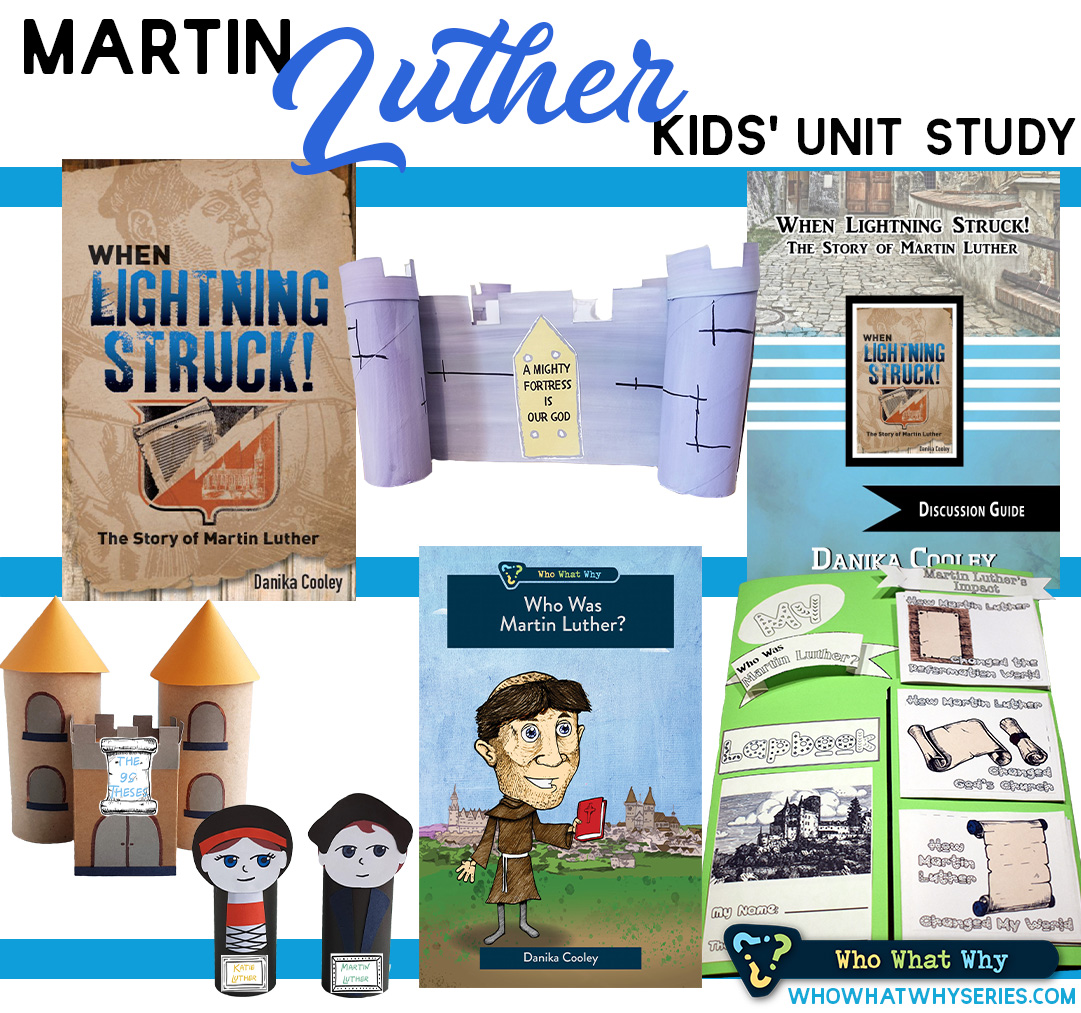
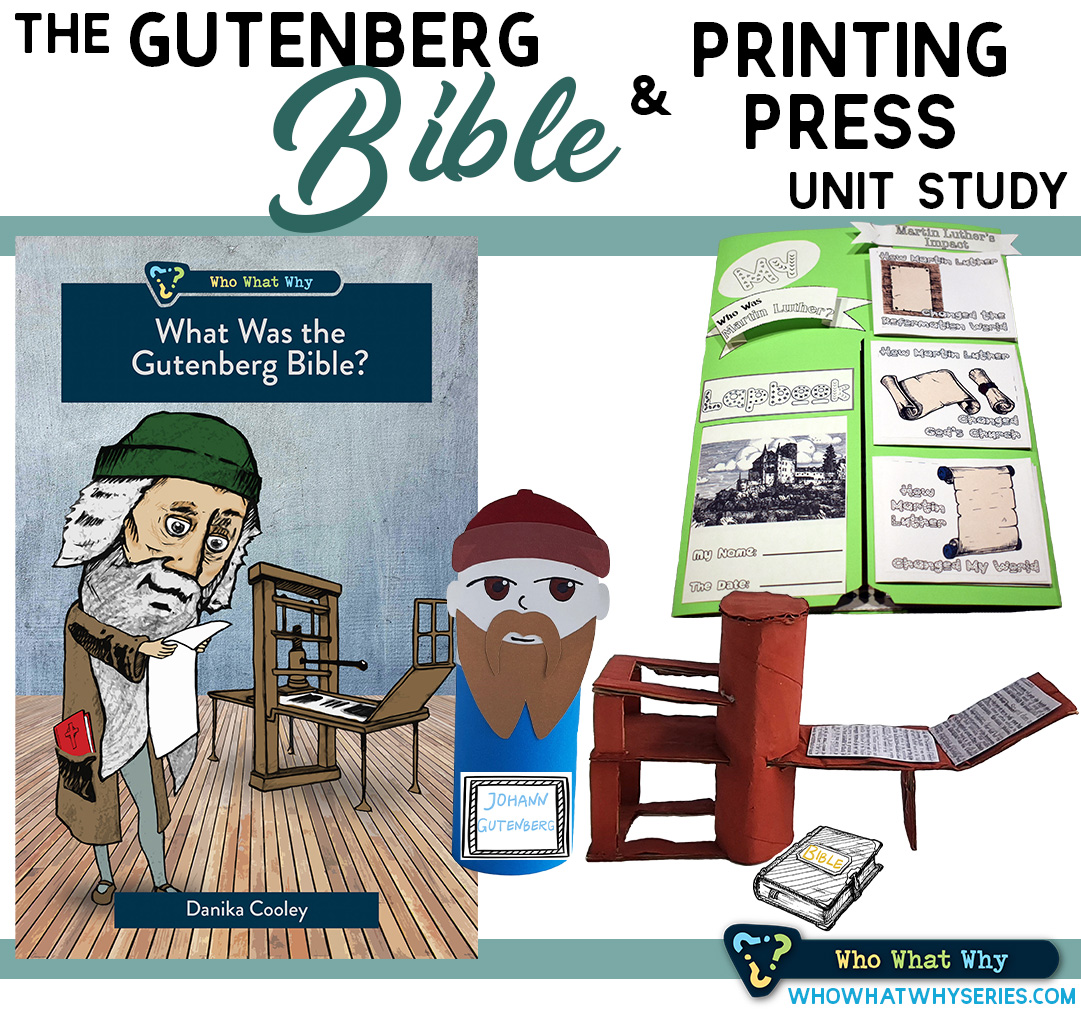
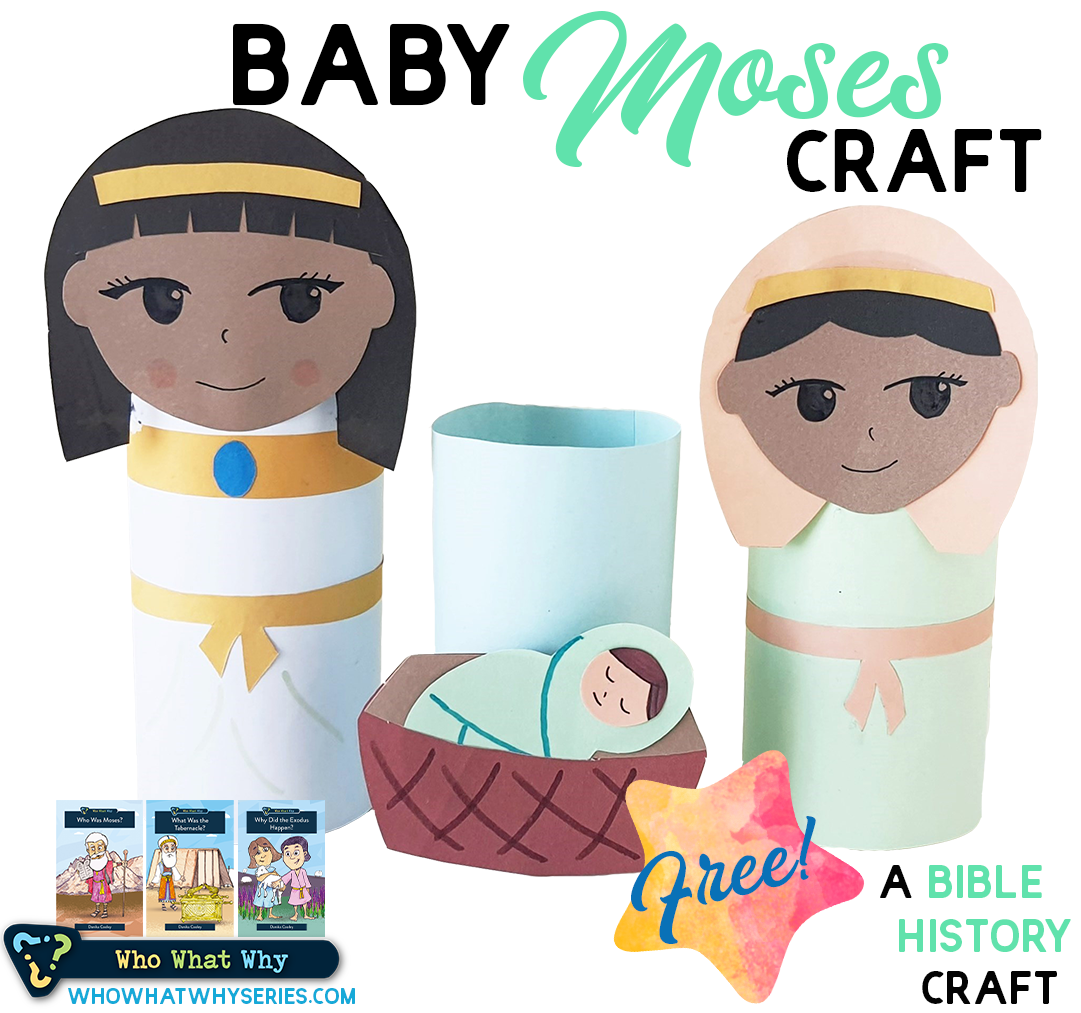
Teach the kids about the Bible and Christian history…
…with fun books they’ll love reading!
Introduce your children to engaging stories written in an engaging narrative they’ll want to read. As they learn more about God’s Word and gain real-life heroes, they will learn to apply Scripture to their own lives. And, give yourself the gift of a book that will help your kids learn and love the Bible.


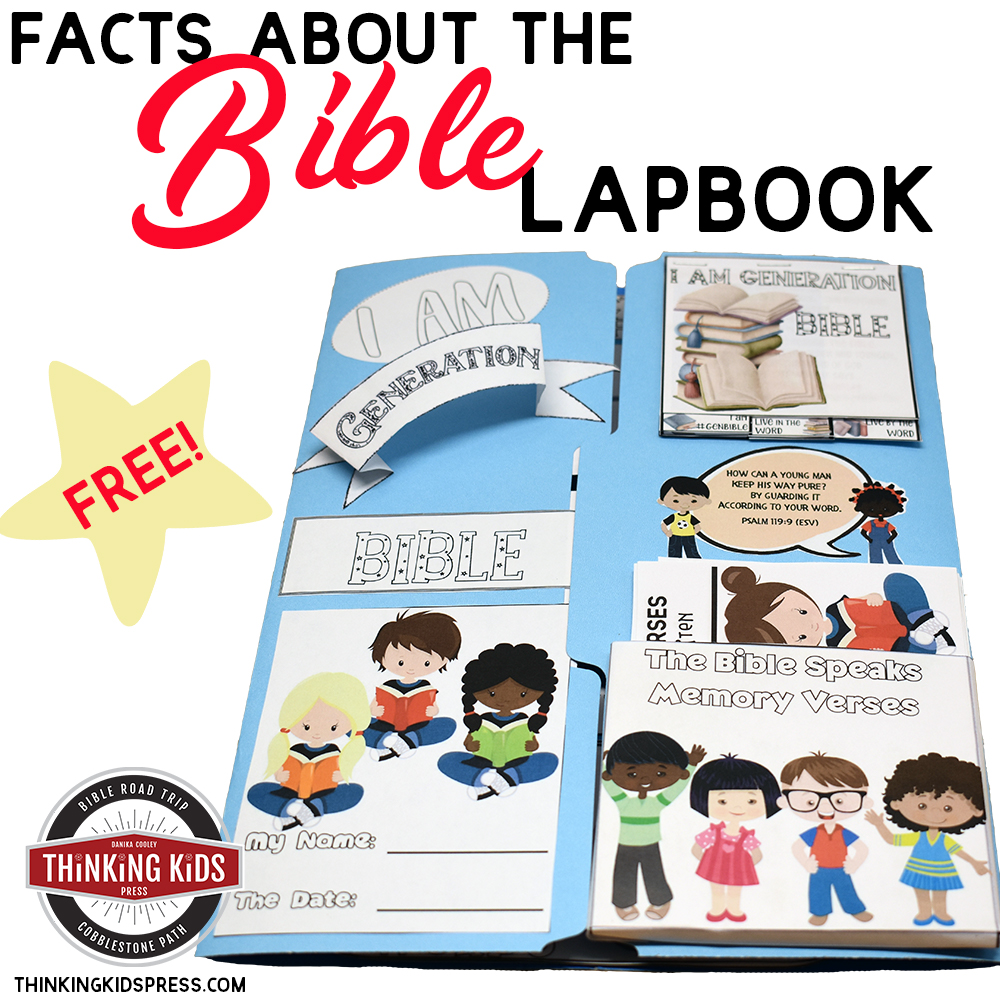
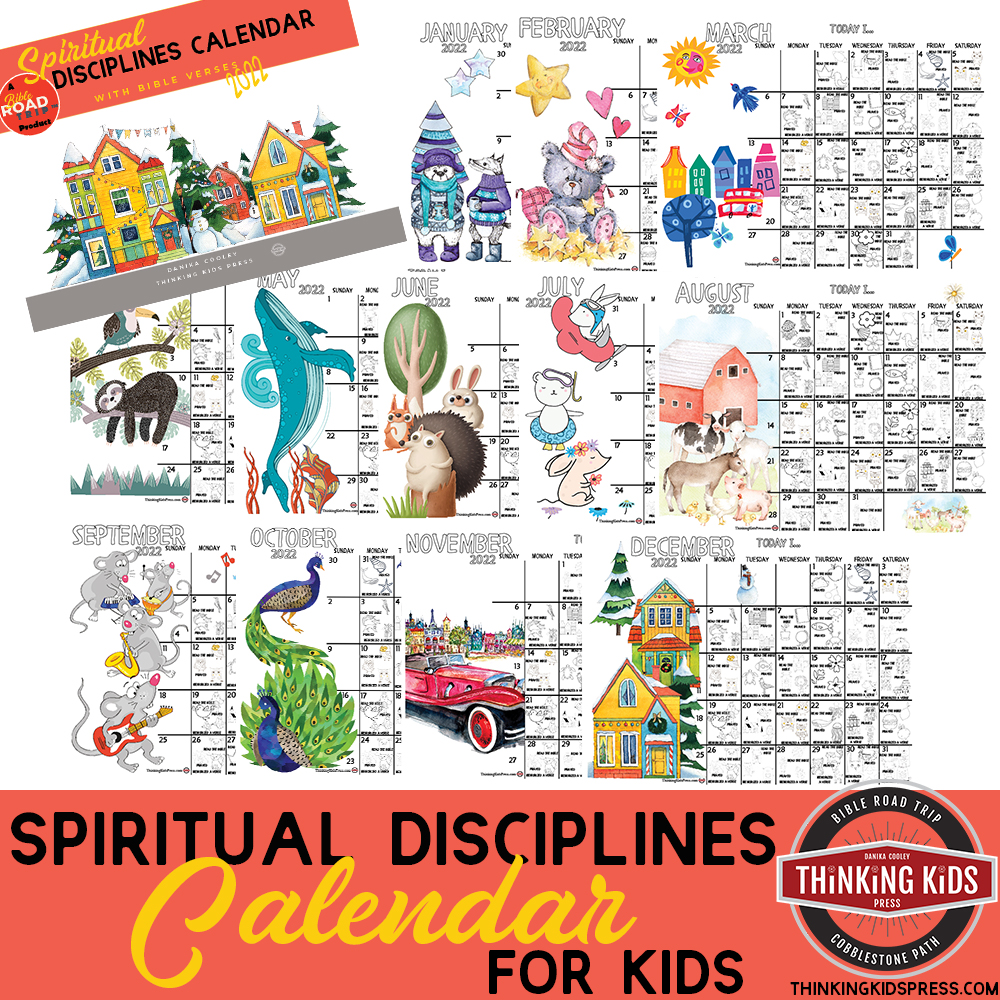
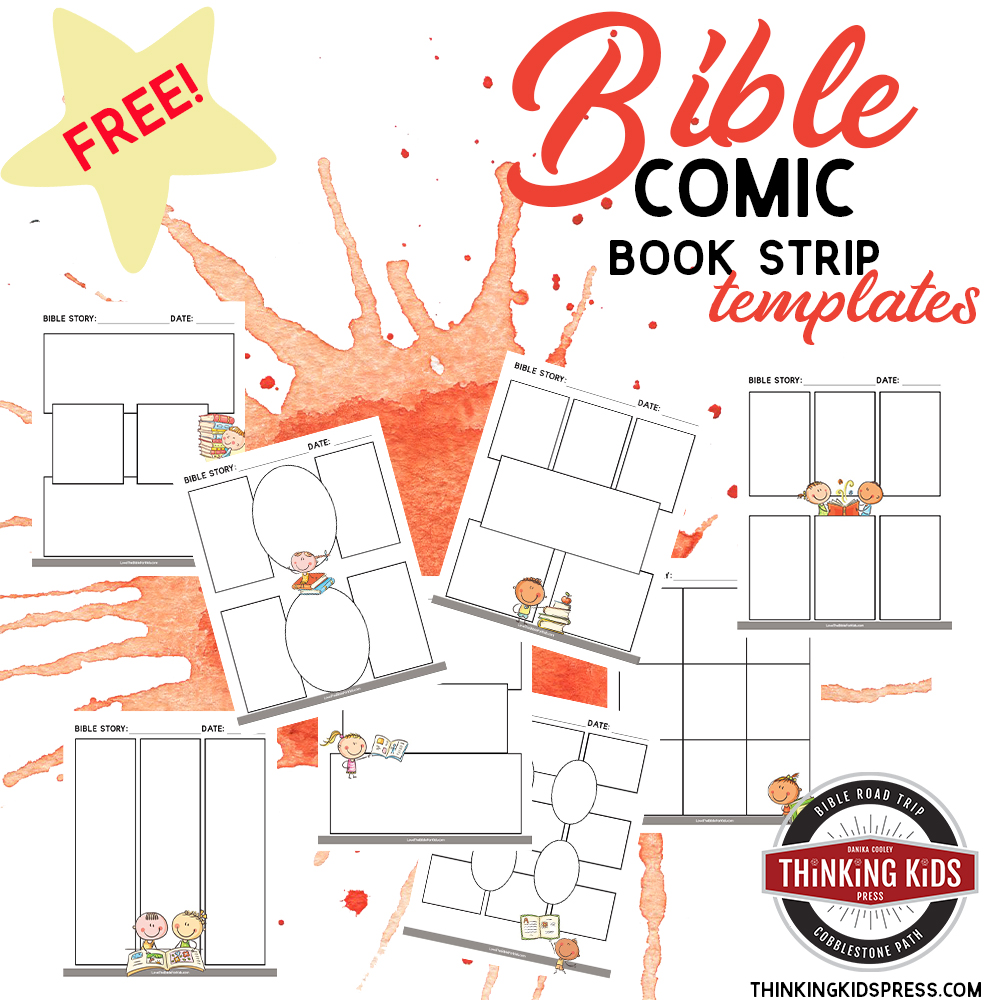
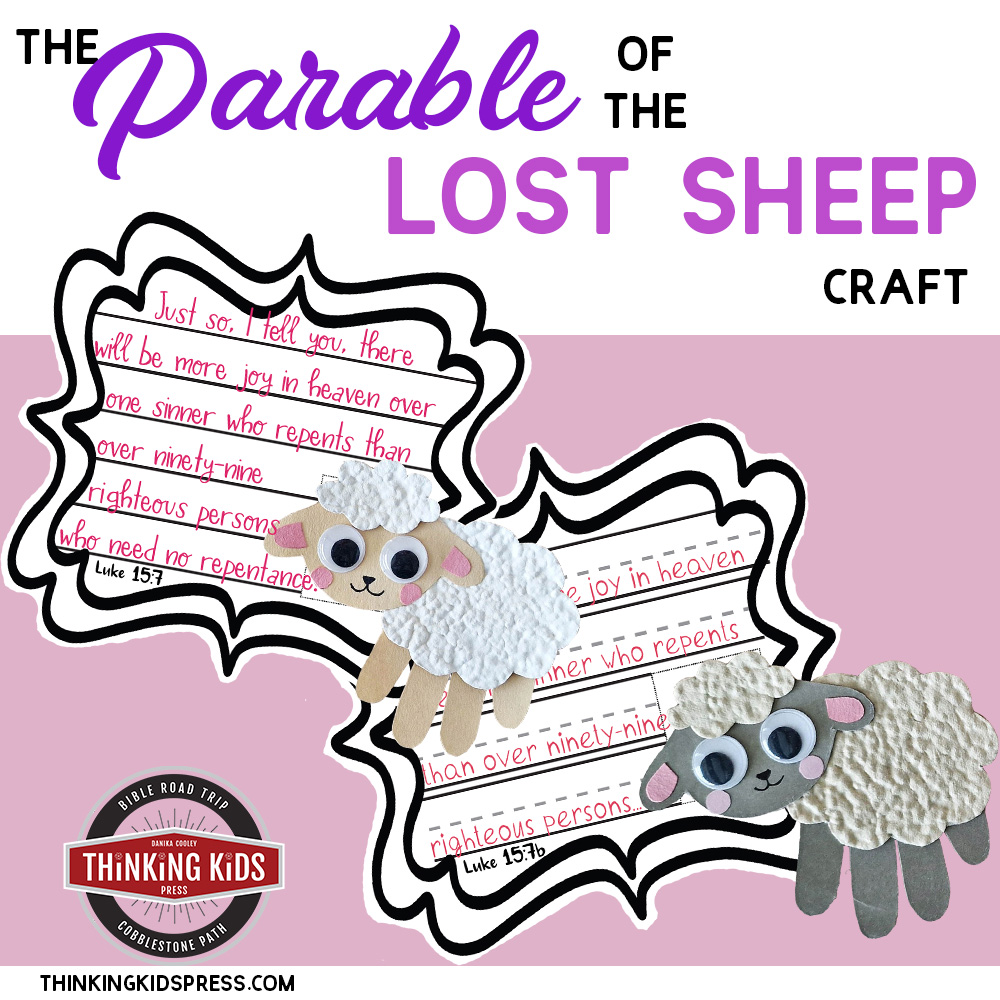
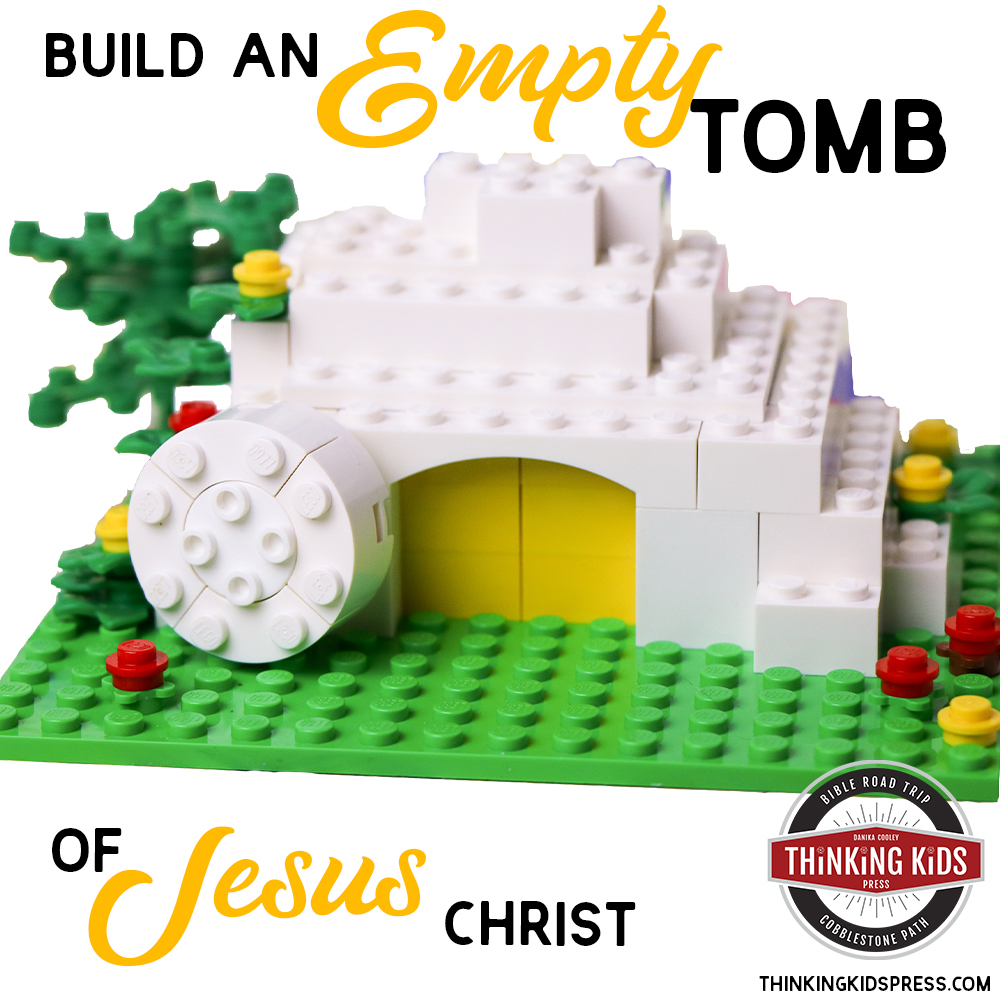
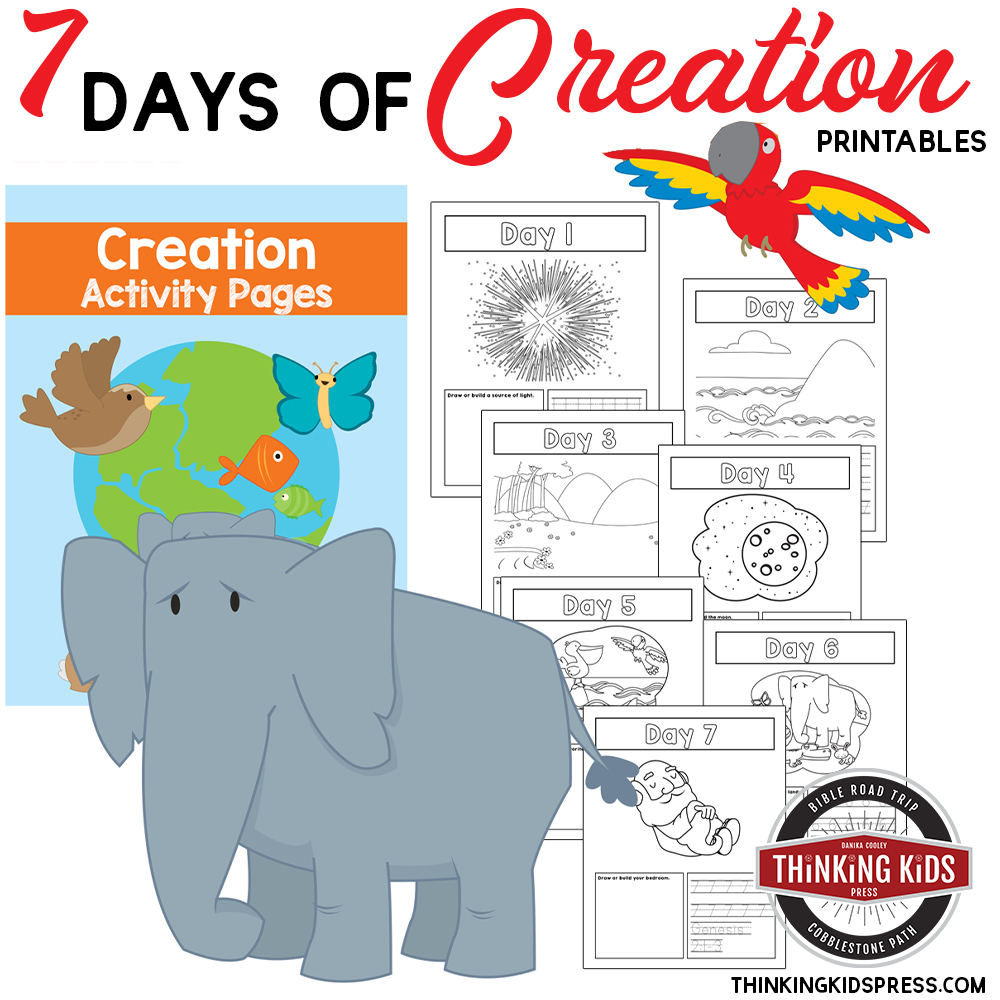
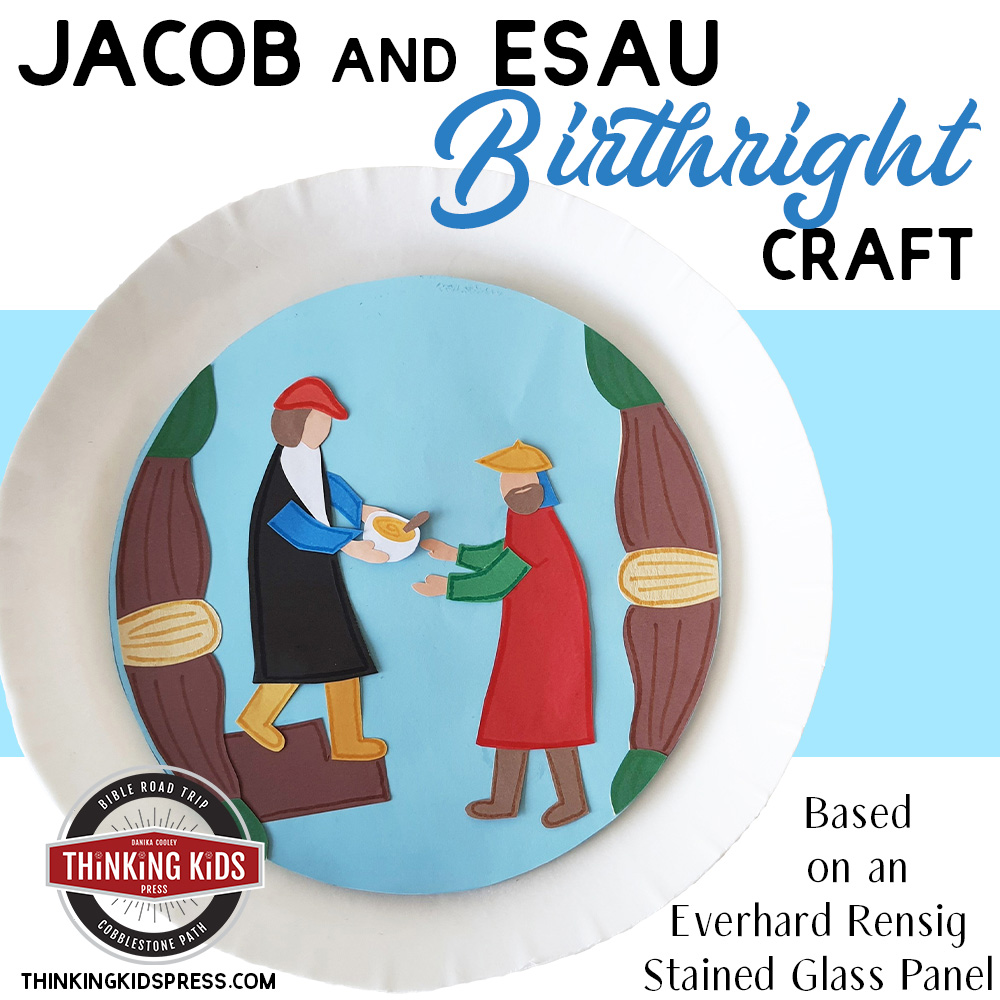
More Thinking Kids Posts You’ll Love!


