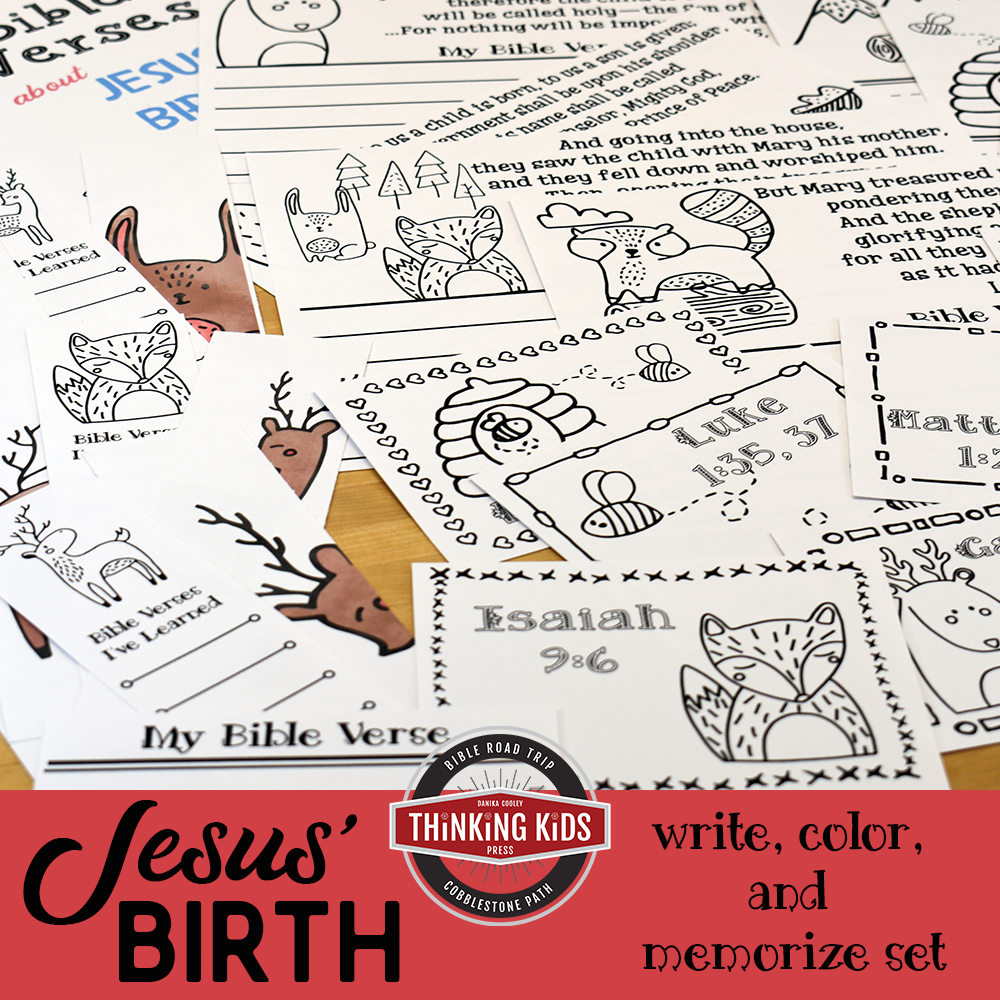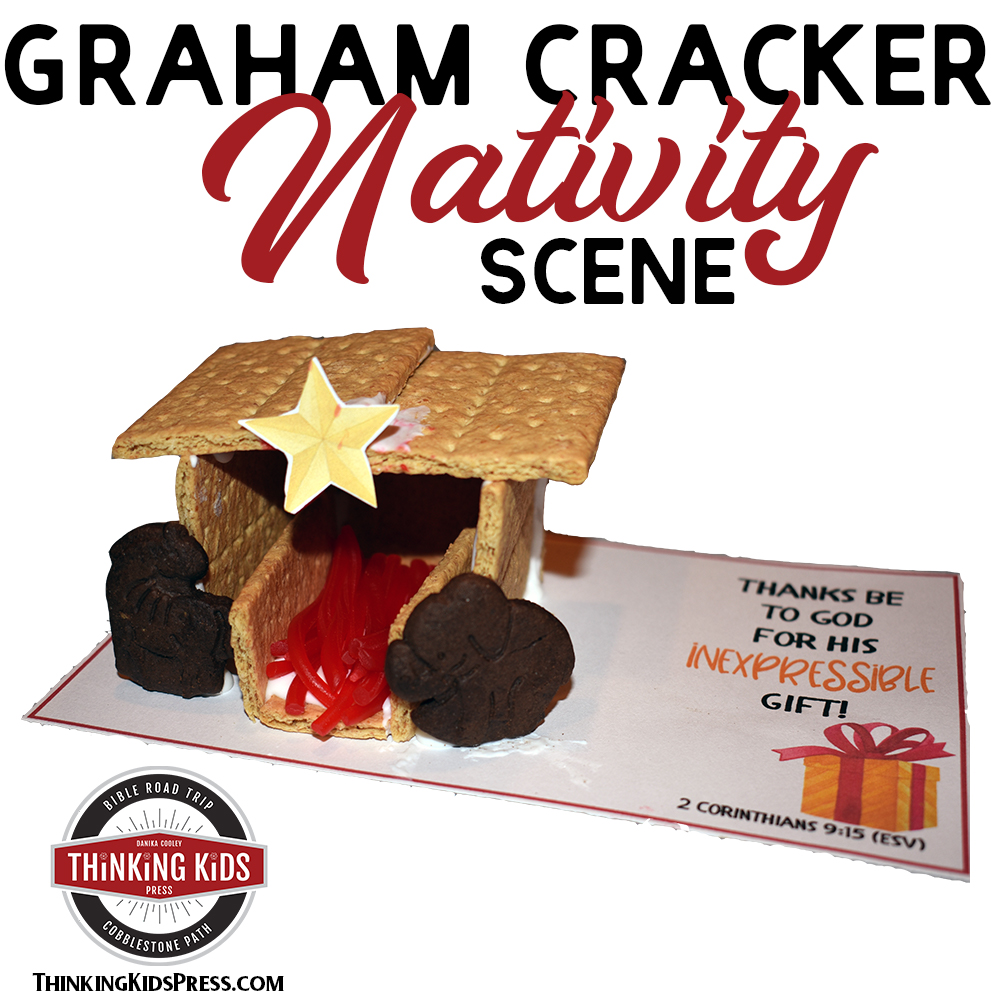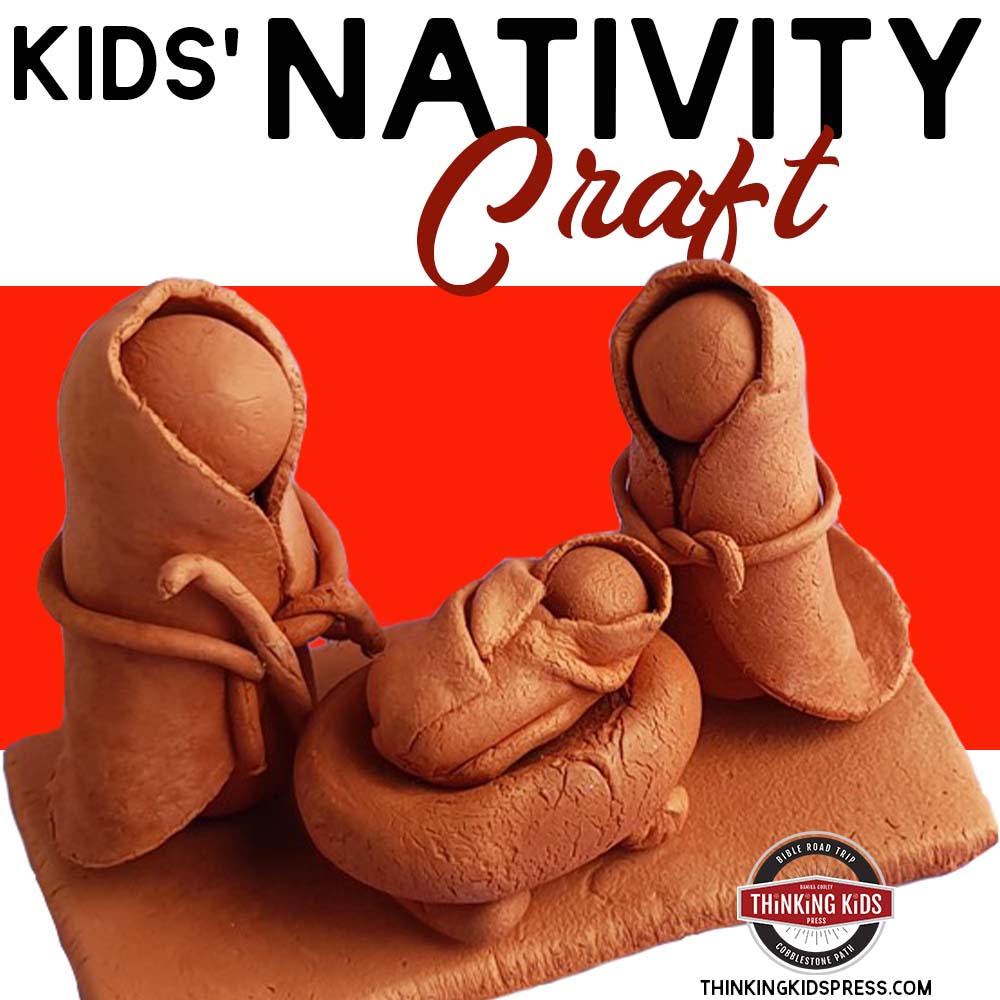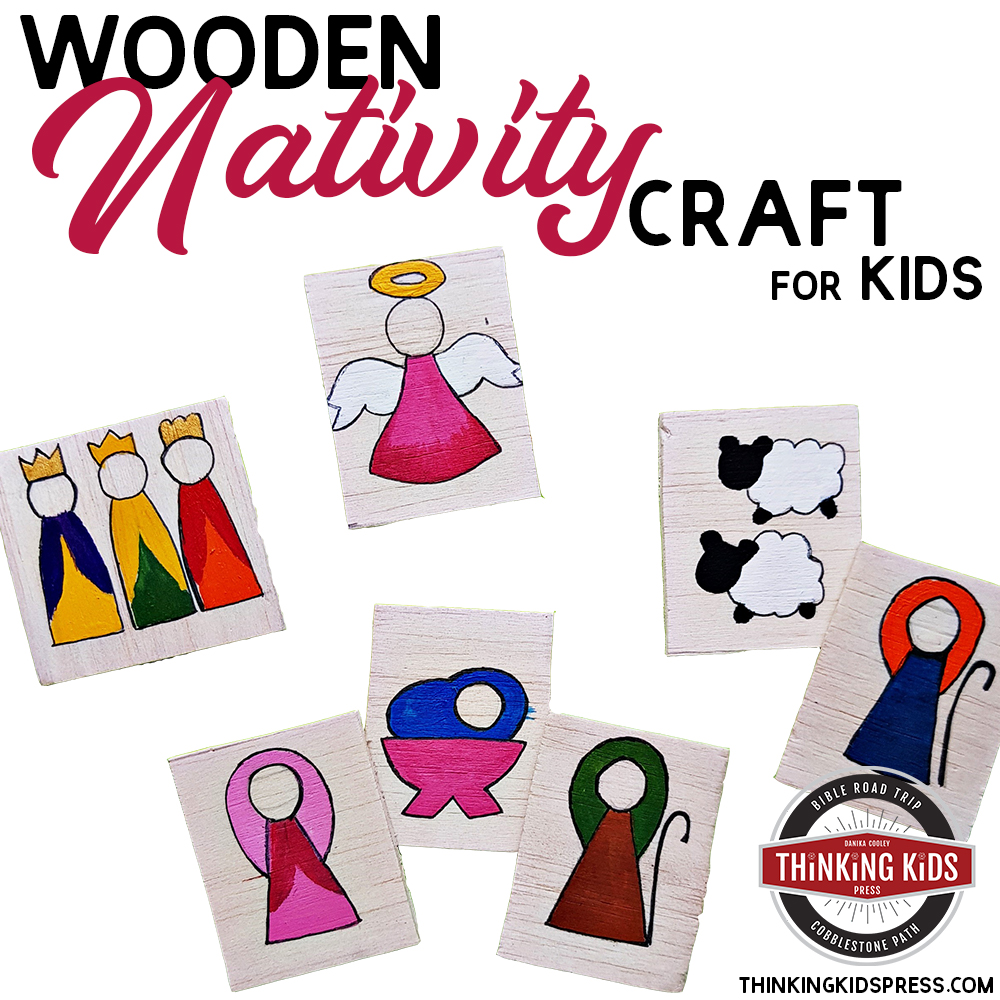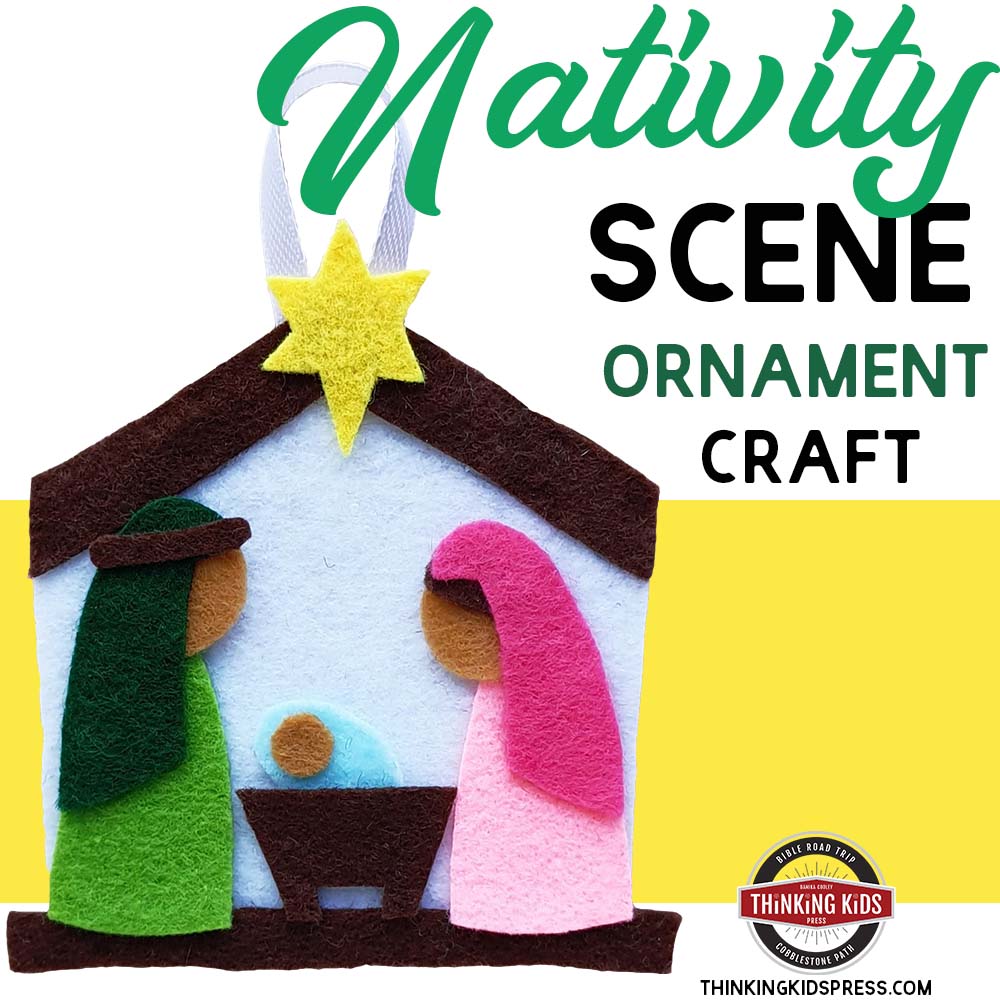
Building this fun, easy clay Nativity scene is a wonderful way for kids to consider the Bible story behind the Nativity manger scene.

This Christmas, spend a little time making this fun foam clay Nativity scene with your kids! It’s something you can do in an afternoon with cups of hot chocolate as you talk about Jesus’ birth.
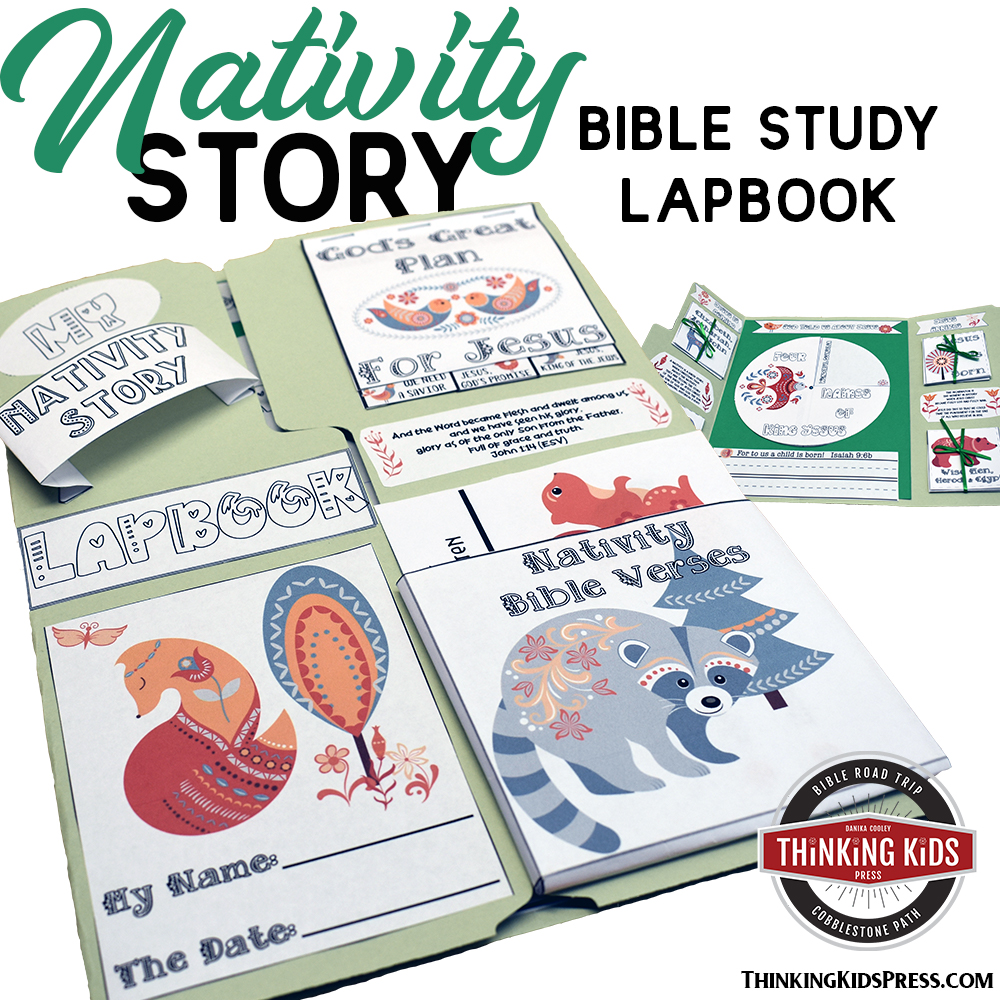
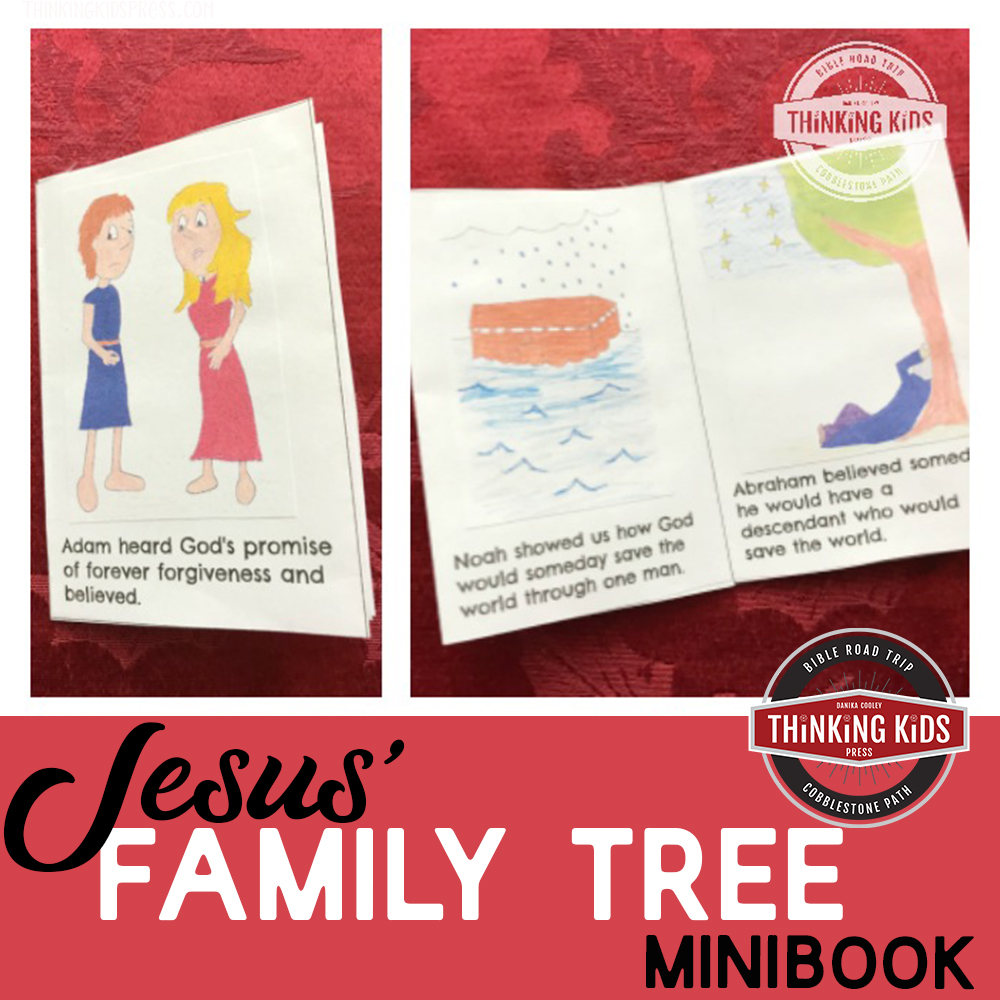
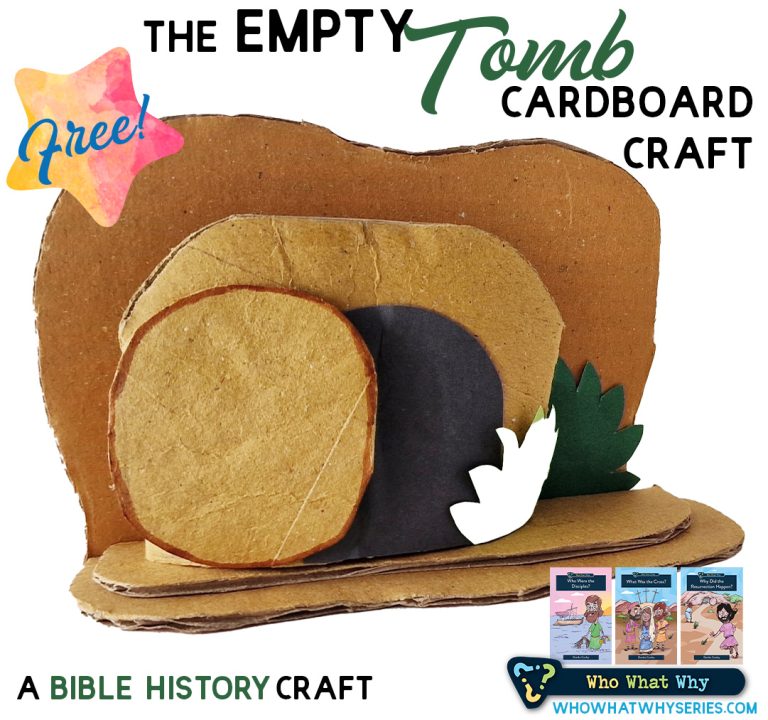
Before starting your Nativity scene, you’ll want to read the Nativity story with your kids. You’ll find it in Matthew 1:18-2:23 and Luke 2:1-40. Consider doing the Nativity Story Lapbook Bible study, too!
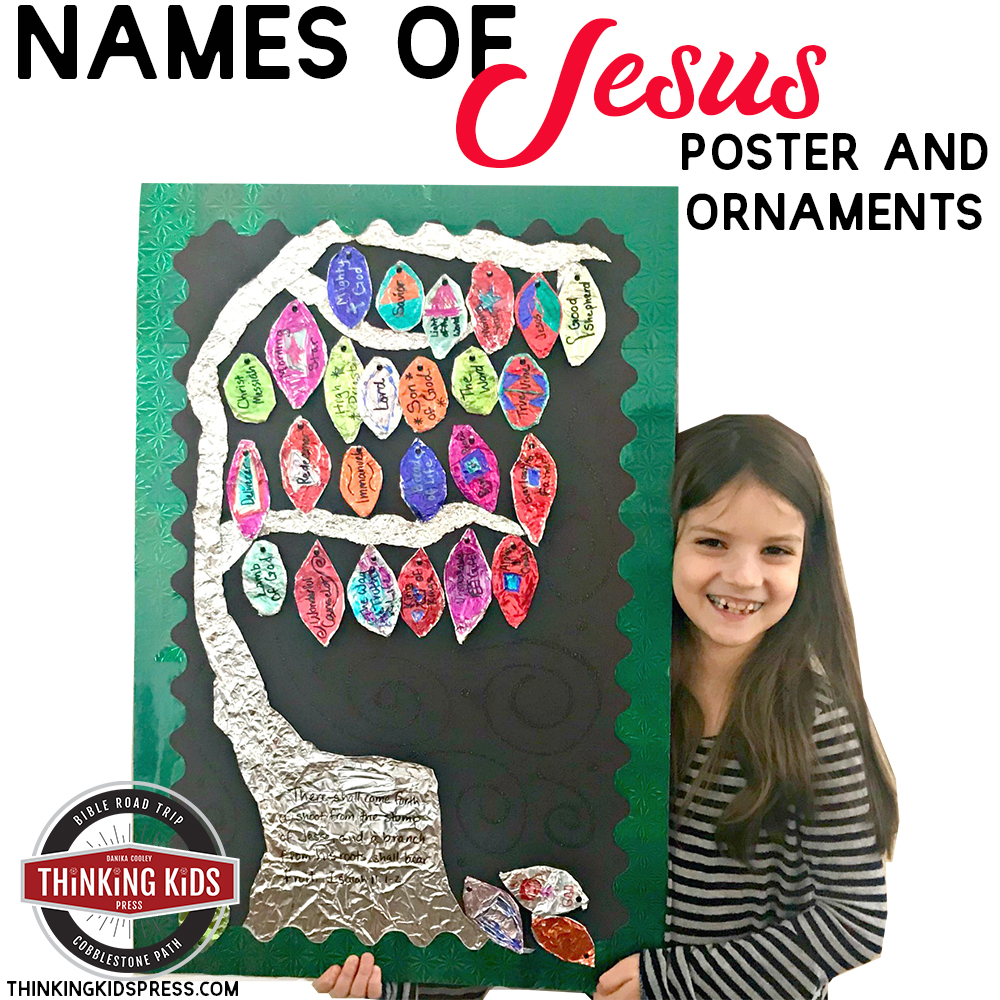
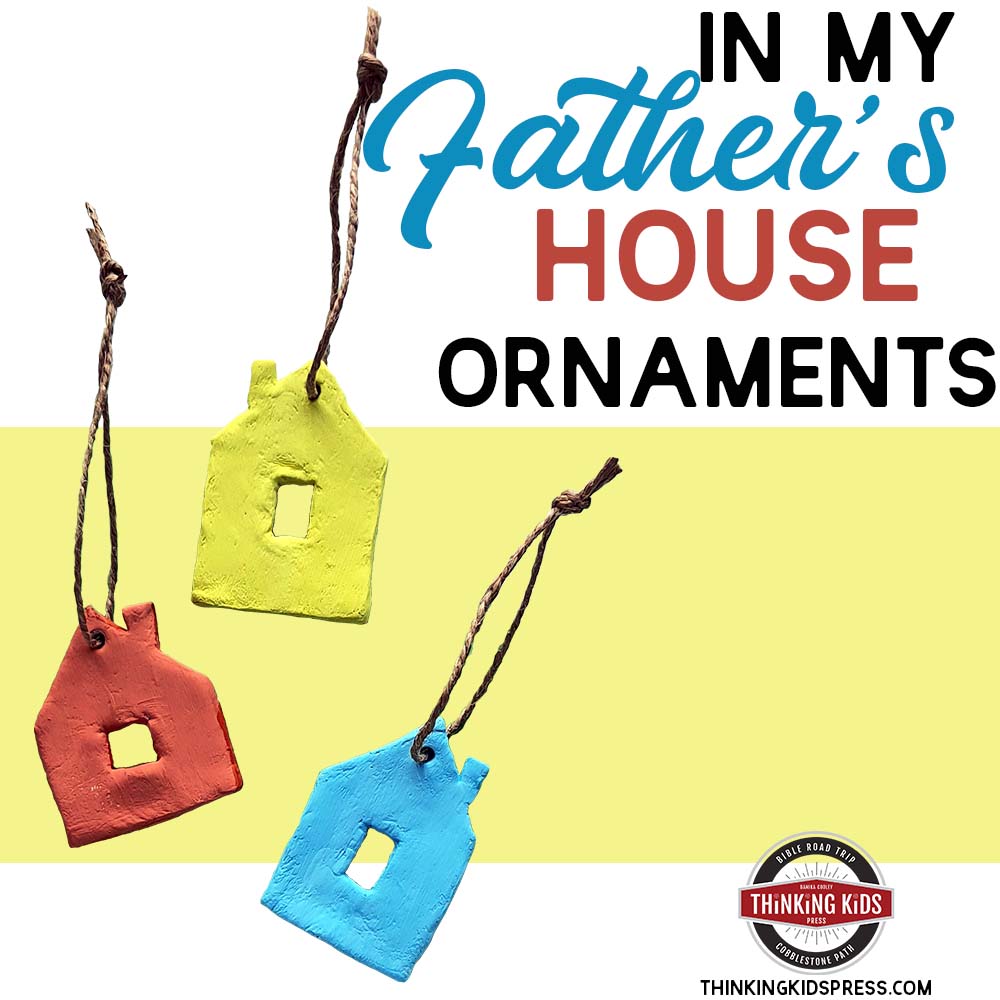
These would make fun Nativity ornaments, as well. Just loop some thin ribbon and hot glue it to the back. You could give sets to relatives and friends as gifts.

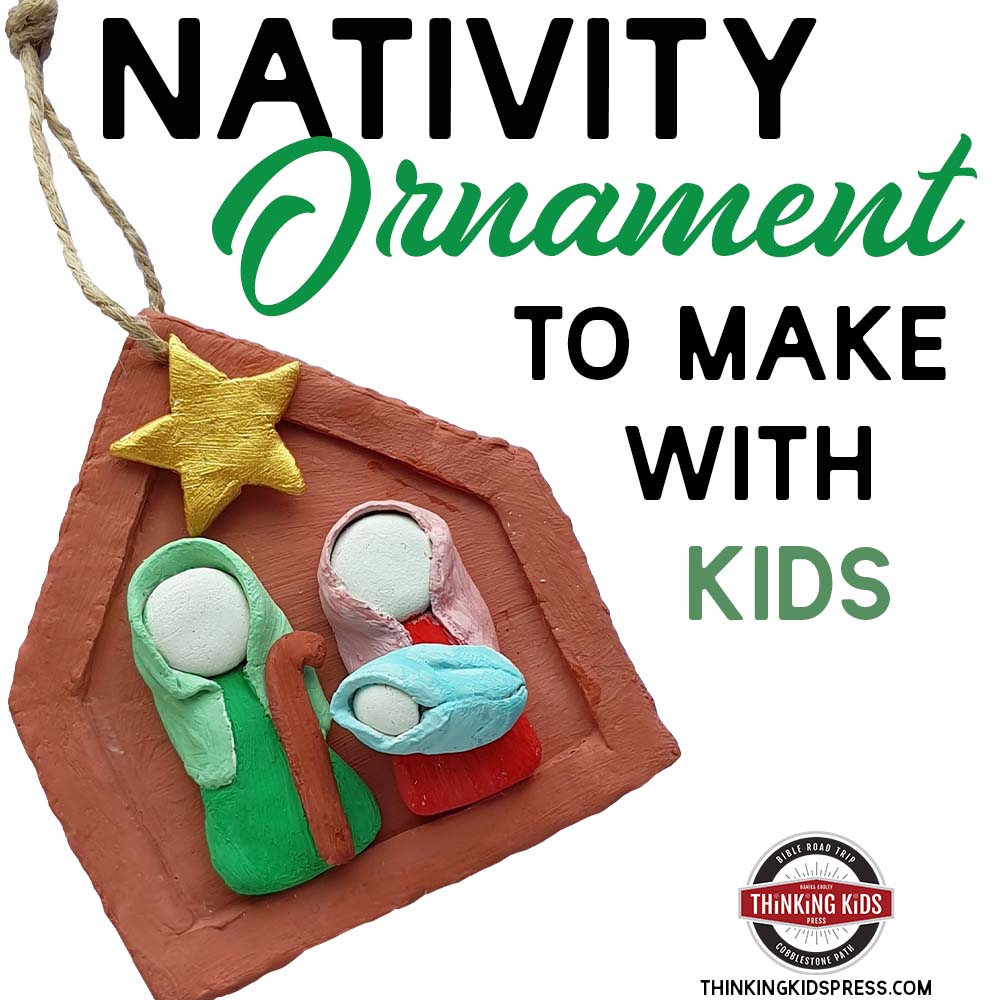
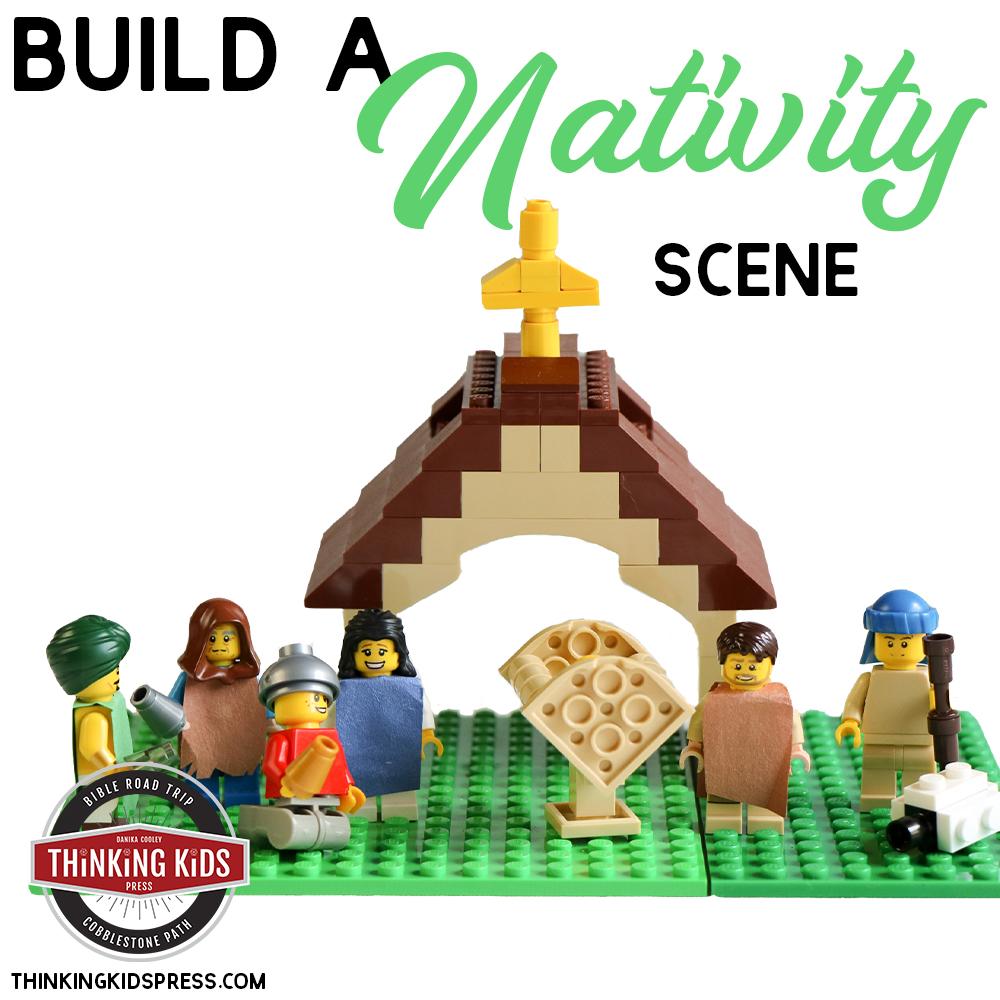
Nativity Manger Scene
Check out this fun Nativity manger scene:

Tips for Art Projects with Kids
Doing art projects with kids can be a challenge. For that reason, many parents forgo this valuable time altogether. As an art major and a parent who has done frequent art projects with my four children, I have a few suggestions for you.
- Cover your space. Use painting drop cloths and plastic to keep your furniture and flooring protected.
- Cover your kids. Grab a couple of your old T-shirts and throw them over your kids, buy them painting aprons, or designate clothes specifically for crafting.
- Do the prep work in advance. Do as much prep work for a project as you can before you get the kids involved. Not everything on the page needs to be their work. It’s OK to help.
- Schedule several short sessions for one project. Children need several days to be able to create larger projects. Art is time-consuming and requires energy.
- Encourage your kids. Children are likely to be frustrated by the disconnect in the artwork they envision and the art they actually create. Remind your kids that they improve every time they create, and tell them how much you love their work (even if you don’t know what it is!). Also, stick figures are fabulous.
- Operate the hot glue gun. Hot glue burns are terrible. Until your kids are old enough to cook, I’d advise you do the hot gluing.
Clay Nativity Scene Supplies
You’ll need a few supplies to make your Nativity set.
- Foam clay
- Clay tools set


Manger Scene Instructions
Follow these simple steps to make the clay manger scene craft for your kids. Use the tools to be sure the pieces stick together.
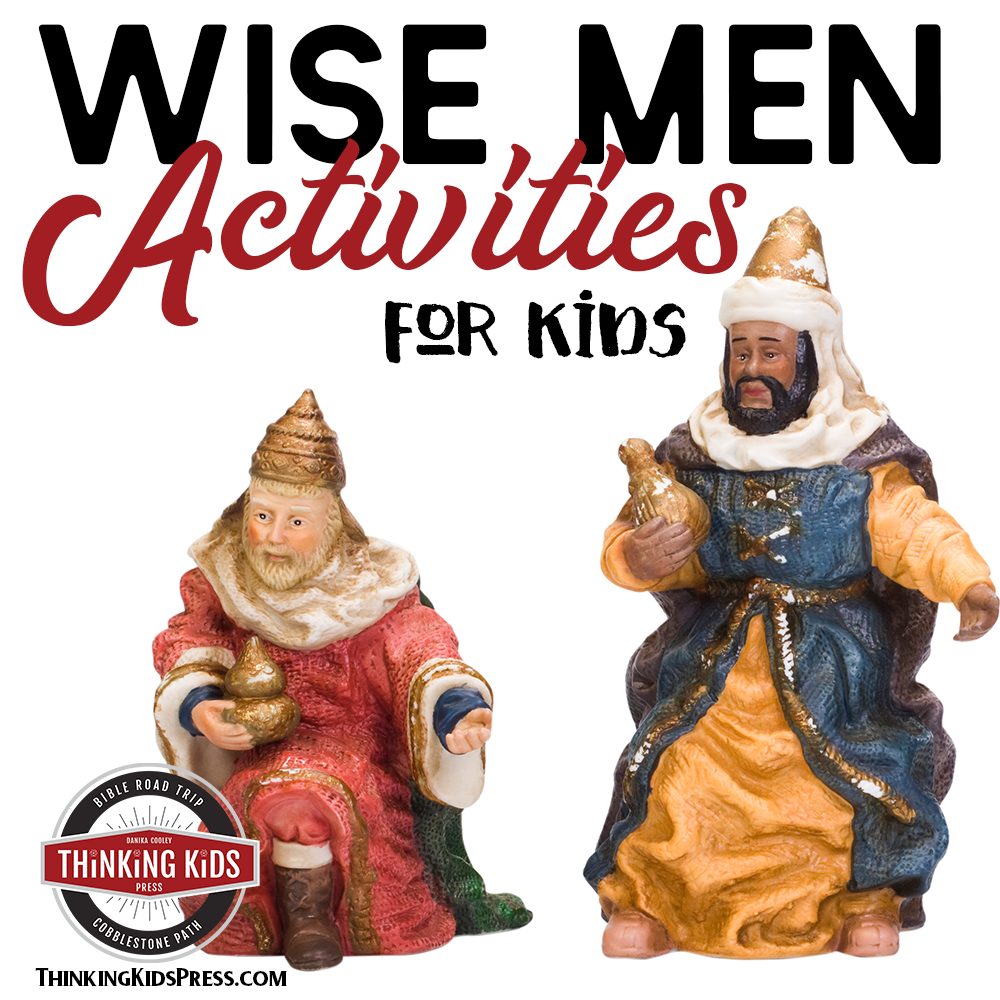
1) Construct the Magi.
You’ll follow these steps for each of the magi. Your kids can decorate them in any way they’d like. Because the magi were wise men, and probably well positioned in their societies, they are sometimes portrayed as kings.


Form the clay ball for the body into a teardrop shape.

Flatten the bottom side of the teardrop by pressing it on the table.

Use a finger or a ball pin tool to make a hole in the bottom of the figure to help it sit firmly on the table.

Place the brown clay ball on the body and press down slightly to attach the head to the body.

Flatten the clay for the beard and shape it into a triangle.

Use a clay tool to make lines in the beard, then attach it to the bottom of the head, as shown.

Make two small teardrop shapes and attach them to the face to create a mustache, as shown.

Make a small rectangular shape and place it onto the head, smoothing out the ends. Then, make hair on the other side in the same way.

Roll some clay into a rope and wind it twice to create a turban.

Make a top on your turban and place it on the head of the magi.
 Flatten a piece of clay into a shawl and wrap it around the magi.
Follow the steps to create the other magi.
2) Construct Joseph.

Follow the steps above to create Joseph.

Flatten a round piece of clay for the headscarf.

Put the scarf on the head, as shown.

Roll a thin rope and wrap it around the headscarf, as shown.
These are the steps you will use to make the shepherds, but you will roll a piece of clay into a staff, as well.
3) Construct Mary.

Make Mary’s body, head, and hair the same way you made the magi’s.

Roll out a small cylinder. Flatten it to make a cloak.
 Put the cloak on Mary.
4) Construct baby Jesus in the manger

Make a brown cylinder for the manger.

Flatten each side.
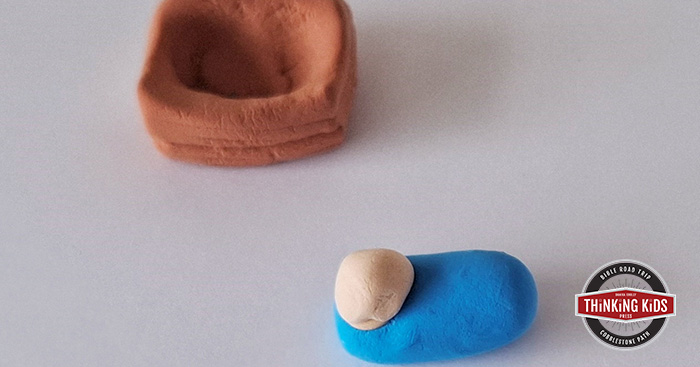
Make an indentation in the manger for the baby. Roll a cylinder for the baby and apply a head.
 Wrap the baby in a flattened ball for the blanket and place the baby in the manger.
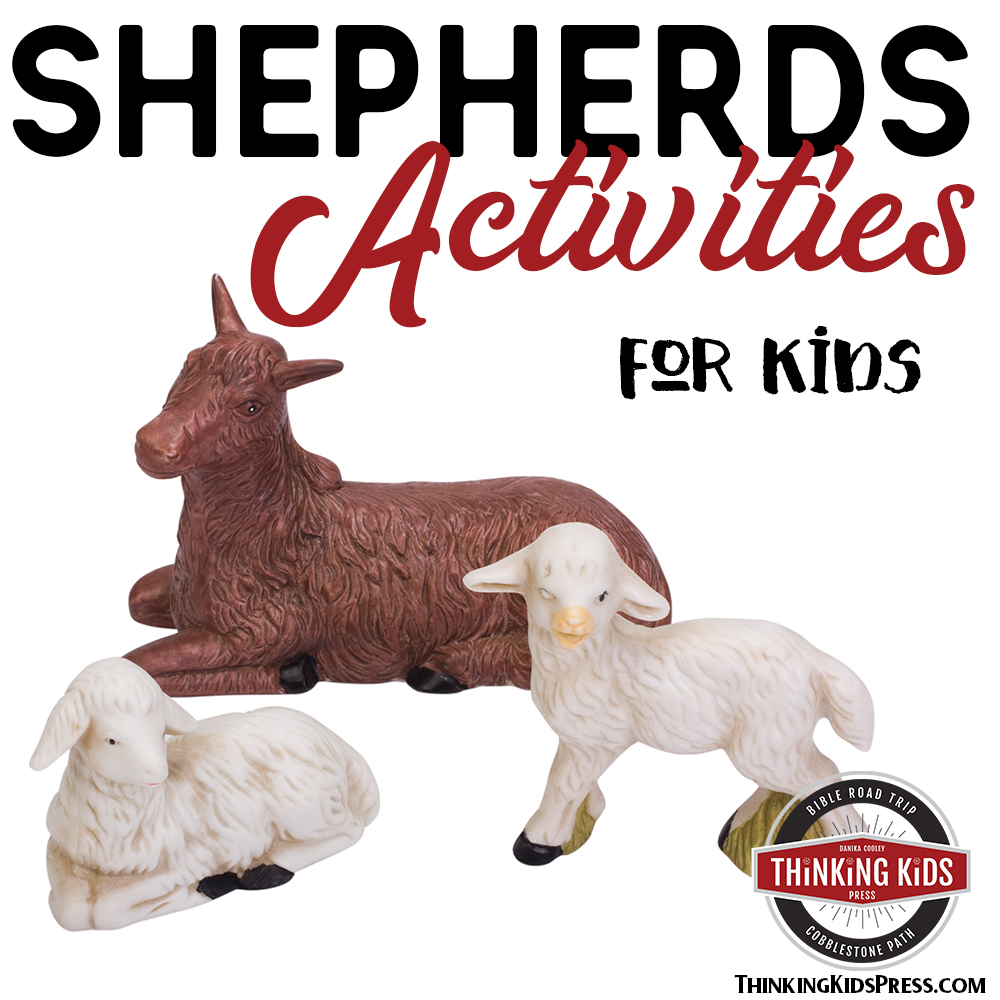
5) Construct a shepherd and sheep

Roll a white ball and flatten it on one side.

Make a hole in the flat side.

Roll a small ball, in a different color for the sheep’s head, and place it on top of the sheep’s body. Make small balls and attach them to the sheep’s head, as shown.
 Roll brown clay into a thin rope shape. Cut two small sections and roll them. Attach the long end to each side of the sheep’s head, as shown, to create horns.
6) Display your child’s clay Nativity scene.


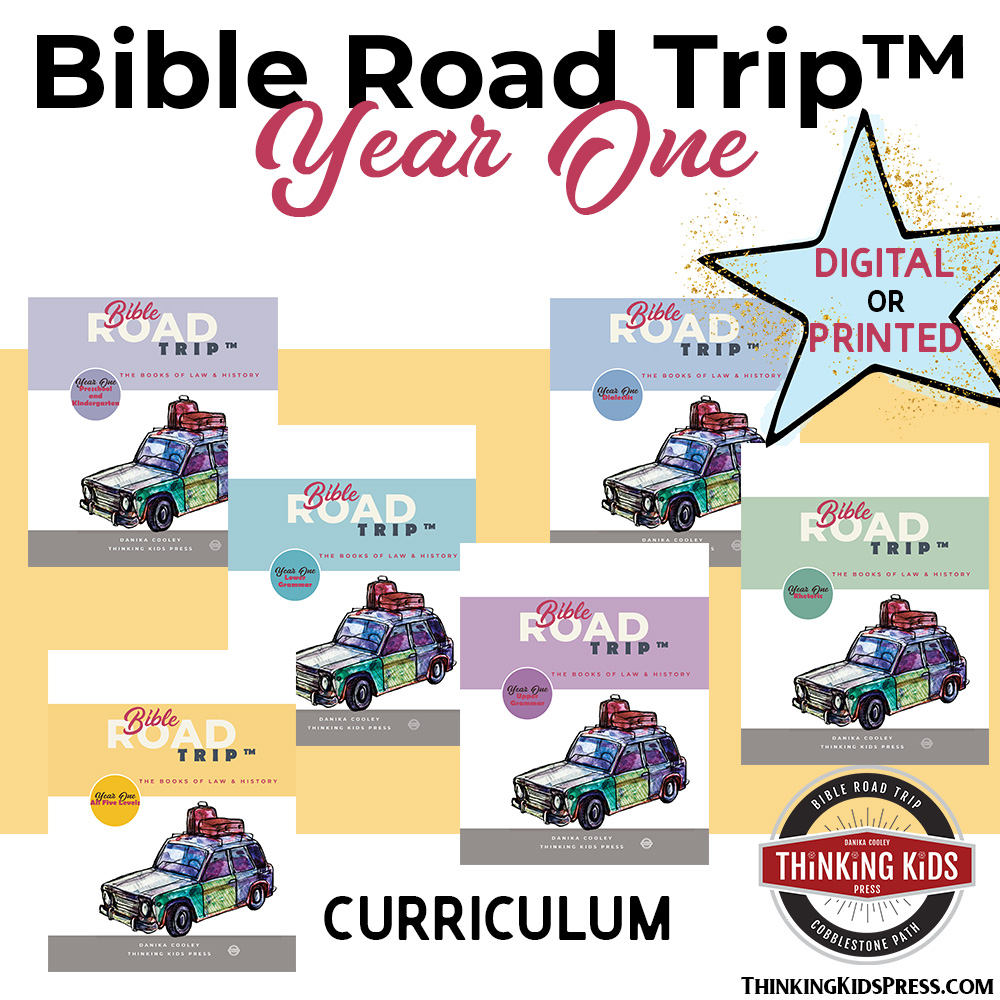
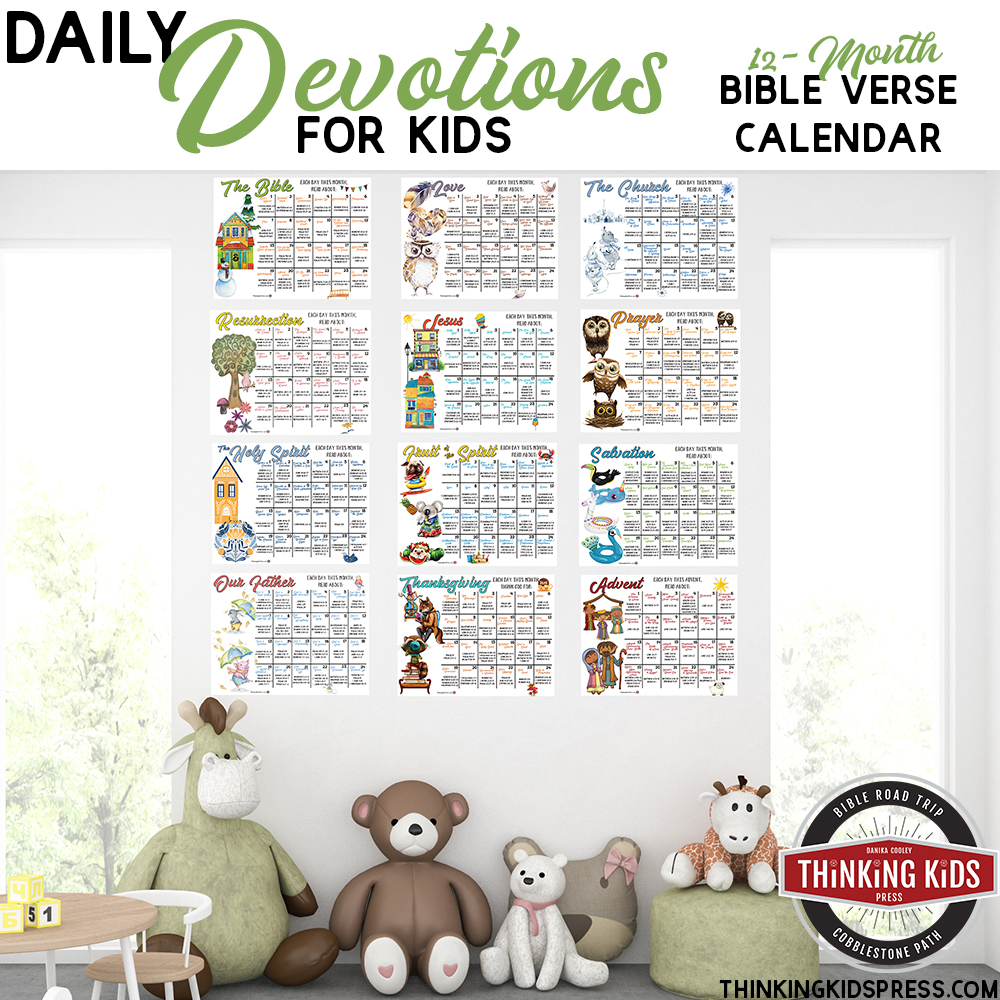
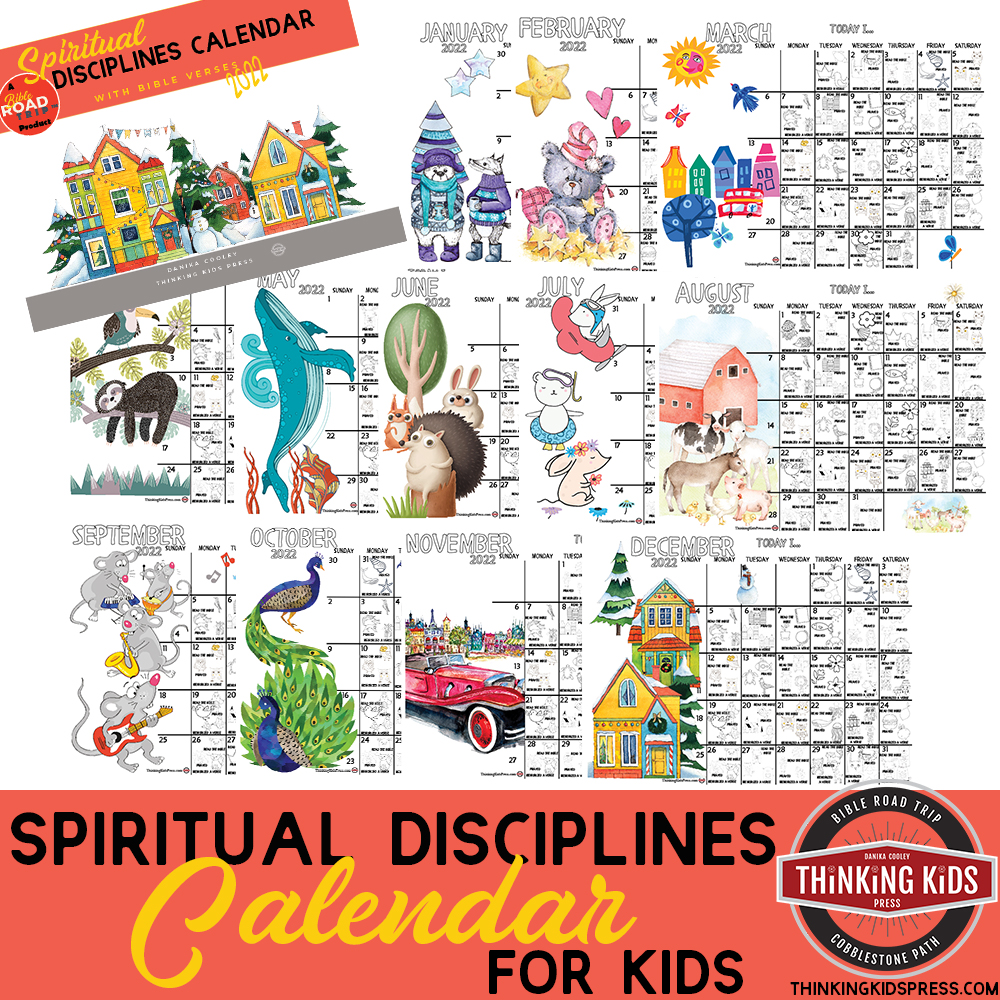
Your 12-month Bible verse calendar has themed devotions focusing on:
- The Bible
- Love
- The Church
- Resurrection
- Jesus
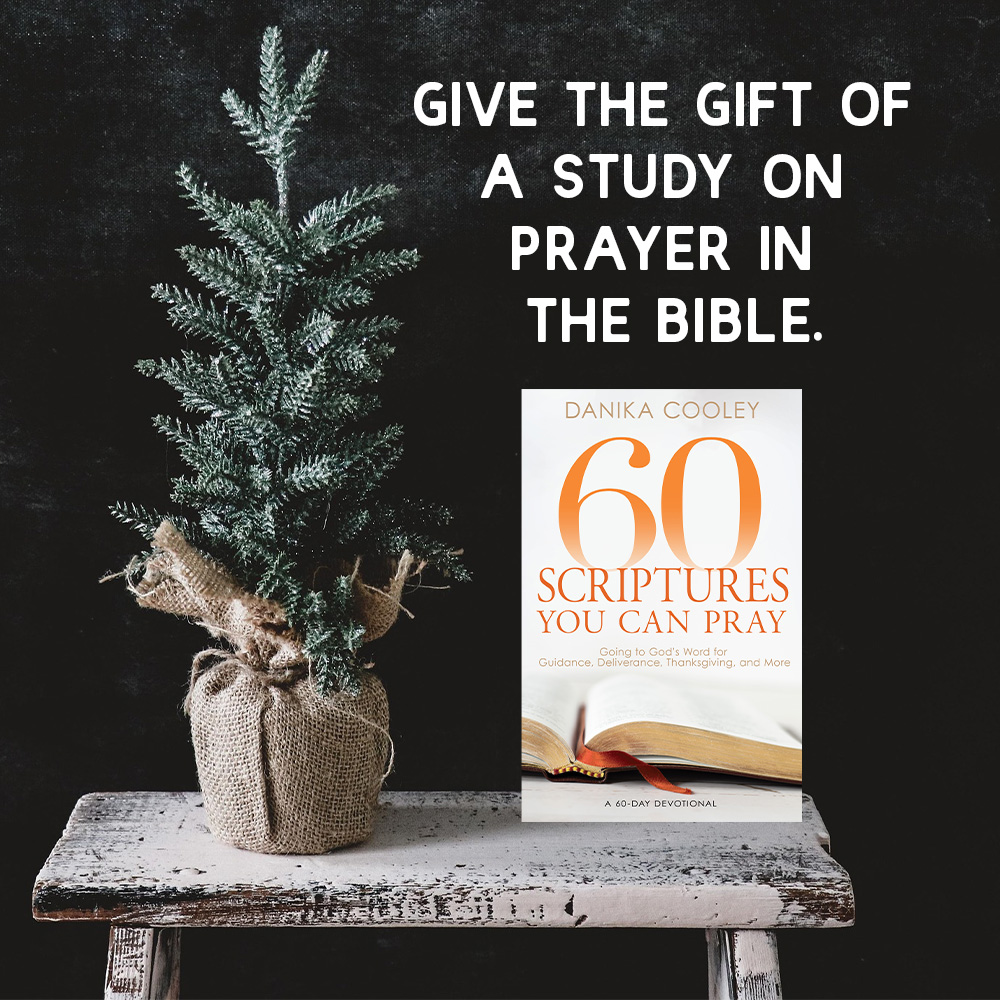
- Prayer
- The Holy Spirit
- The Fruit of the Spirit
- Salvation
- Our Father
- Thanksgiving
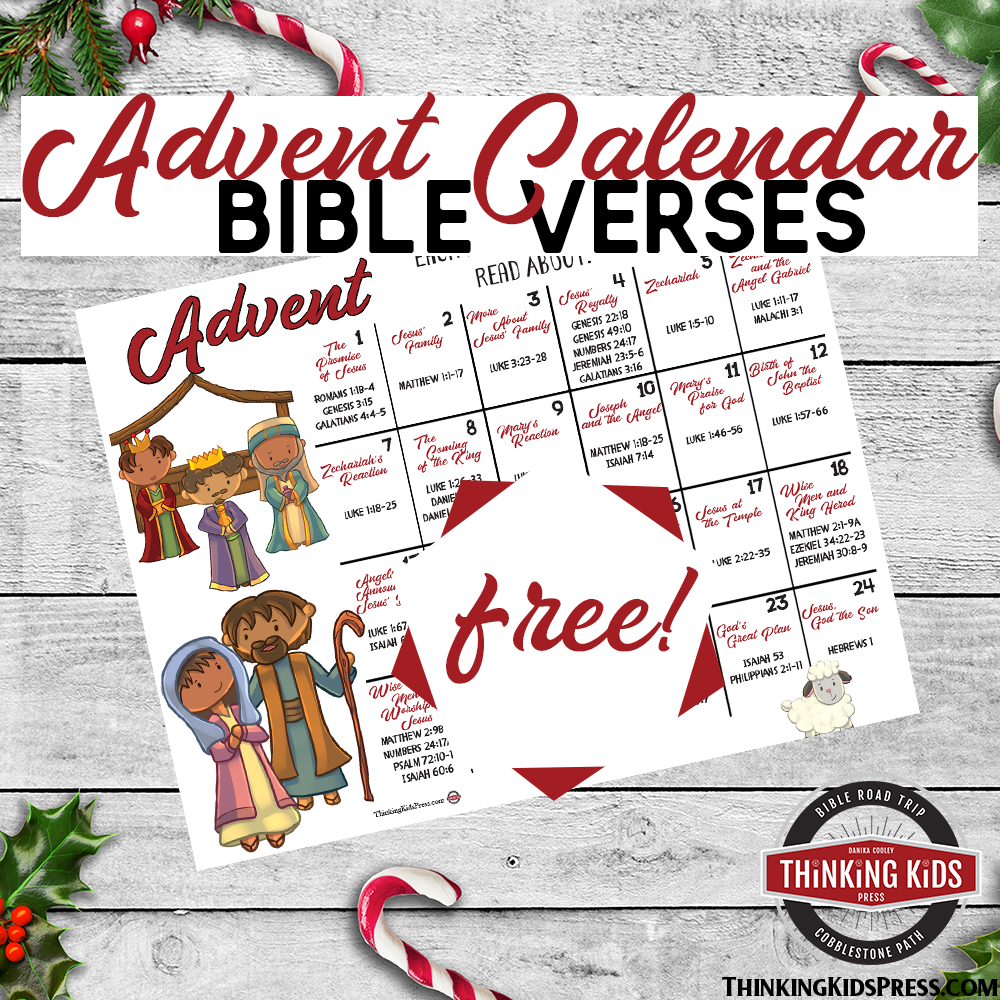
- Advent
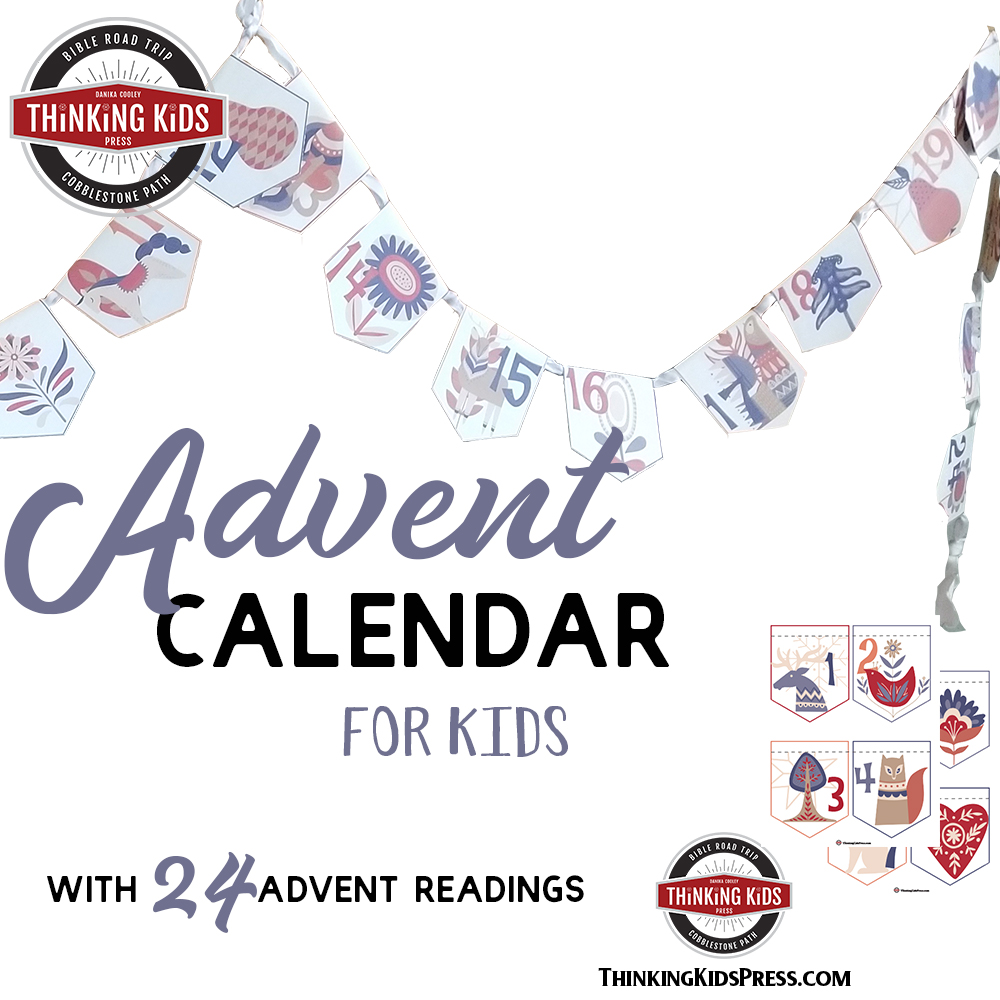
Want a sample calendar? Grab your free Christmas Advent calendar here.
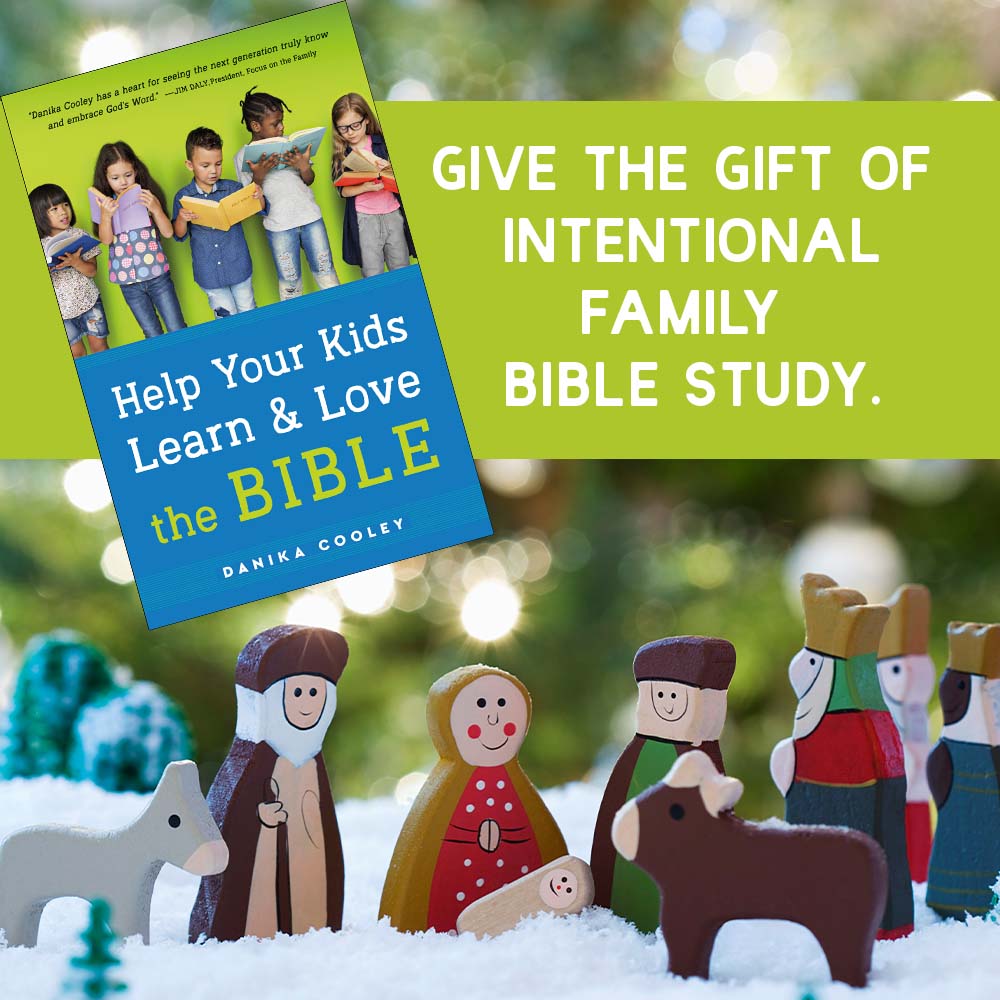
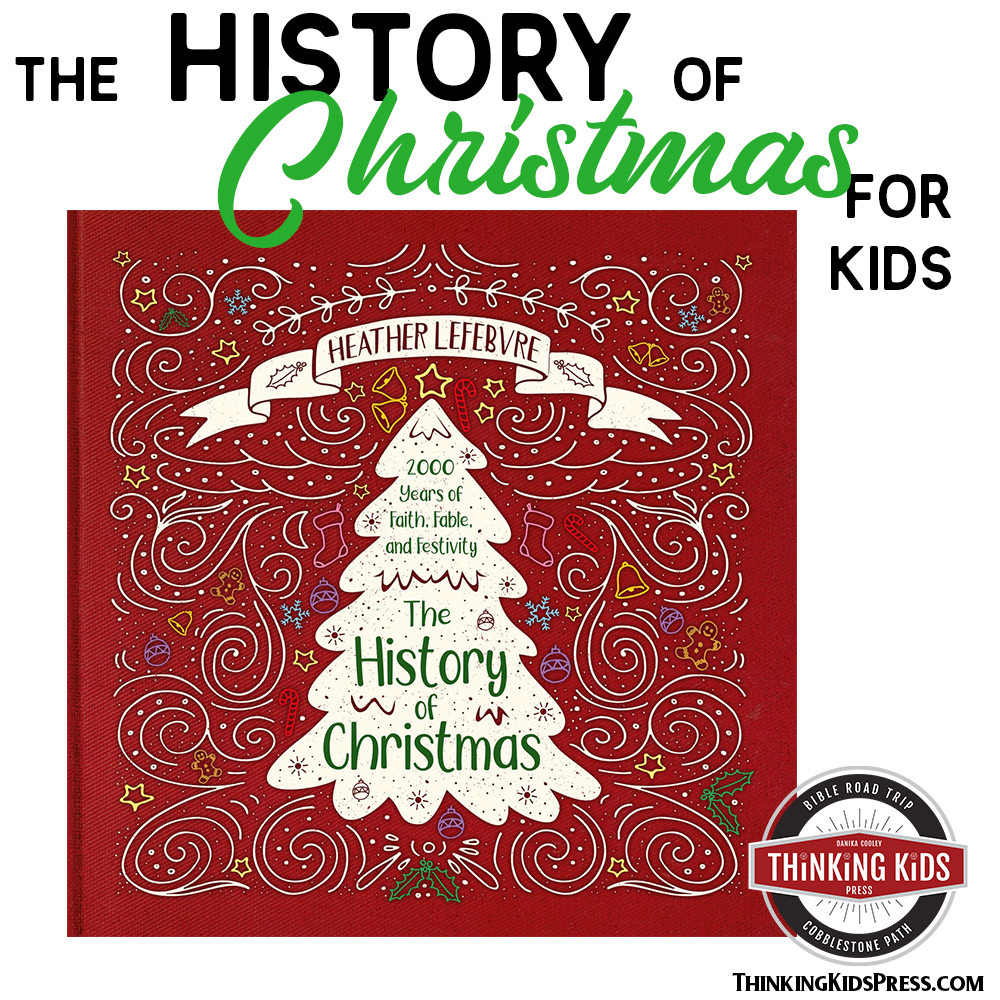
Books Make Great Gifts!
Teach the kids about the Bible and Christian history…
…with fun books they’ll love reading!
Introduce your children to engaging stories written in an engaging narrative they’ll want to read. As they learn more about God’s Word and gain real-life heroes, they will learn to apply Scripture to their own lives. And, give yourself the gift of a book that will help your kids learn and love the Bible.


More Thinking Kids Posts You’ll Love!