And God saw everything that he had made, and behold, it was very good. And there was evening and there was morning, the sixth day.” – Genesis 1:31, ESV
When my kids were young, we did a lot of food crafts. They were fun, (mostly) easy, everyone had a good time, and there was eating at the end of it. How cool is that?
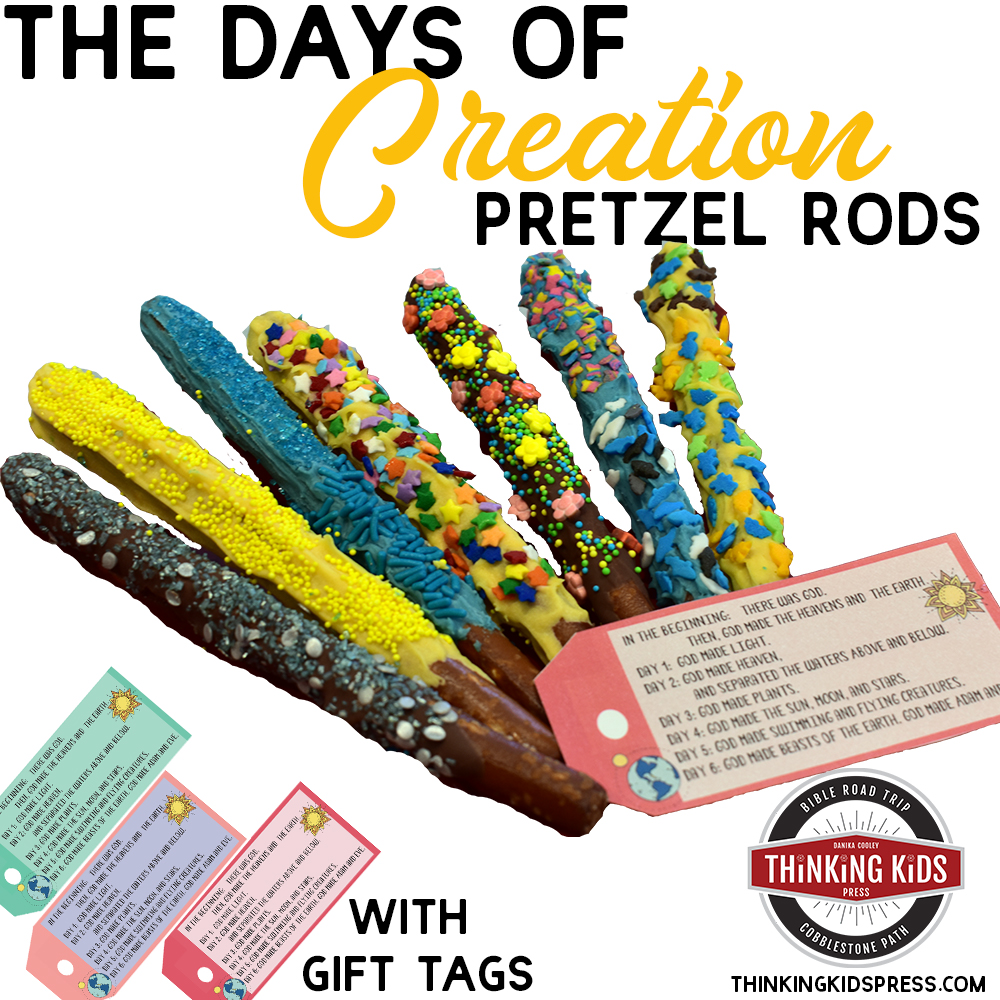
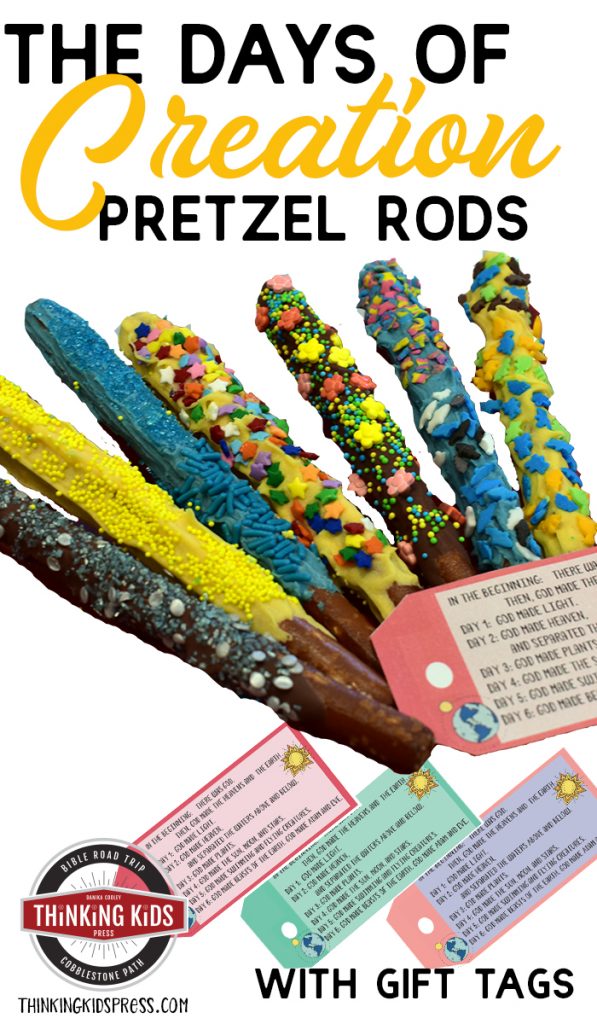
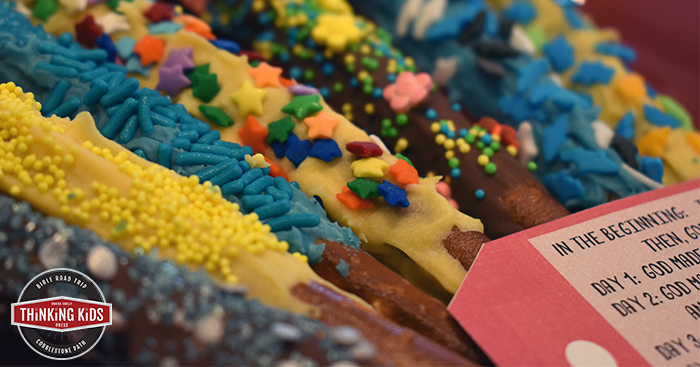
While brainstorming ideas for a 6 days of Creation snack, I thought that decorating chocolate covered pretzel rods would be a great way for kids to learn about the days of Creation in a fun, hands-on way. They have less sugar than, say, decorating seven cookies or cupcakes. They’re quick and easy, and they keep fairly well. Also, they involve sprinkles, which I might be a little obsessed with. I love themed sprinkles!
What’s not to love?
Nothing.
In case you missed that… there is everything to love about decorating these super fun pretzel rods with your kids as you teach them about the days of Creation in Genesis 1.
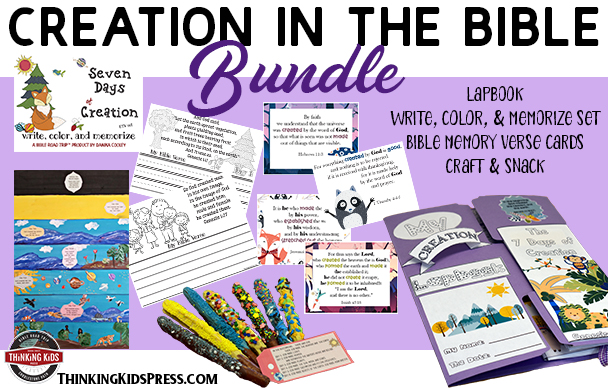
AND, you can grab the sequence tags to cut out and use as you discuss the days of Creation with your kids, or as gift tags if you want to package your finished pretzel rods and give them to the neighbors or send them home with children you’re teaching!

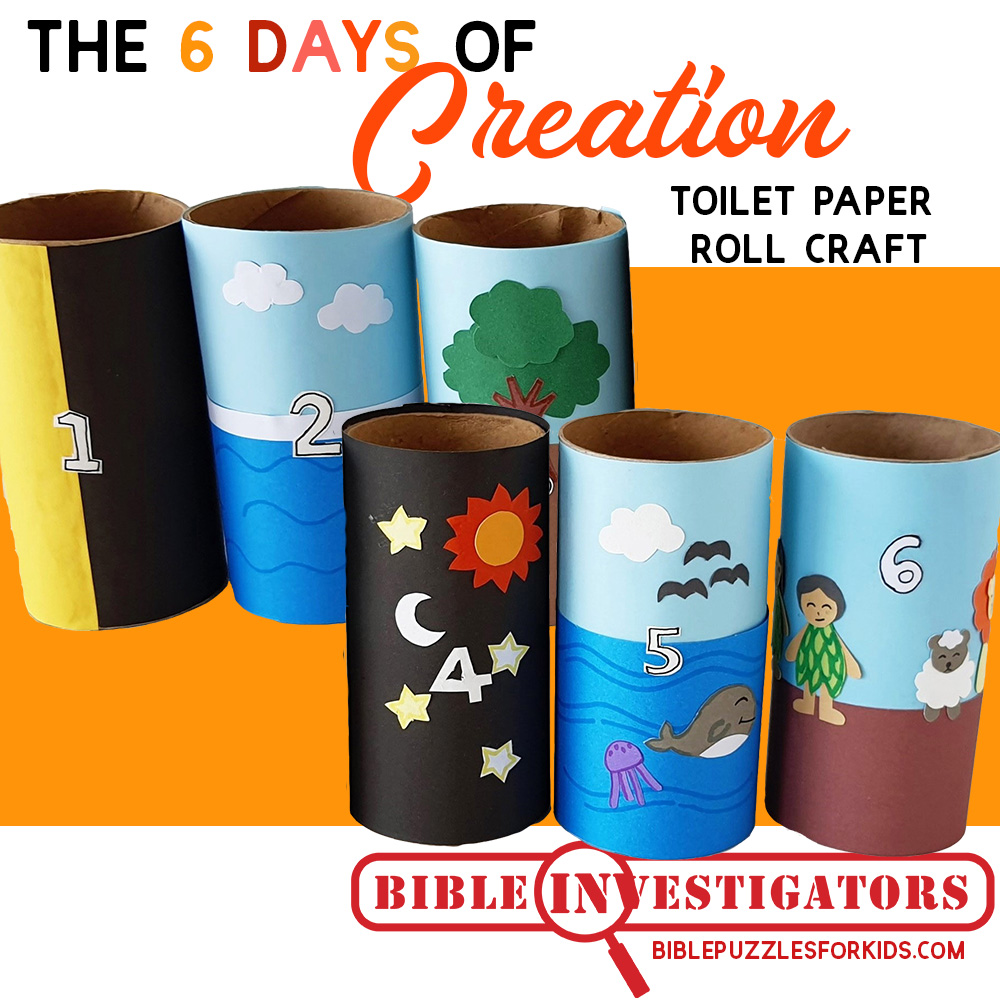
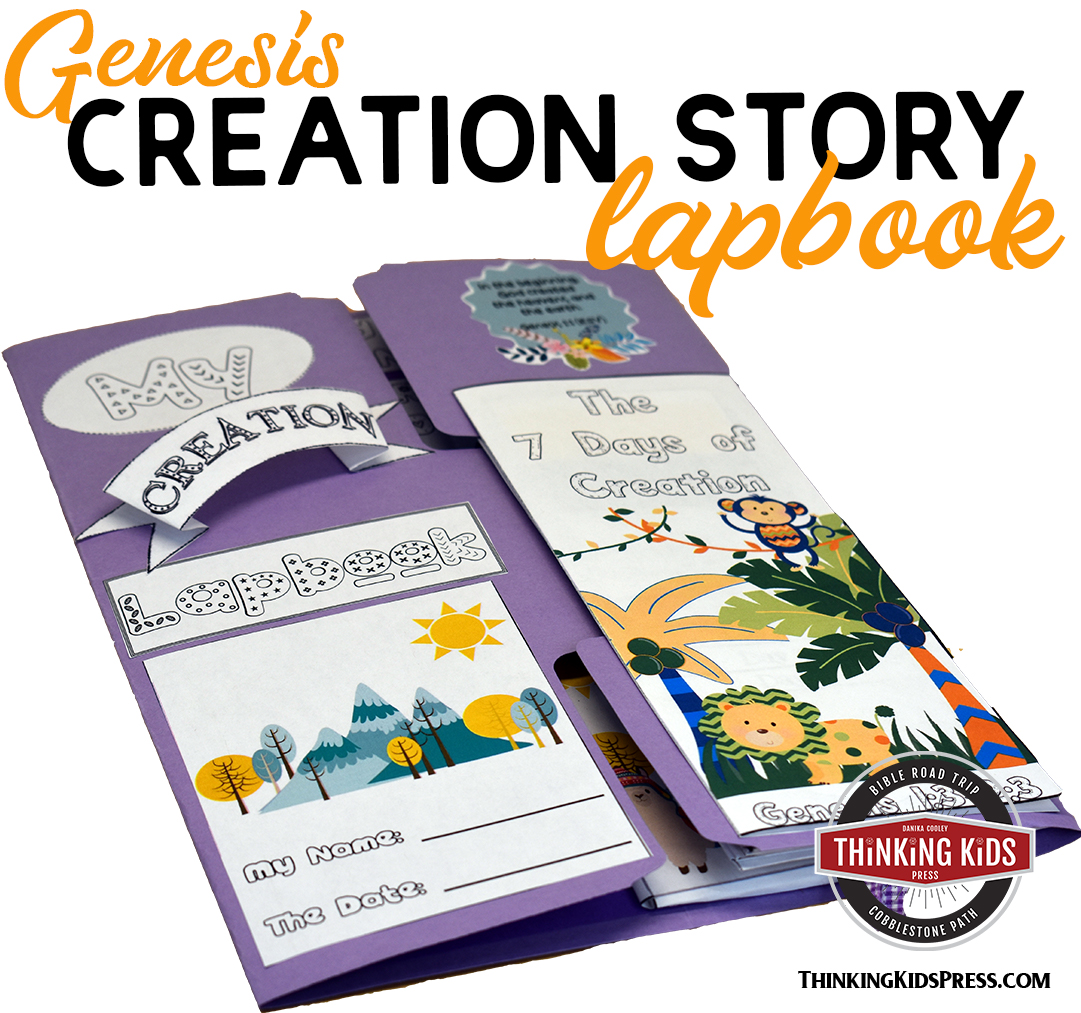
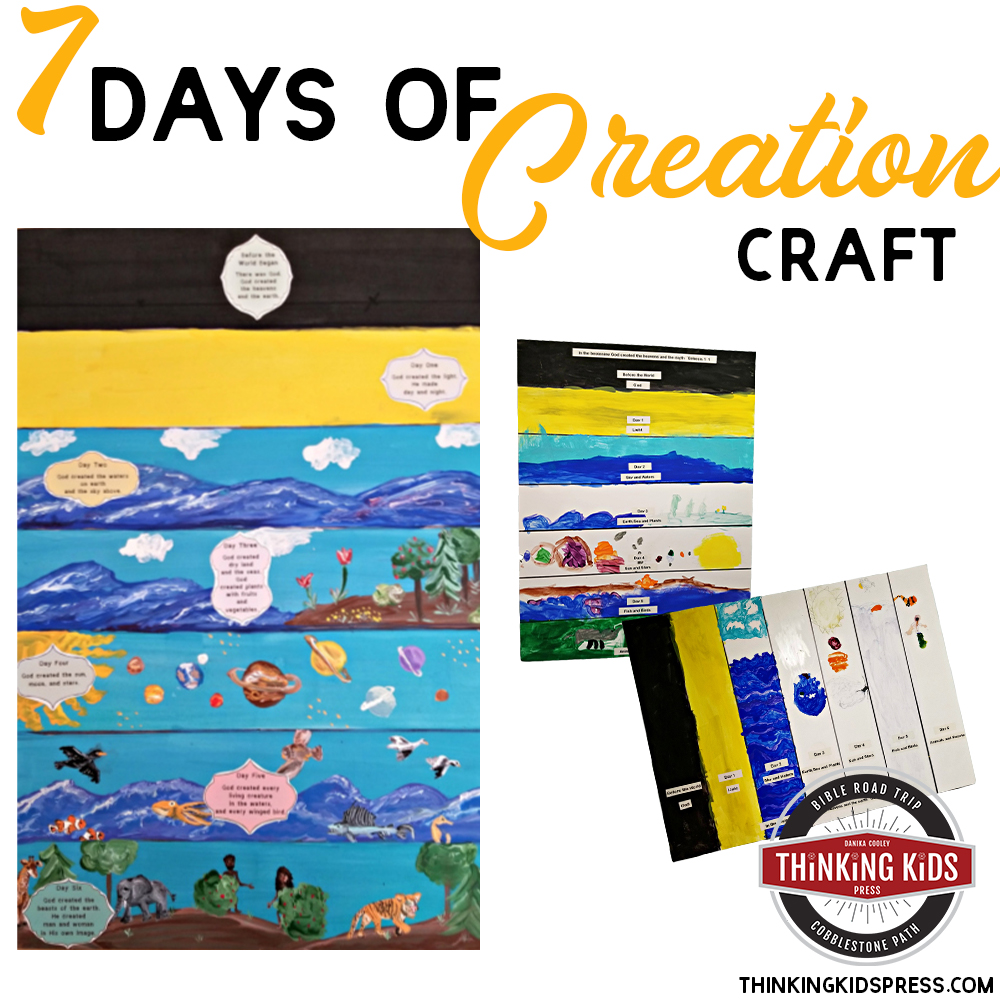
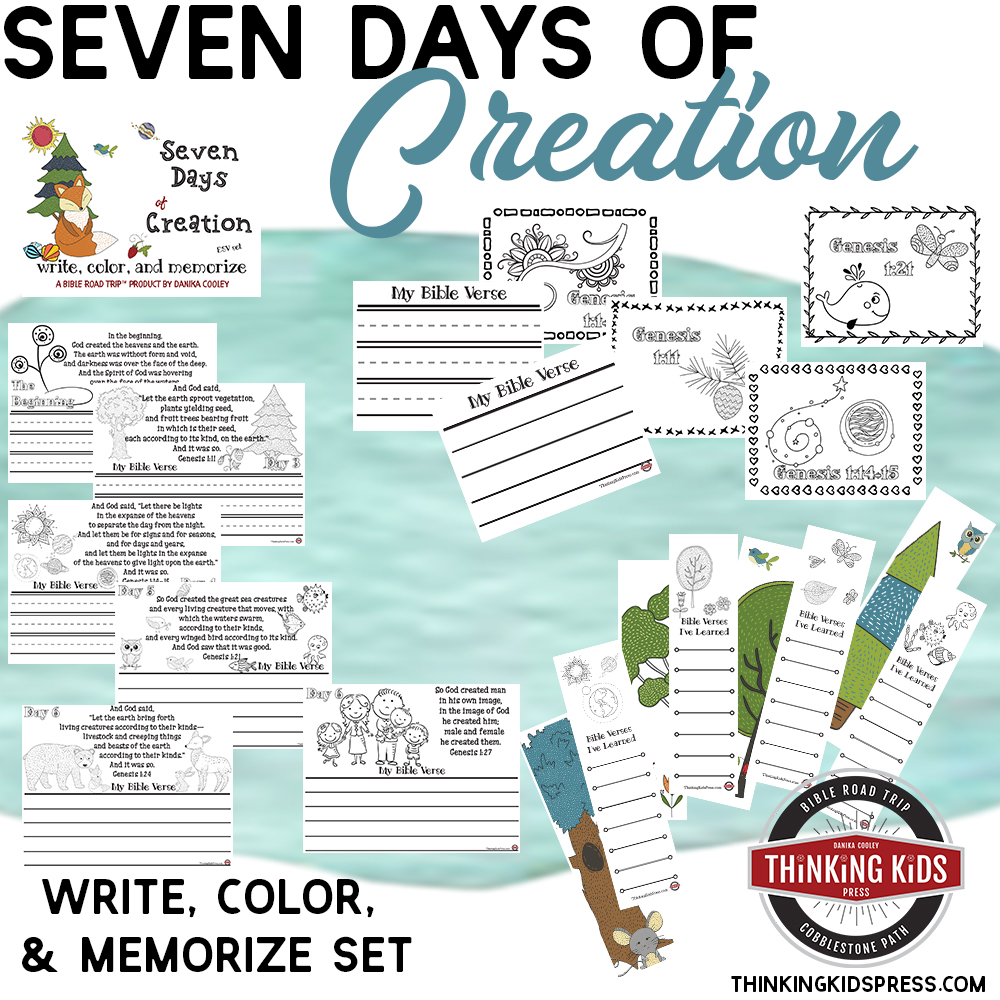
The Days of Creation
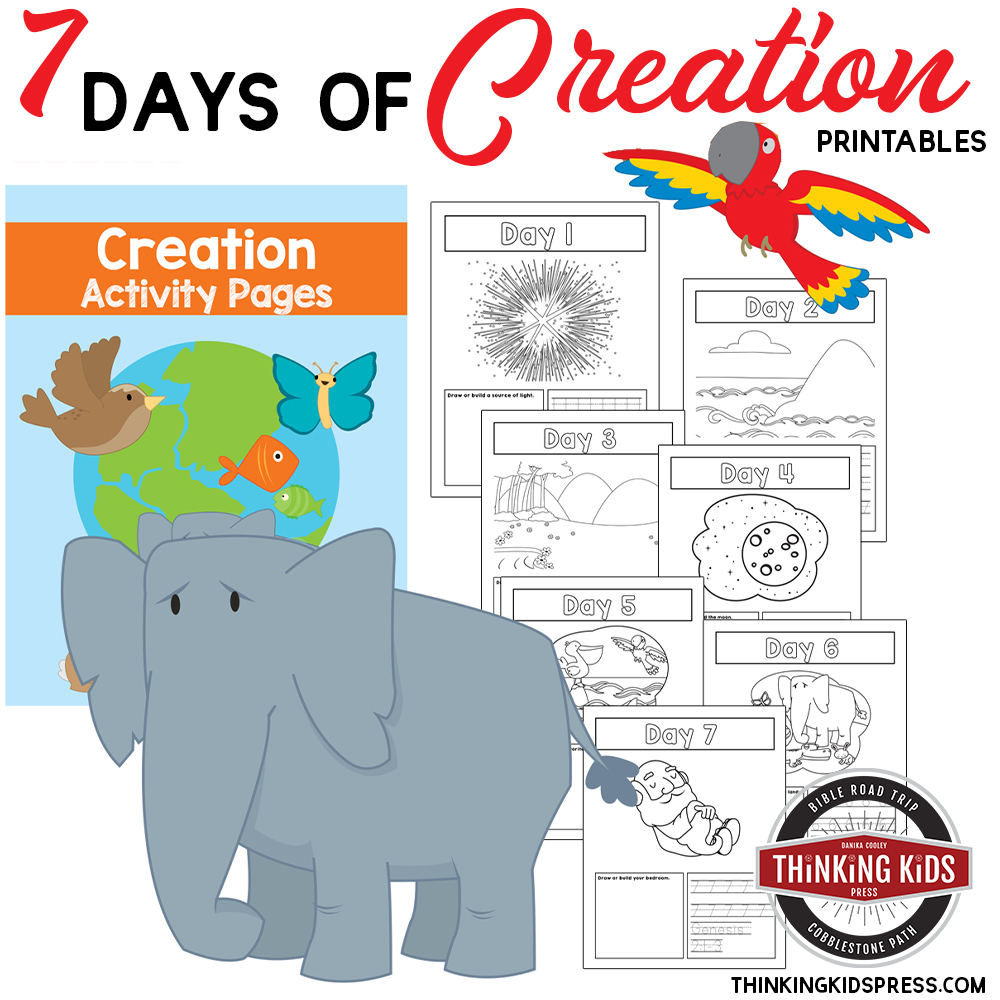
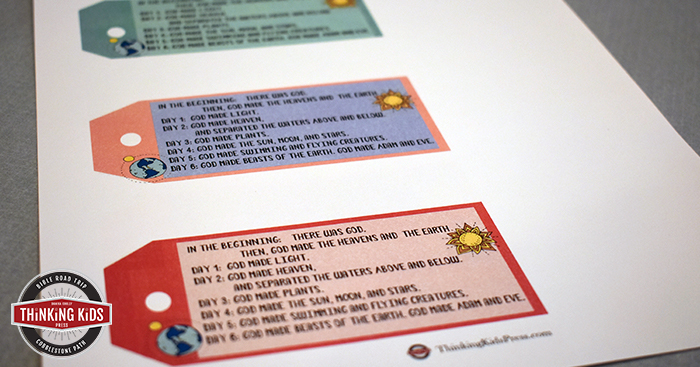
To help you talk easily about the days of Creation with your children, I’ve put together a set of printable tags.
Each sequencing tag talks about the 6 days of Creation (including Day 0–before Creation began):
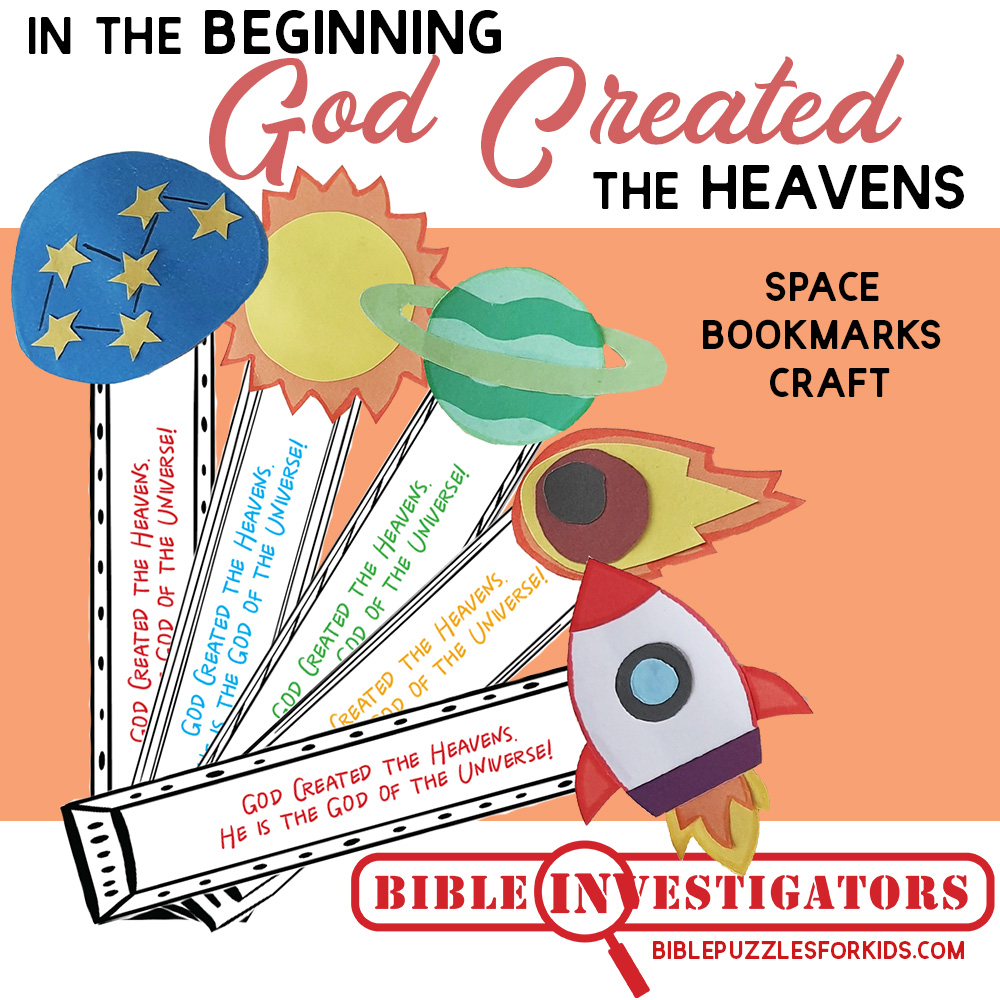
- In the Beginning: There was God. Then, God made the heavens and the earth.
- Day 1: God made light.
- Day 2: God made heaven, and separated the waters above and below.
- Day 3: God made plants.
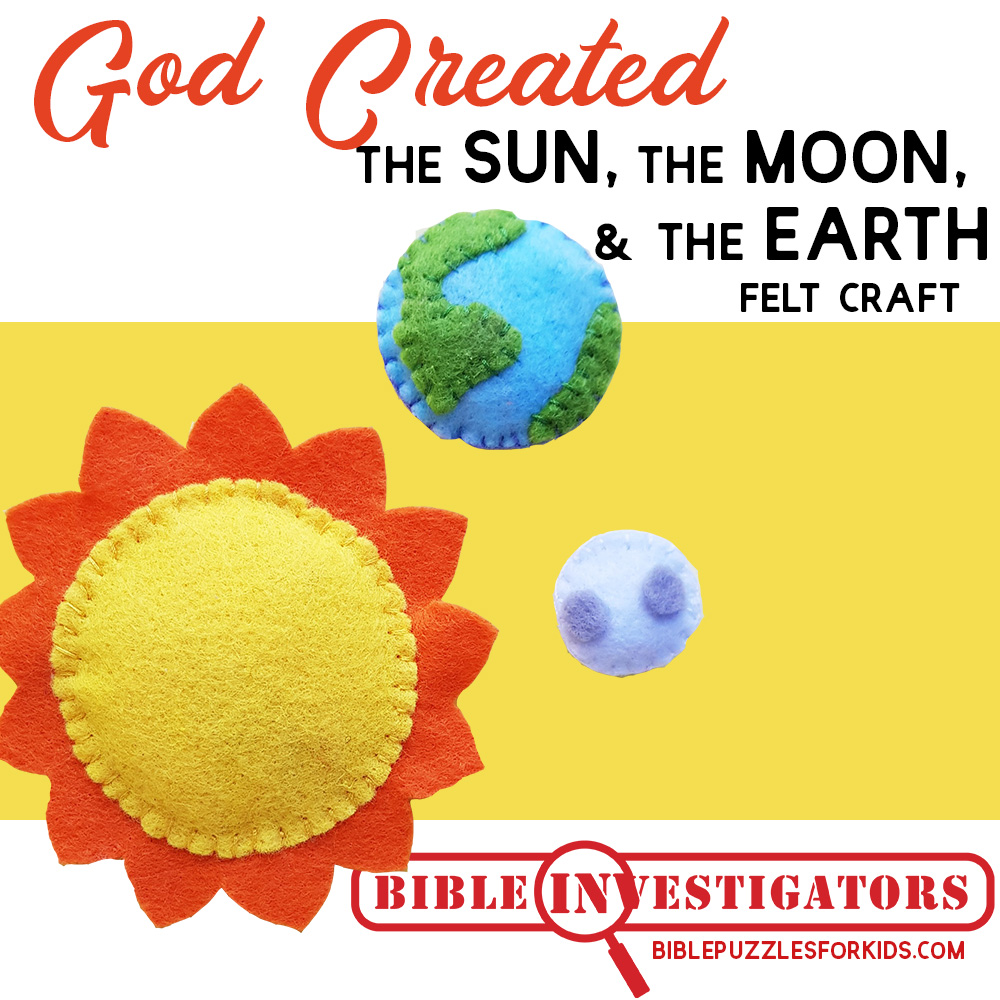
- Day 4: God made the sun, moon, and stars.
- Day 5: God made swimming and flying creatures.
- Day 6: God made beasts of the earth. God made Adam and Eve.
You can register below for the sequencing tags, but first, check this out…
Chocolate Covered Pretzel Rods
Check out this fun video I made of the chocolate covered pretzel rods, decorated for each of the 6 days of Creation!
Tips for Making The Days of Creation Chocolate Dipped Pretzel Rods with Kids
Working on snack projects with kids is so much fun, but it can be a challenge. If you choose to involve your kids, I have a few suggestions for you.
- Expect a mess. Put your child’s long hair up, wash little hands, and have them wear washable clothes.
- Prepare the food before hand. For little ones, the real fun is in the decorating, so do as much of the prep work as you can before you involve the kids.
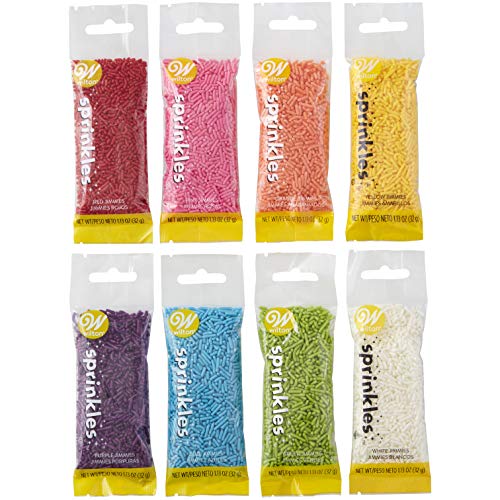
- Keep basic supplies on hand. I’m embarrassed to tell you how many types of sprinkles I have. We eat really healthy, but when we celebrate, there are always sprinkles involved. It’s nice to have a little supply of food decorations. You know, for emergencies.
- Set the food to be decorated on a child-size table or on a plastic table cloth on the floor. Nothing ruins the food decorating fun faster than having a child fall off a kitchen stool. Your kids will be intent on their decorating task. They may not remember they’re standing high above the ground. (Don’t ask me how many children fell off before I realized this!)
- It’s OK to do easy. For special celebrations, there’s nothing wrong with using store-made supplies!

6 Days of Creation for Kids Pretzel Rods with Sequence Tags Printable
Sign up for the Thinking Kids newsletter, and you’ll receive encouragement, free gifts, and exclusive offers. Use this form and we’ll send you a coupon code to purchase the Days of Creation sequencing tags and pretzel rod instructions FREE.

- Sometimes readers are concerned about using colored ink. If this is the case for you, there should be a setting on your printer that allows you to print in black and white. Printing in grayscale will still use some color, but it will come out prettier than black and white.
- I recommend printing on white cardstock so the cards will be more durable and the back won’t show through on the front. This is my very favorite cardstock: Neenah Premium Cardstock.
- Just cut them apart, and you’ll have a set of cards!
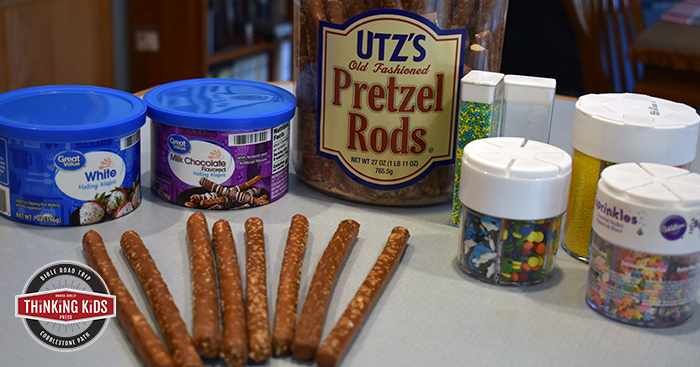
Supplies Needed to Make Chocolate Covered Pretzel Rods
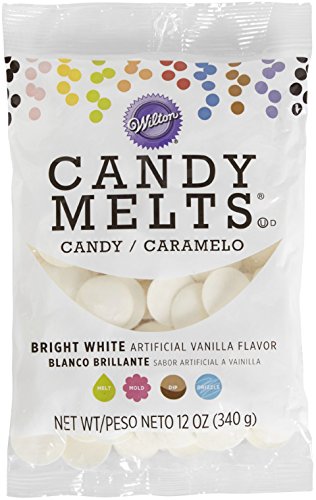
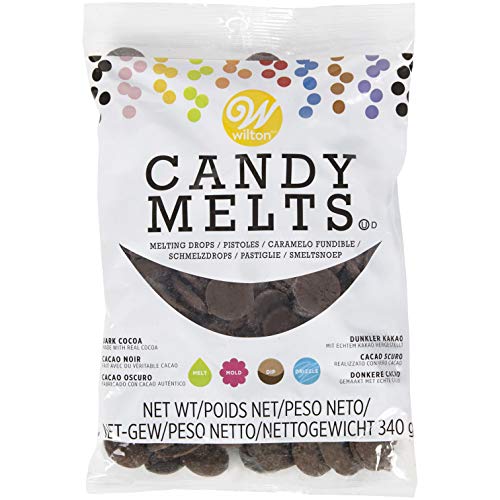
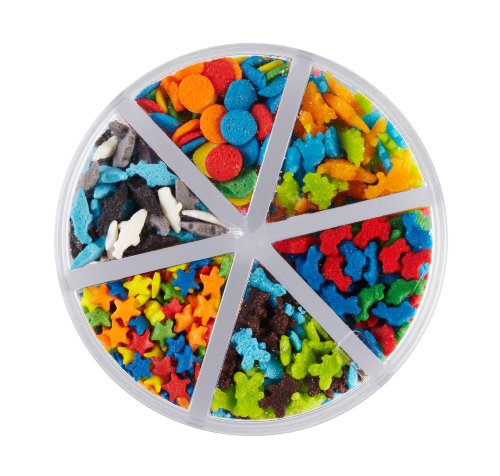
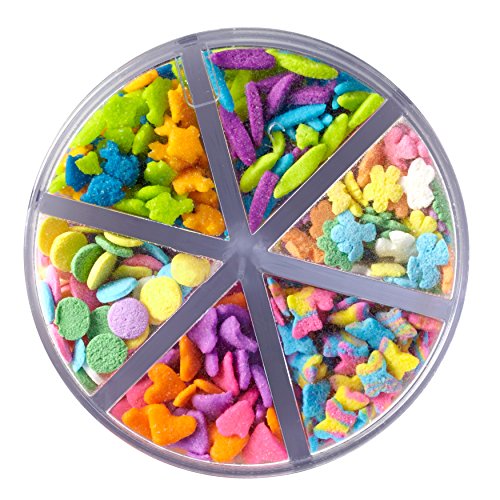
Utz Old Fashioned Pretzel Rods Wilton Candy Melts, Bright White, VanillaWilton Dark Cocoa Candy MeltsWilton Animals and StarsWilton Flowerful SprinklesWilton Rainbow Jimmies, 8-PieceMcCormick Assorted Food ColorReynolds Non-Stick Parchment PaperGood Cook Cookie Sheet

- Pretzel Rods (you’ll need 7 per child)
- White Chocolate Candy Melts
- Dark Chocolate Candy Melts
- Food Coloring (I used blue and yellow)
- A Variety of Sprinkles, Sanding Sugar, and Jimmies
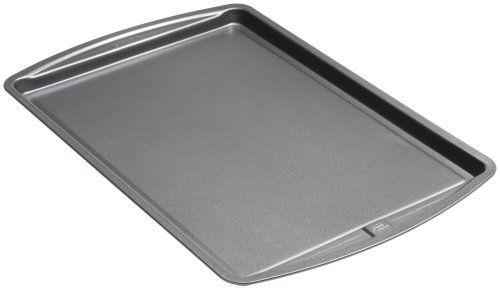
- A Cookie Sheet
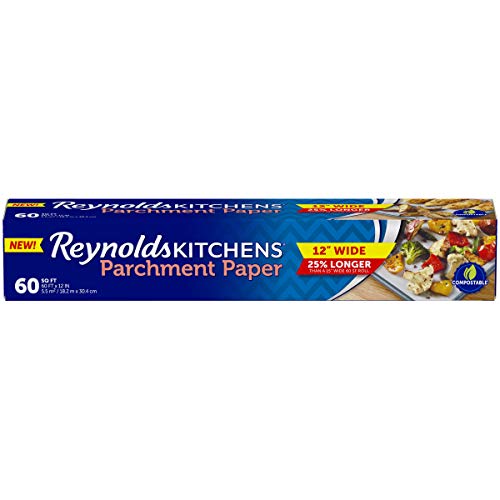
- Parchment Paper
- A Tall, Thin Glass or Canning Jar
Creating Your Chocolate Covered Pretzel Rods
Ready to make your Days of Creation pretzel rods? Here are the steps!

1) Gather Your Supplies and Print Your Tags.
Each child will need 7 pretzel rods, as you’ll be decorating a “Day 0” rod. God created something out of nothing (a term referred to as “ex nihilo”), and decorating a Day 0 pretzel will help reinforce that idea.
Line your cookie sheet with parchment paper and grab your yellow and blue food coloring bottles.
Be sure to print and cut out your sequencing tags as that will help your kids keep track of what happened on which day!

2) Prepare Your Sprinkles.
I like to put the sprinkles we’re going to use into cupcake papers or small paper cups. It makes it easy for kids to see their decorating supplies. You can have your kids decorate according to the supplies you have available. They may have a lot of fun looking through your supplies and choosing the sprinkles they want to use for each day.
I used the following decorations for each pretzel rod:
- Day 0: Chocolate dip. Silver sprinkles and sanding sugar.
- Day 1: Yellow dip. Yellow balls.
- Day 2: Blue dip. Blue sugar on top and blue jimmies on the bottom.
- Day 3: Chocolate dip. Green, yellow, and blue balls with flower sprinkles.
- Day 4: Yellow dip. Star sprinkles.
- Day 5: Blue dip. Butterfly sprinkles on top and shark sprinkles on the bottom.
- Day 6: Yellow dip. Dinosaur sprinkles alternating with bear sprinkles.

3) Color and Melt Your Candy Melts.
In your thin, tall jars, pour the candy melts. I chose a theme of yellow, blue, and brown chocolate dip. You’ll want to fill two jars with white candy melts and one jar with chocolate candy melts. Add several drops of yellow food coloring to one of your white candy melt jars. Add blue food coloring to the other jar.
Heat your jars and stir according to the directions on the candy melt package. I heated each of my jars in the microwave at 50% power for 2 minutes, stirring every 30 seconds.

4) Dip Your Pretzel Rods.
One at a time, put each pretzel rod into the melted chocolate, and use a spoon to coat the pretzel rod in chocolate, leaving about an inch uncovered. As each pretzel rod is covered in chocolate, lay it carefully on your parchment paper-covered cookie sheet.

5) Decorate Your Chocolate Covered Pretzel Rods.
Use your sequencing tags to decorate each of your seven pretzel rods to represent a day of Creation. As your child decorates each rod, talk about the sprinkles they chose for each day and talk about how each day of Creation is important to life on earth.
For instance, we need the atmosphere and the oceans God created on day 2 for life to survive. God made plants on day 3, which are necessary for the animals he created on day 5 to survive. God is an amazing planner.

6) Continue Dipping, Decorating, and Discussing.
Go through each day of Creation with your kids, talking about what God made on that day. Encourage them as they decorate, and talk about how their decorations help represent that day of Creation.

7) Freeze Your Pretzel Rods.
Once your pretzel rods are all decorated, place your cookie sheet in the freezer for about 30 minutes to encourage your melted chocolate to firm up.
8) Package Your Pretzel Rods.
If you are giving away–or sending home–your days of Creation chocolate covered pretzel rods, wrap them in cellophane, tie the bottom with a ribbon, and attach your days sequence tag. If you’re going to enjoy them at home, stick them in a gallon storage bag. Once they thaw for a few minutes, they’re good to eat!
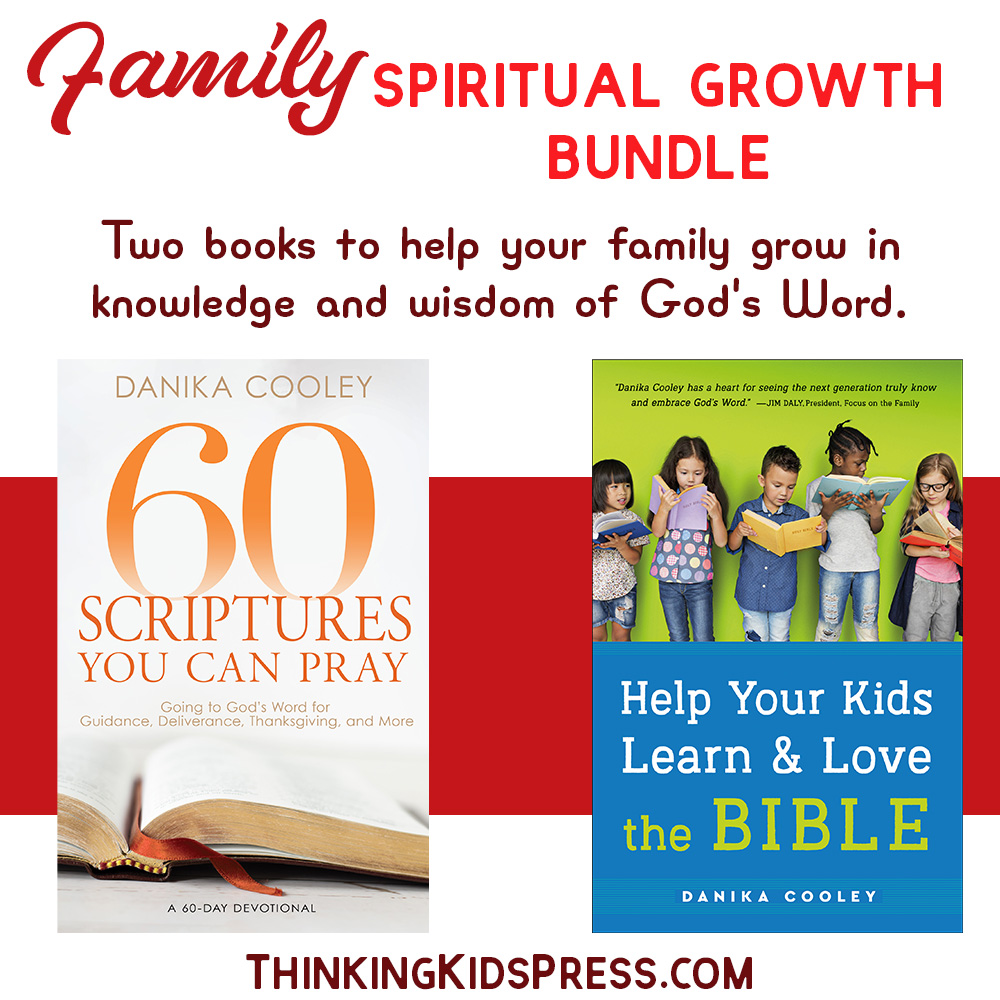
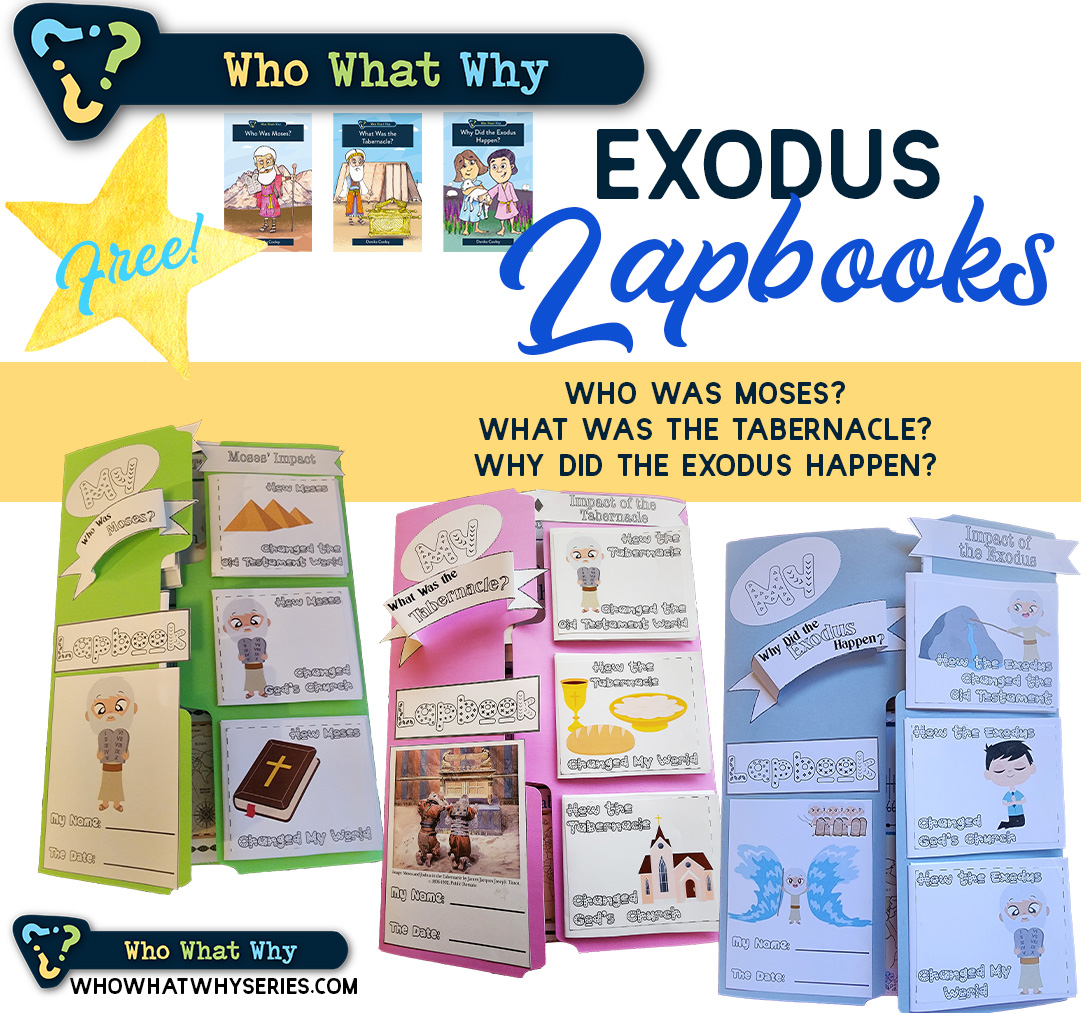
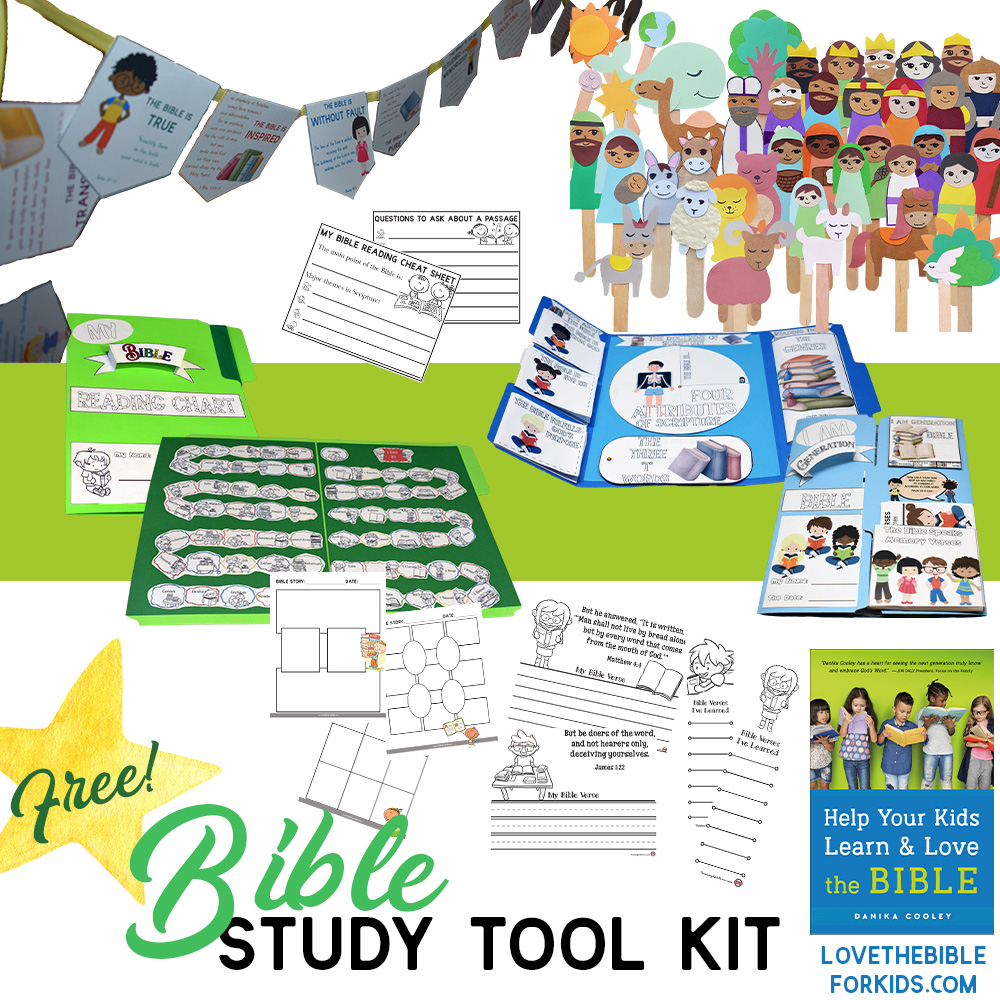
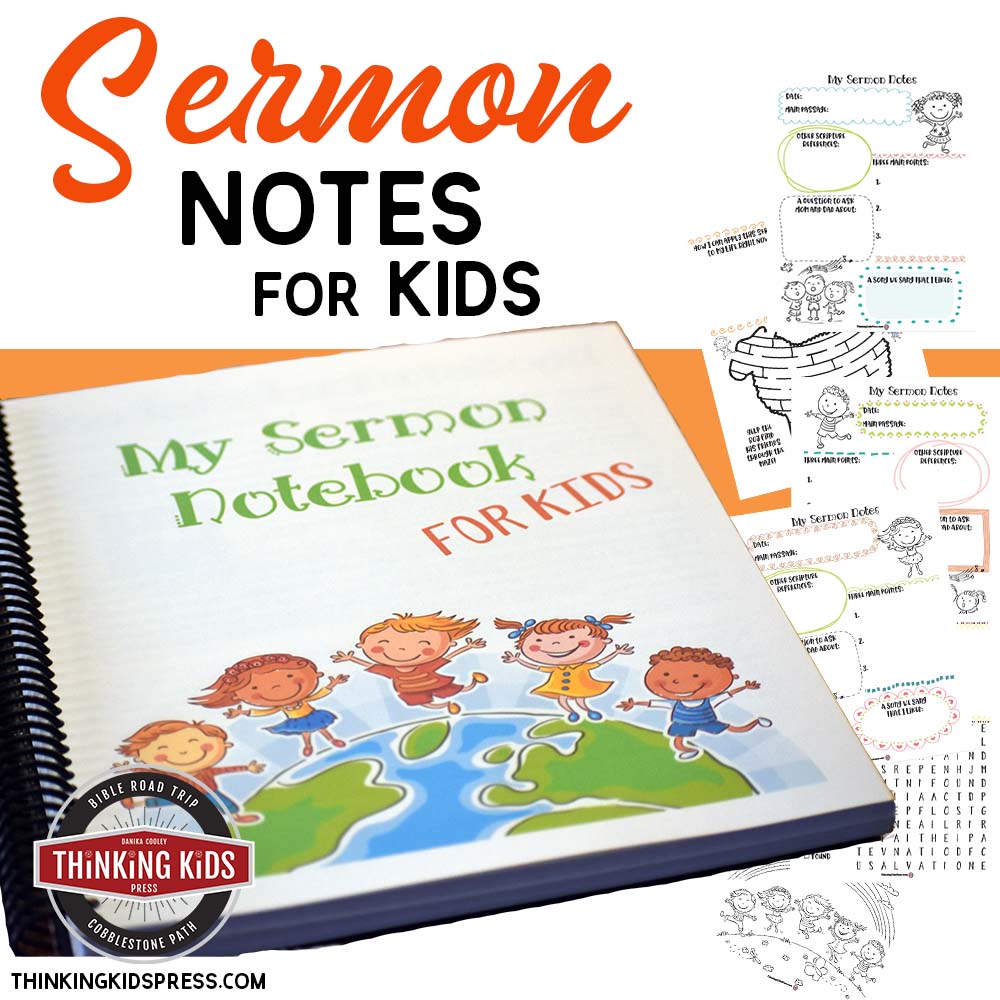
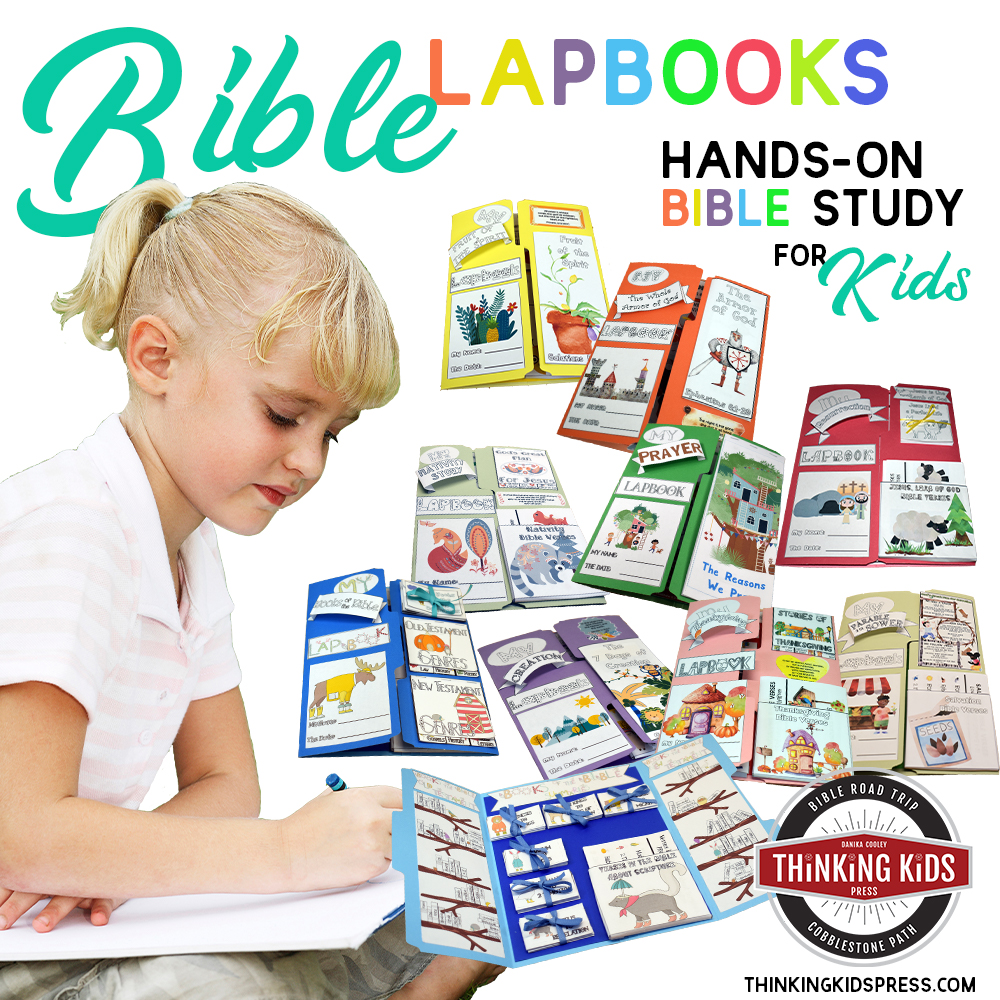
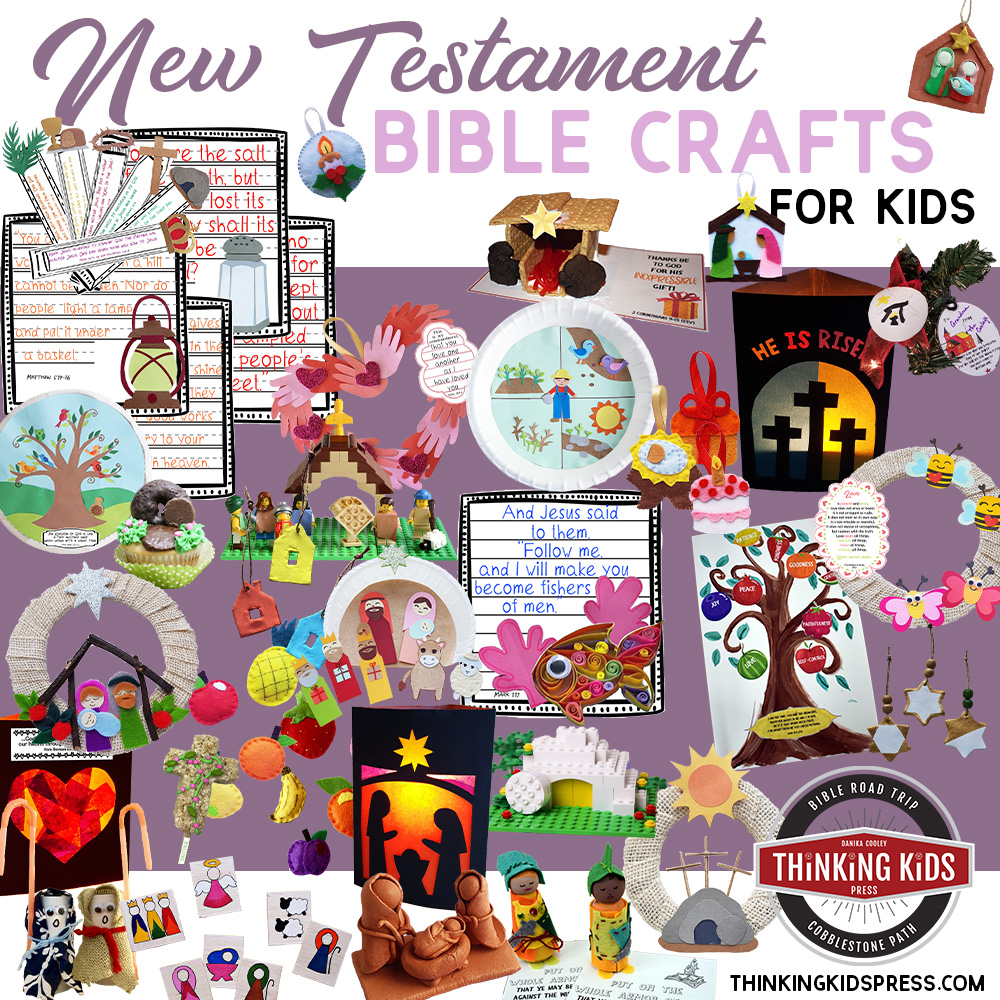
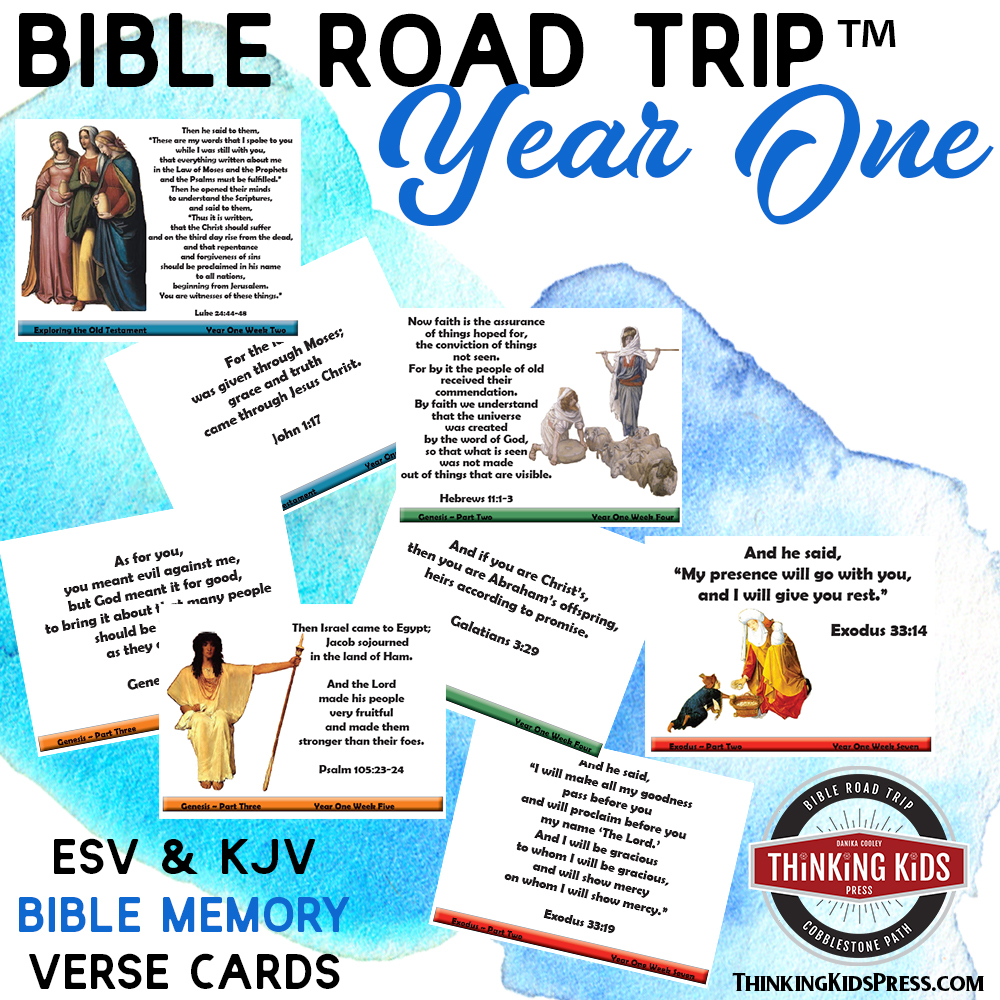
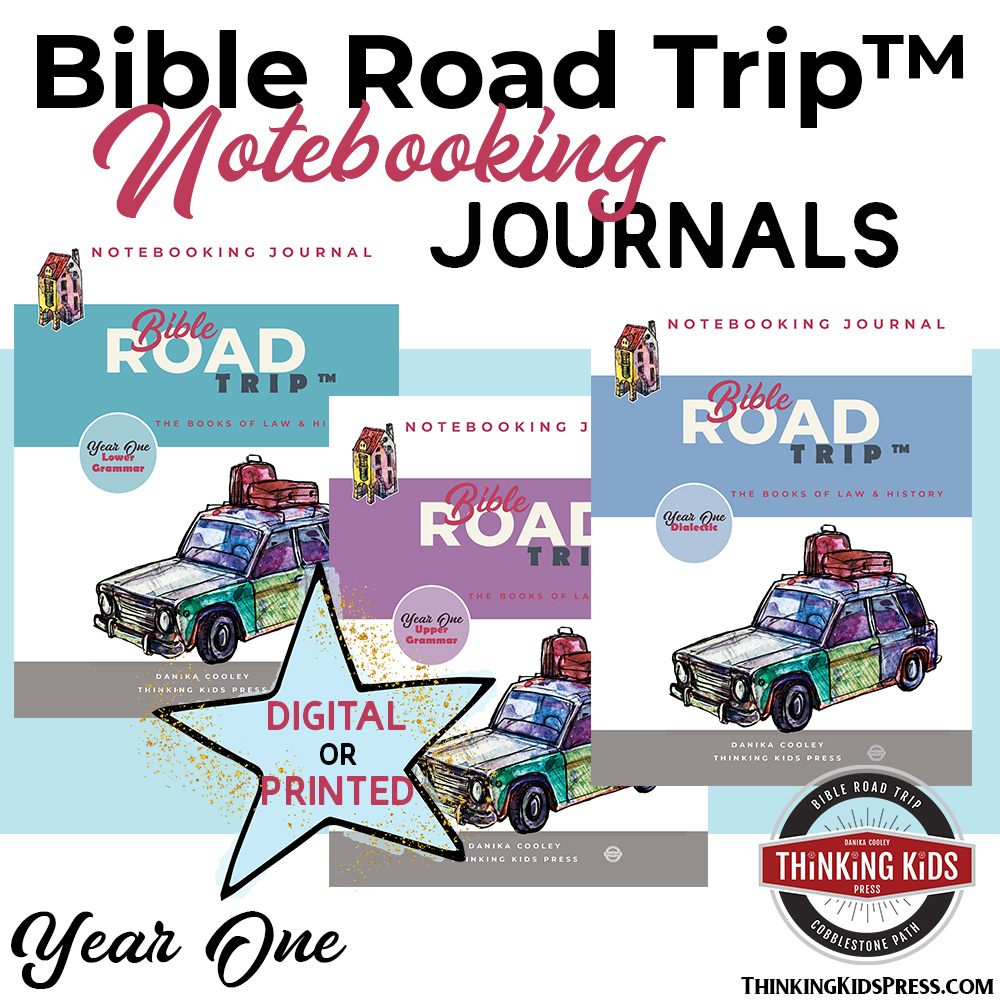
Bible Resources for Your Kids
Learn More HereLearn More HereLearn More HereLearn More HereLearn More HereLearn More Here
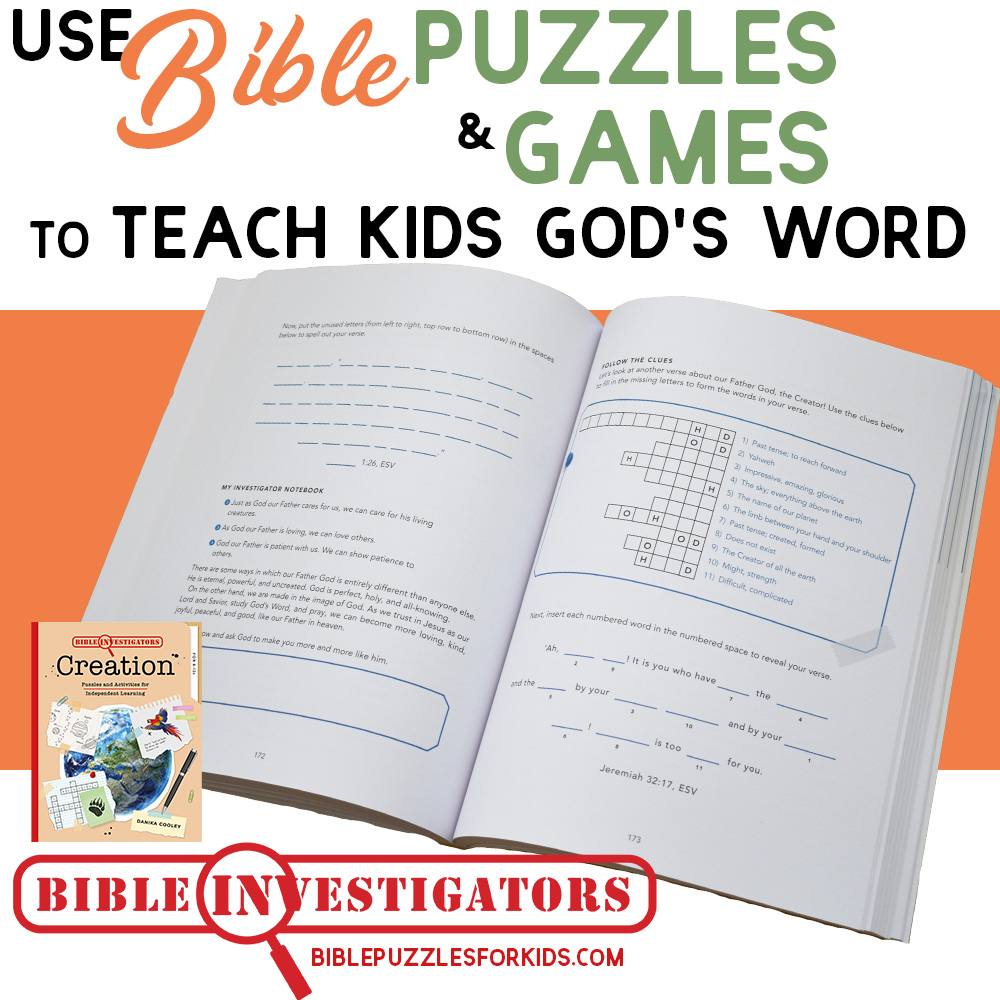
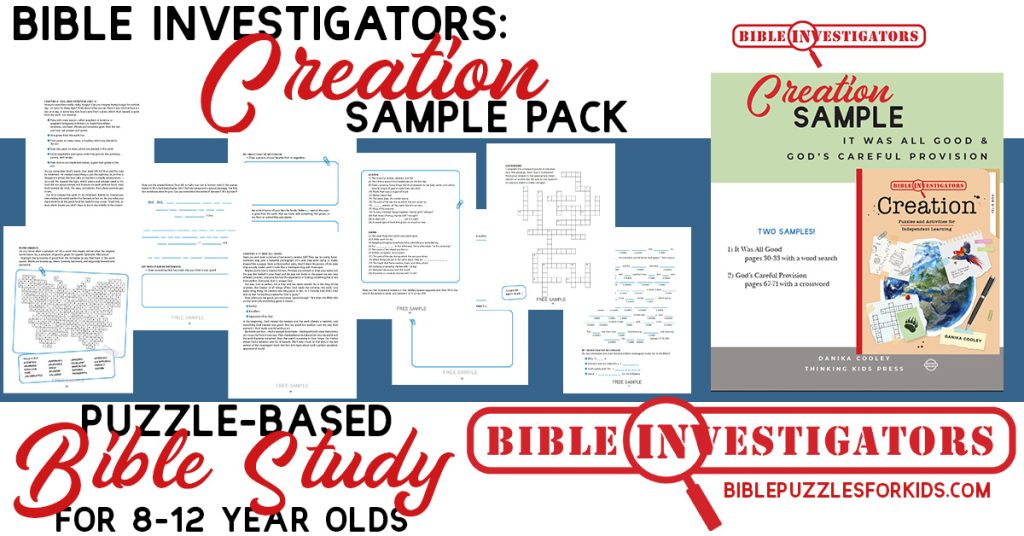
Puzzle-Based Independent Bible Study for Kids!
“Do not be conformed to this world, but be transformed by the renewal of your mind, that by testing you may discern what is the will of God, what is good and acceptable and perfect.” – Romans 12:2, ESV
-
- Observe: They pay attention to what they’re reading.
- Interpret: They figure out what the Bible means in that section.
- Apply: They decide how the truth of God’s Word impacts their life today.
There are a great many truths in life to be found—some interesting, some boring, and some that really matter. You can be the kind of investigator who spends time puzzling out important truth so that you can know all the knowable knowledge that God has given us. That’s right. God, the Creator of the Universe, gave you a great big letter from him to explore and study so that you can discover the truths that really matter to your life!”
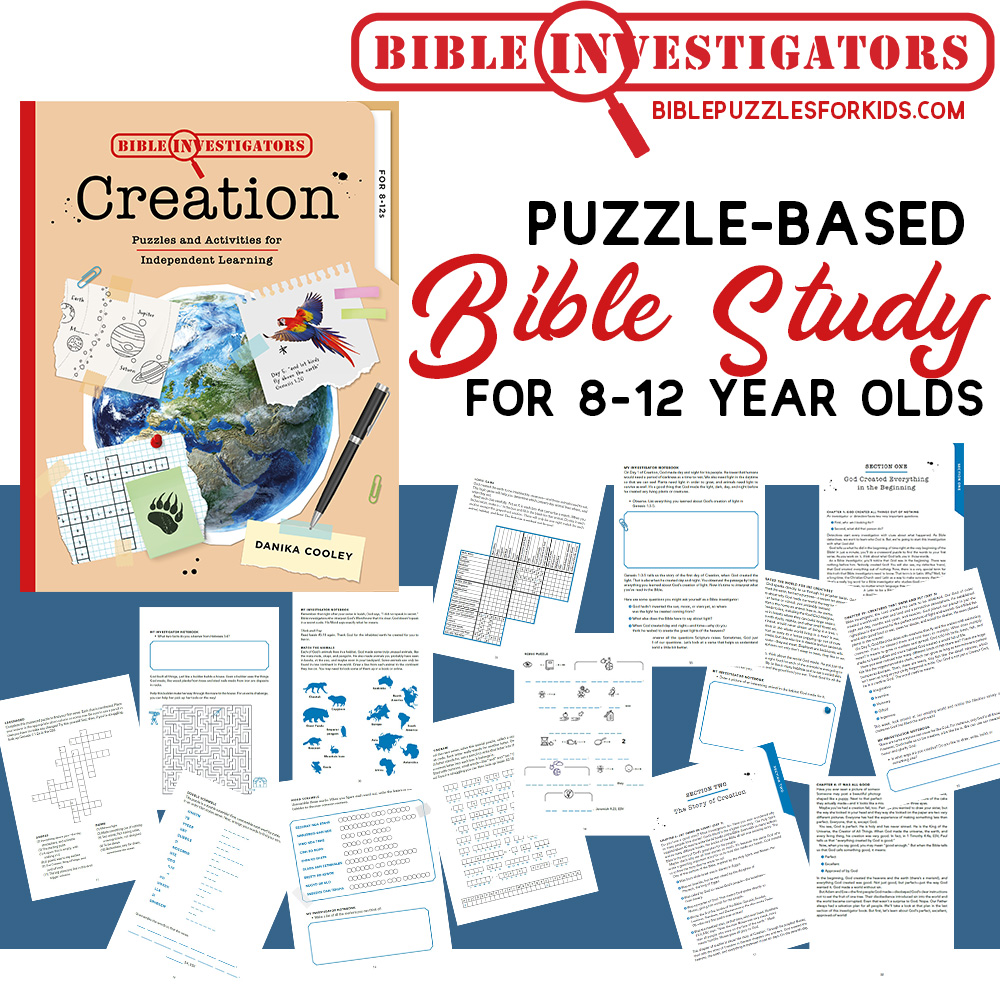
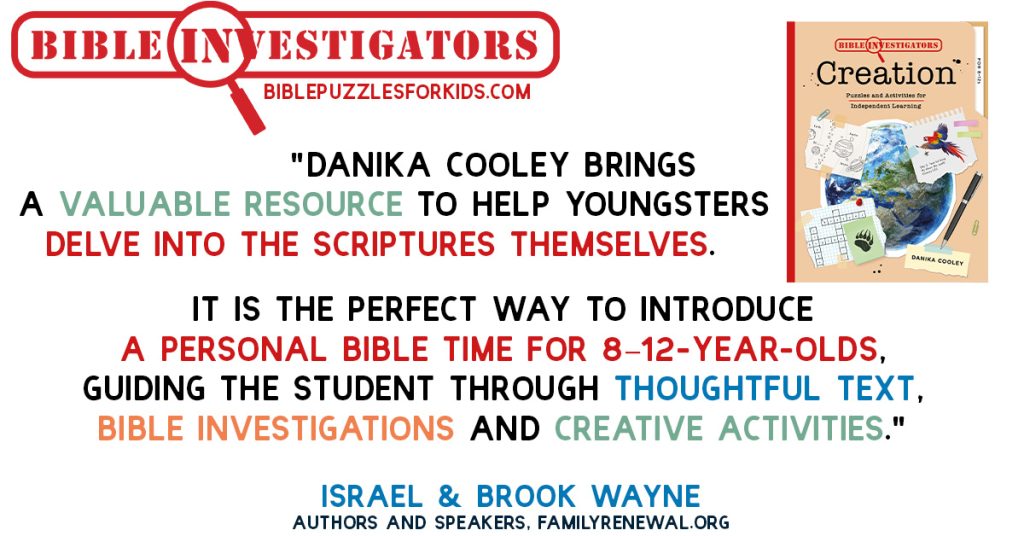
Bible Investigators: Creation, (The Good Book Company, 2024), page 7
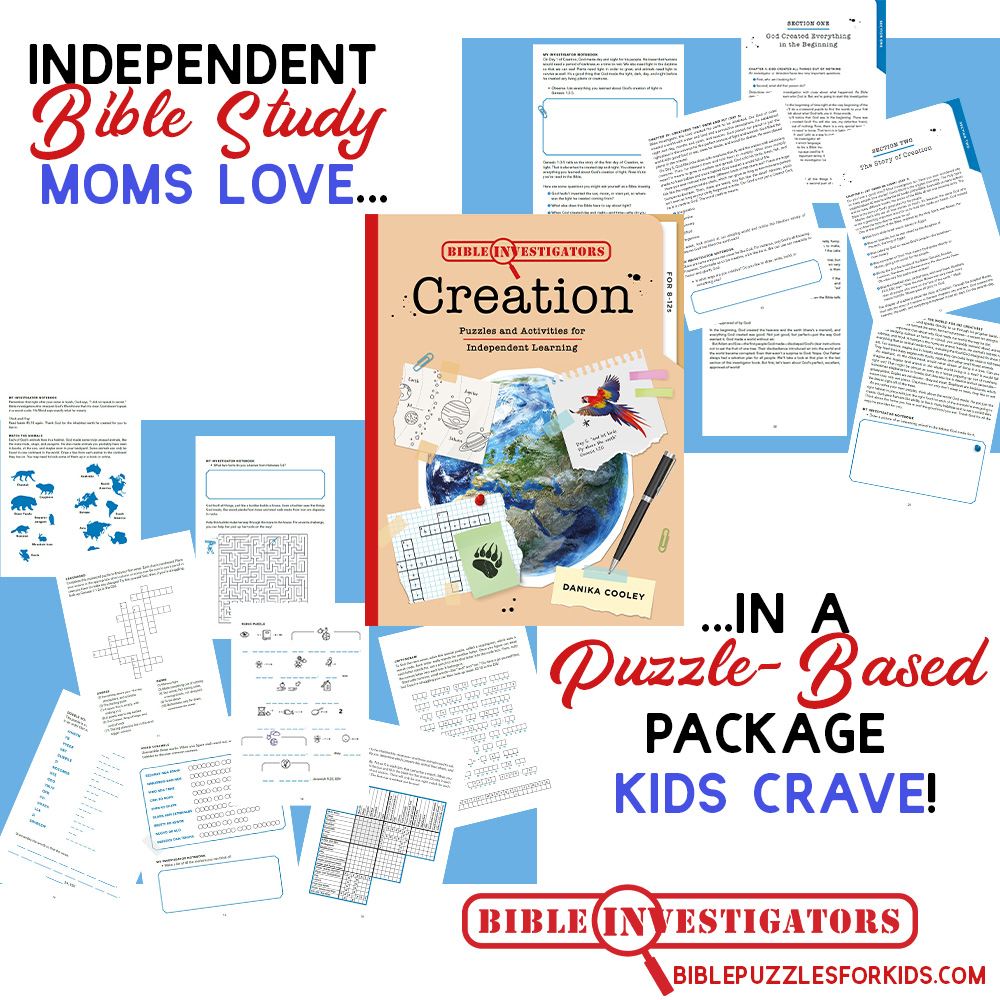
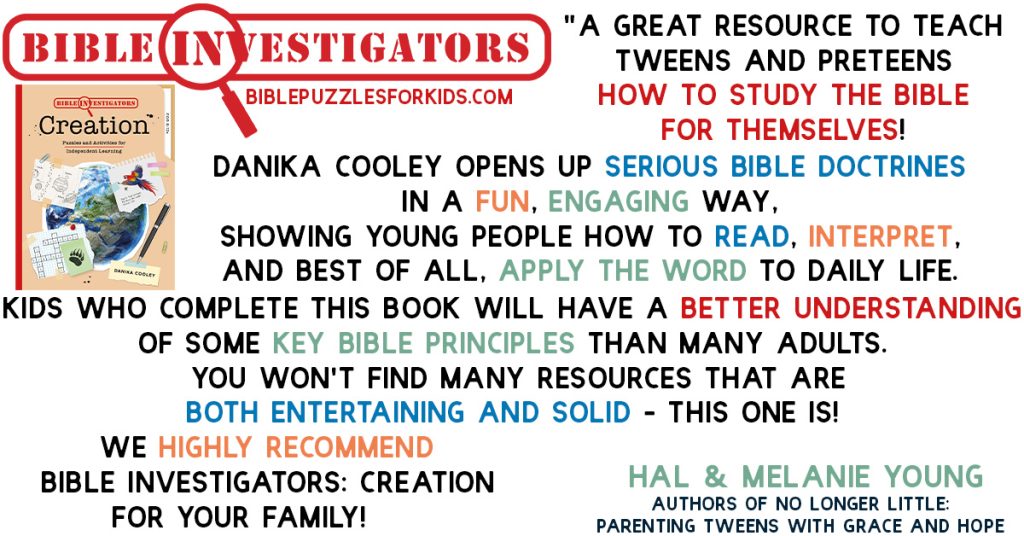
The Bible Investigators: Creation Bible study for kids, written by Danika Cooley and published by The Good Book Company, is 272-pages of learning, puzzles, and fun activities designed to help your kids become amazing independent Bible investigators–observing, interpreting, and applying God’s Word as they learn what the Bible teaches on a particular subject.
Bible Puzzles for Kids
Middle grade kids, aged 8-12, love puzzles. After all, their brains are just built for figuring things out and memorizing facts. Puzzles are a wonderful way to help kids develop logic skills and retain important information. And, the book is written in a fun, conversational tone your children are sure to love!
What types of puzzles and activities will you find in Bible Investigators?
-
- Word Searches
- Crosswords
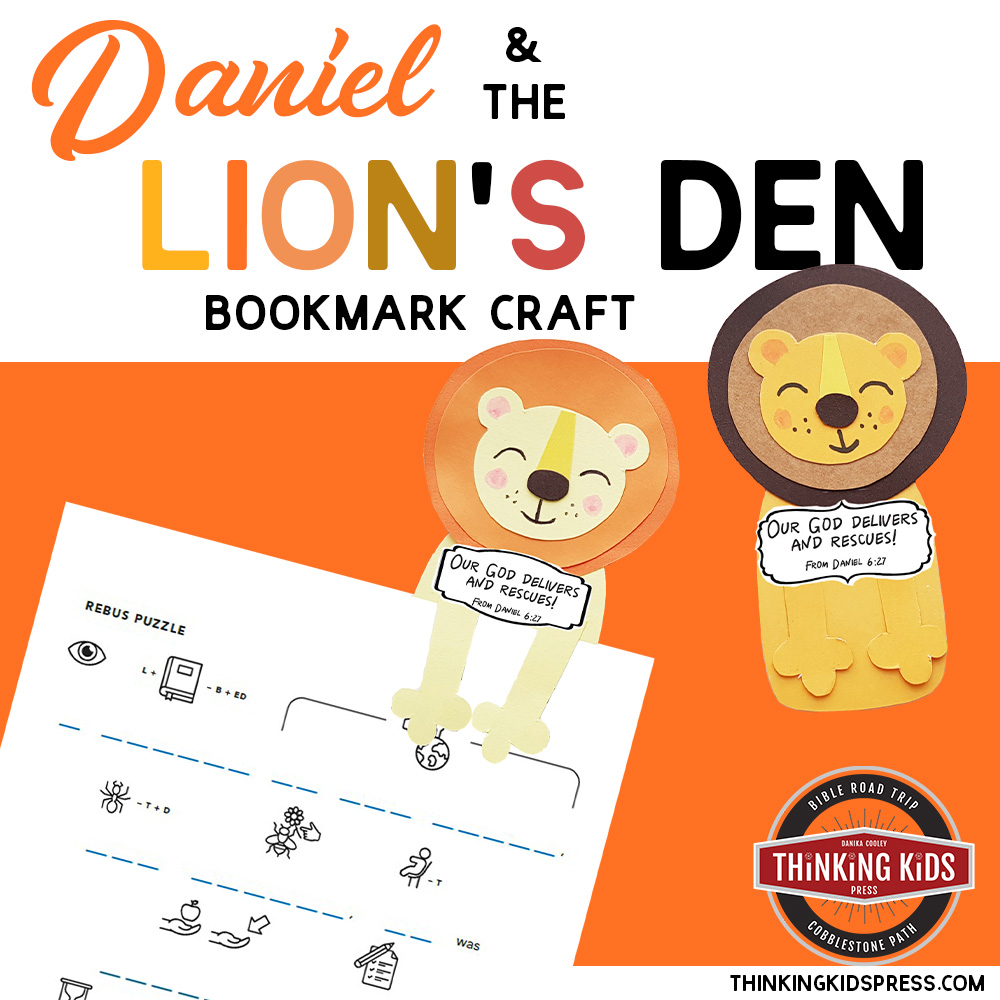
- Rebus Puzzles
- Dot-to-Dots
- Logic Puzzles
- Missing Letter Puzzles
- Cryptograms
- Word Sudoku
- Mazes
- How-to-Draw Pages
- Matching Pairs
- Word Scrambles
- Journal Pages
Every child is sure to find activities they’ll love!
Elementary-aged kids need hands-on middle grade resources that engage them and equip them to process important truths.
Bible Investigators is the perfect resource to teach your kids about an important biblical doctrine, while helping them apply God’s Word to their lives today.
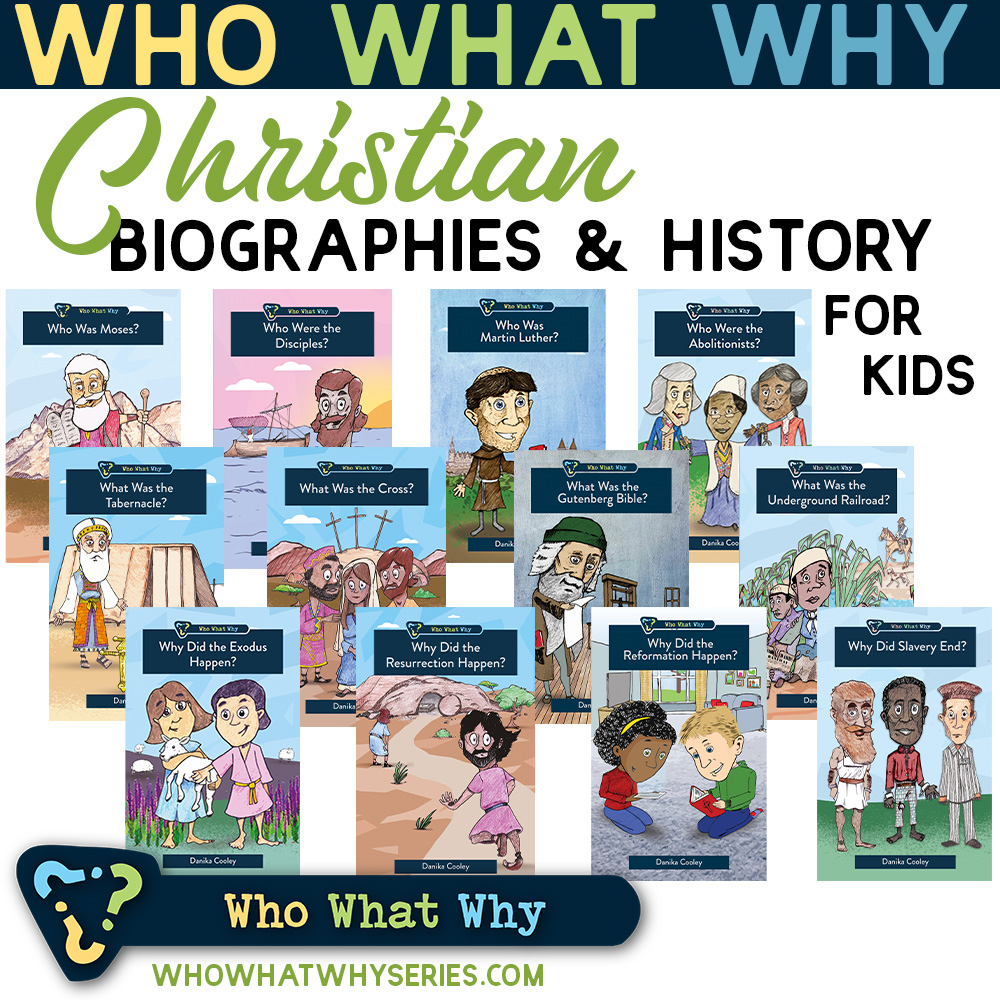
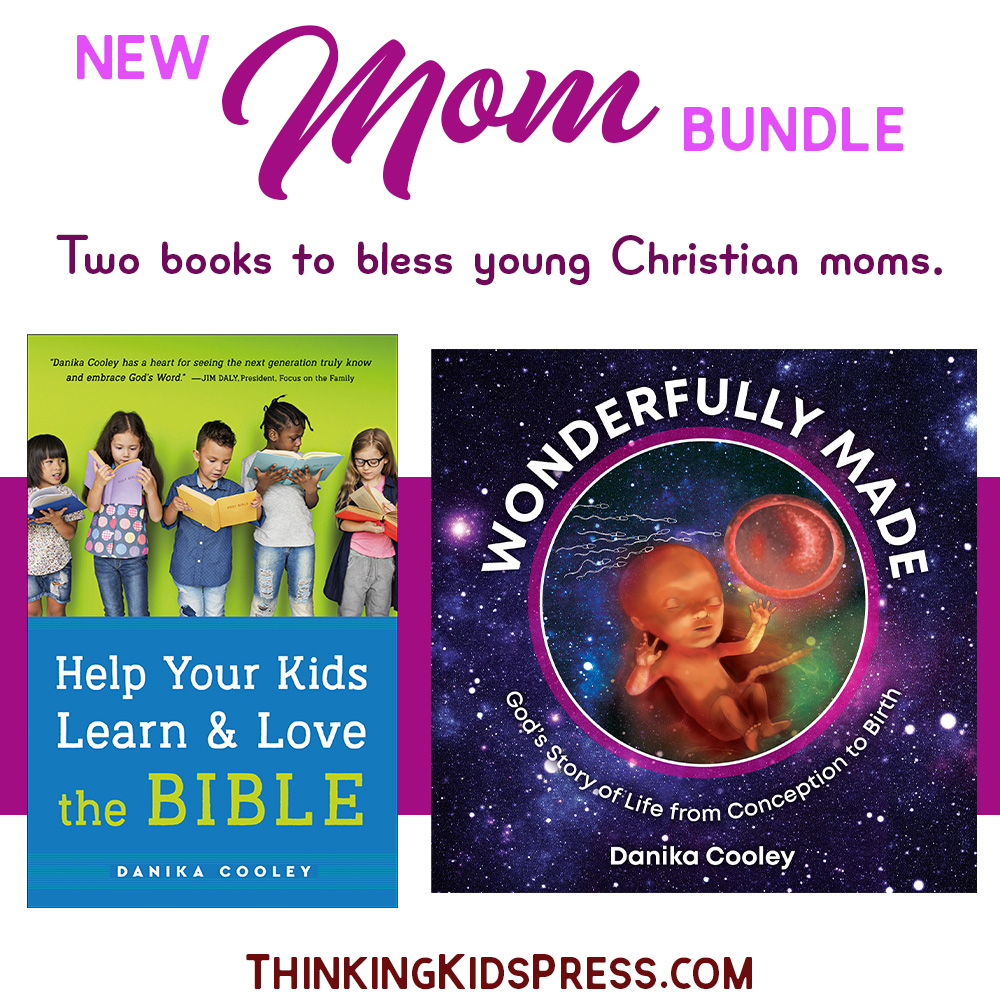
Books Make Great Gifts!
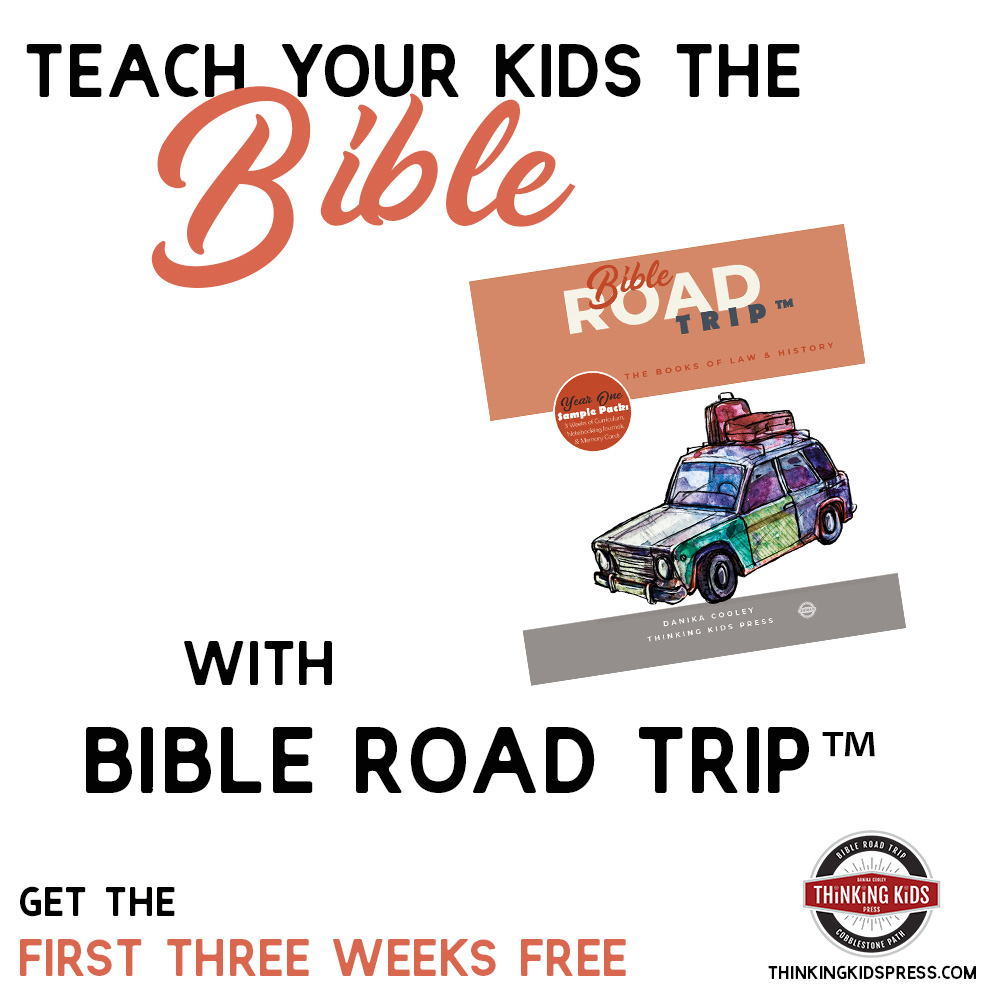
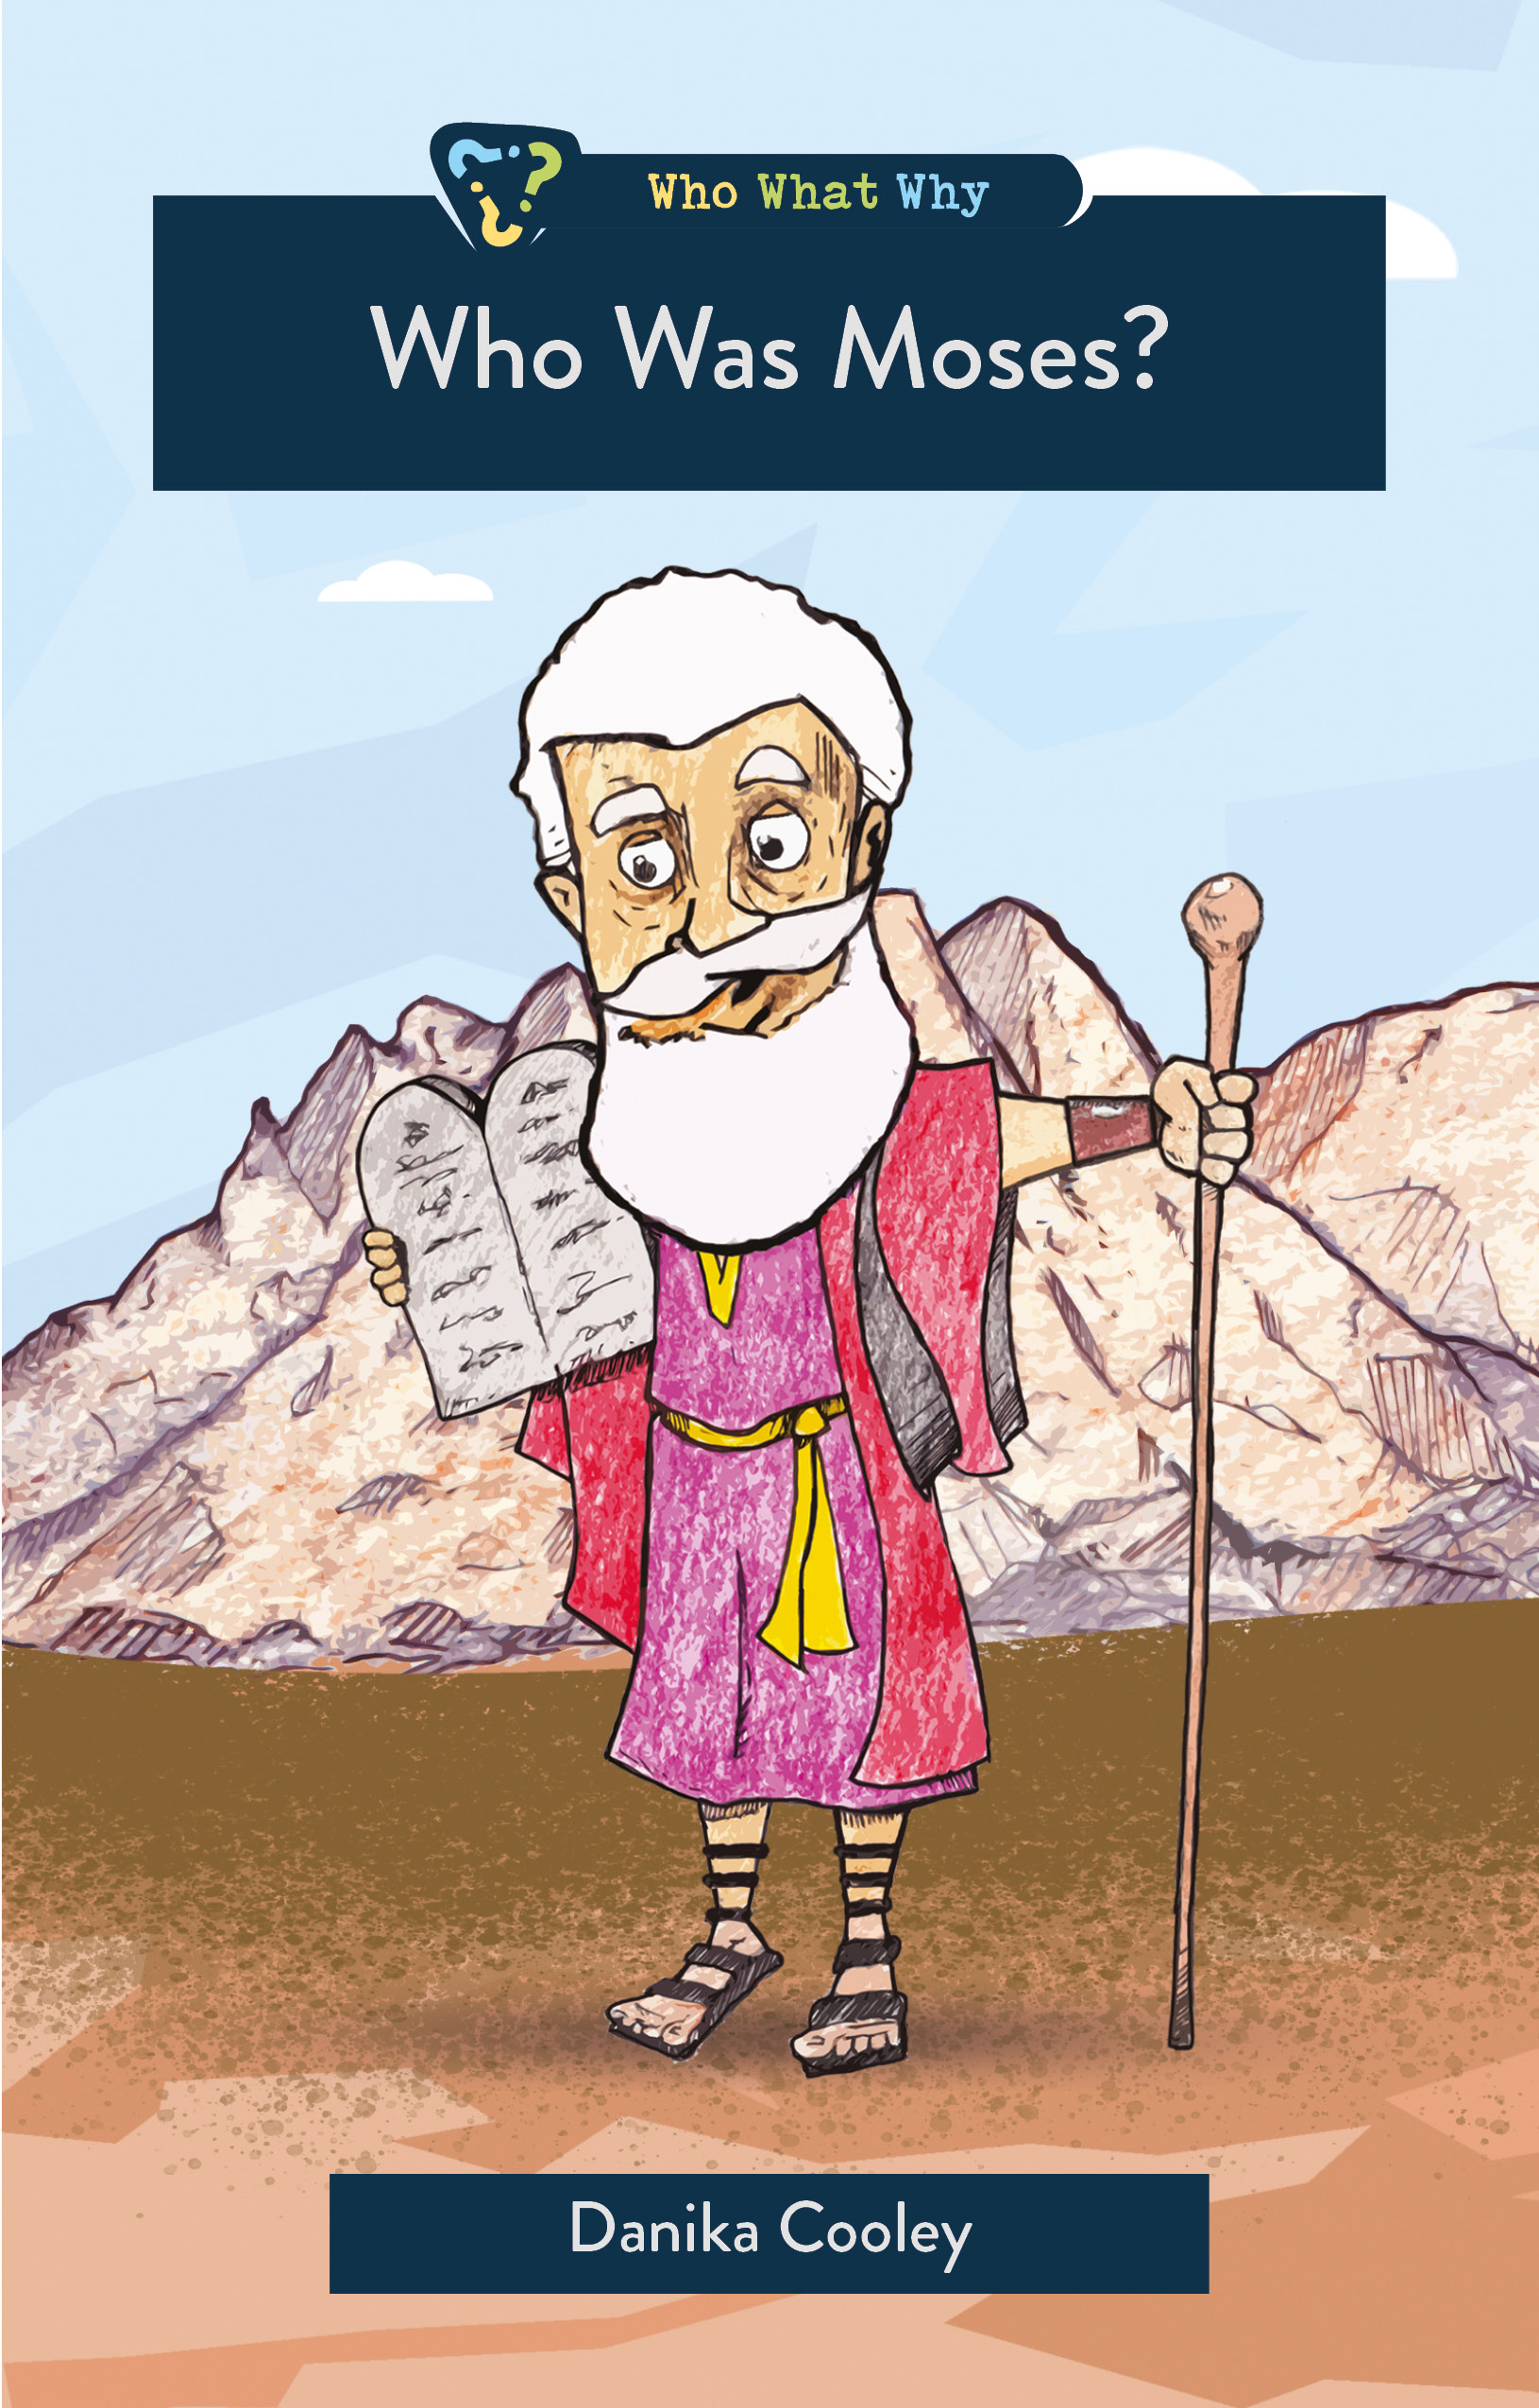
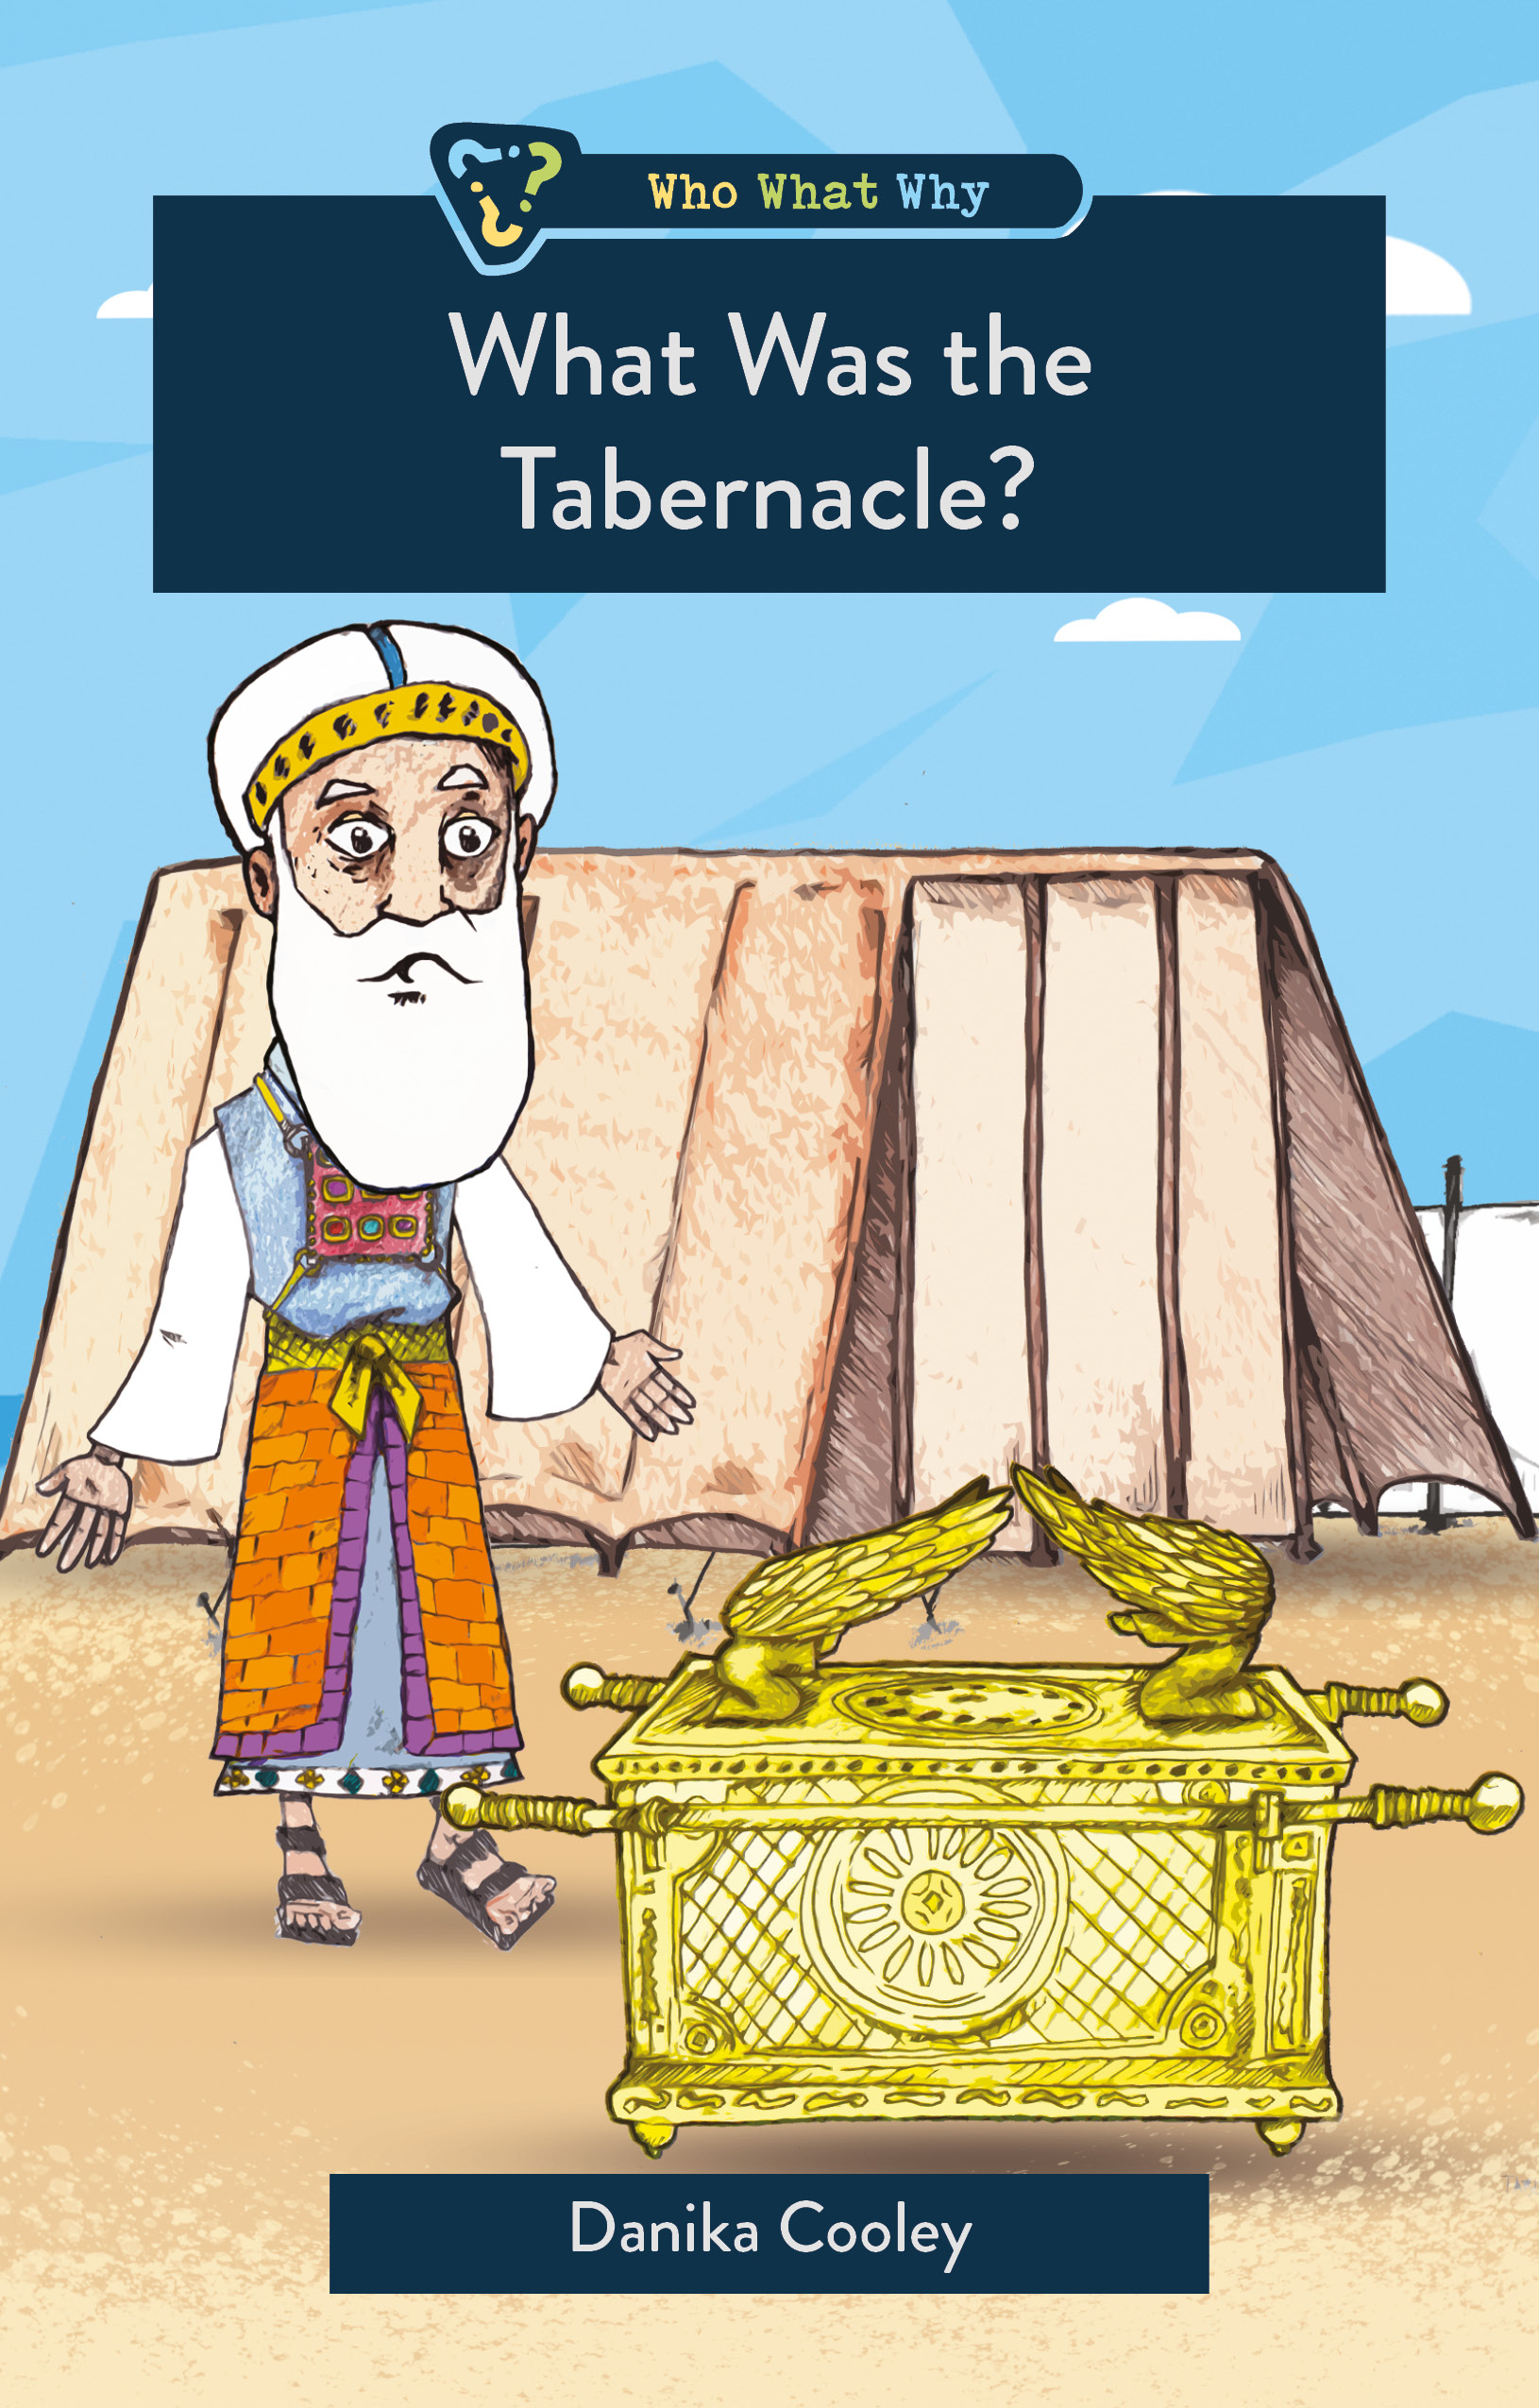
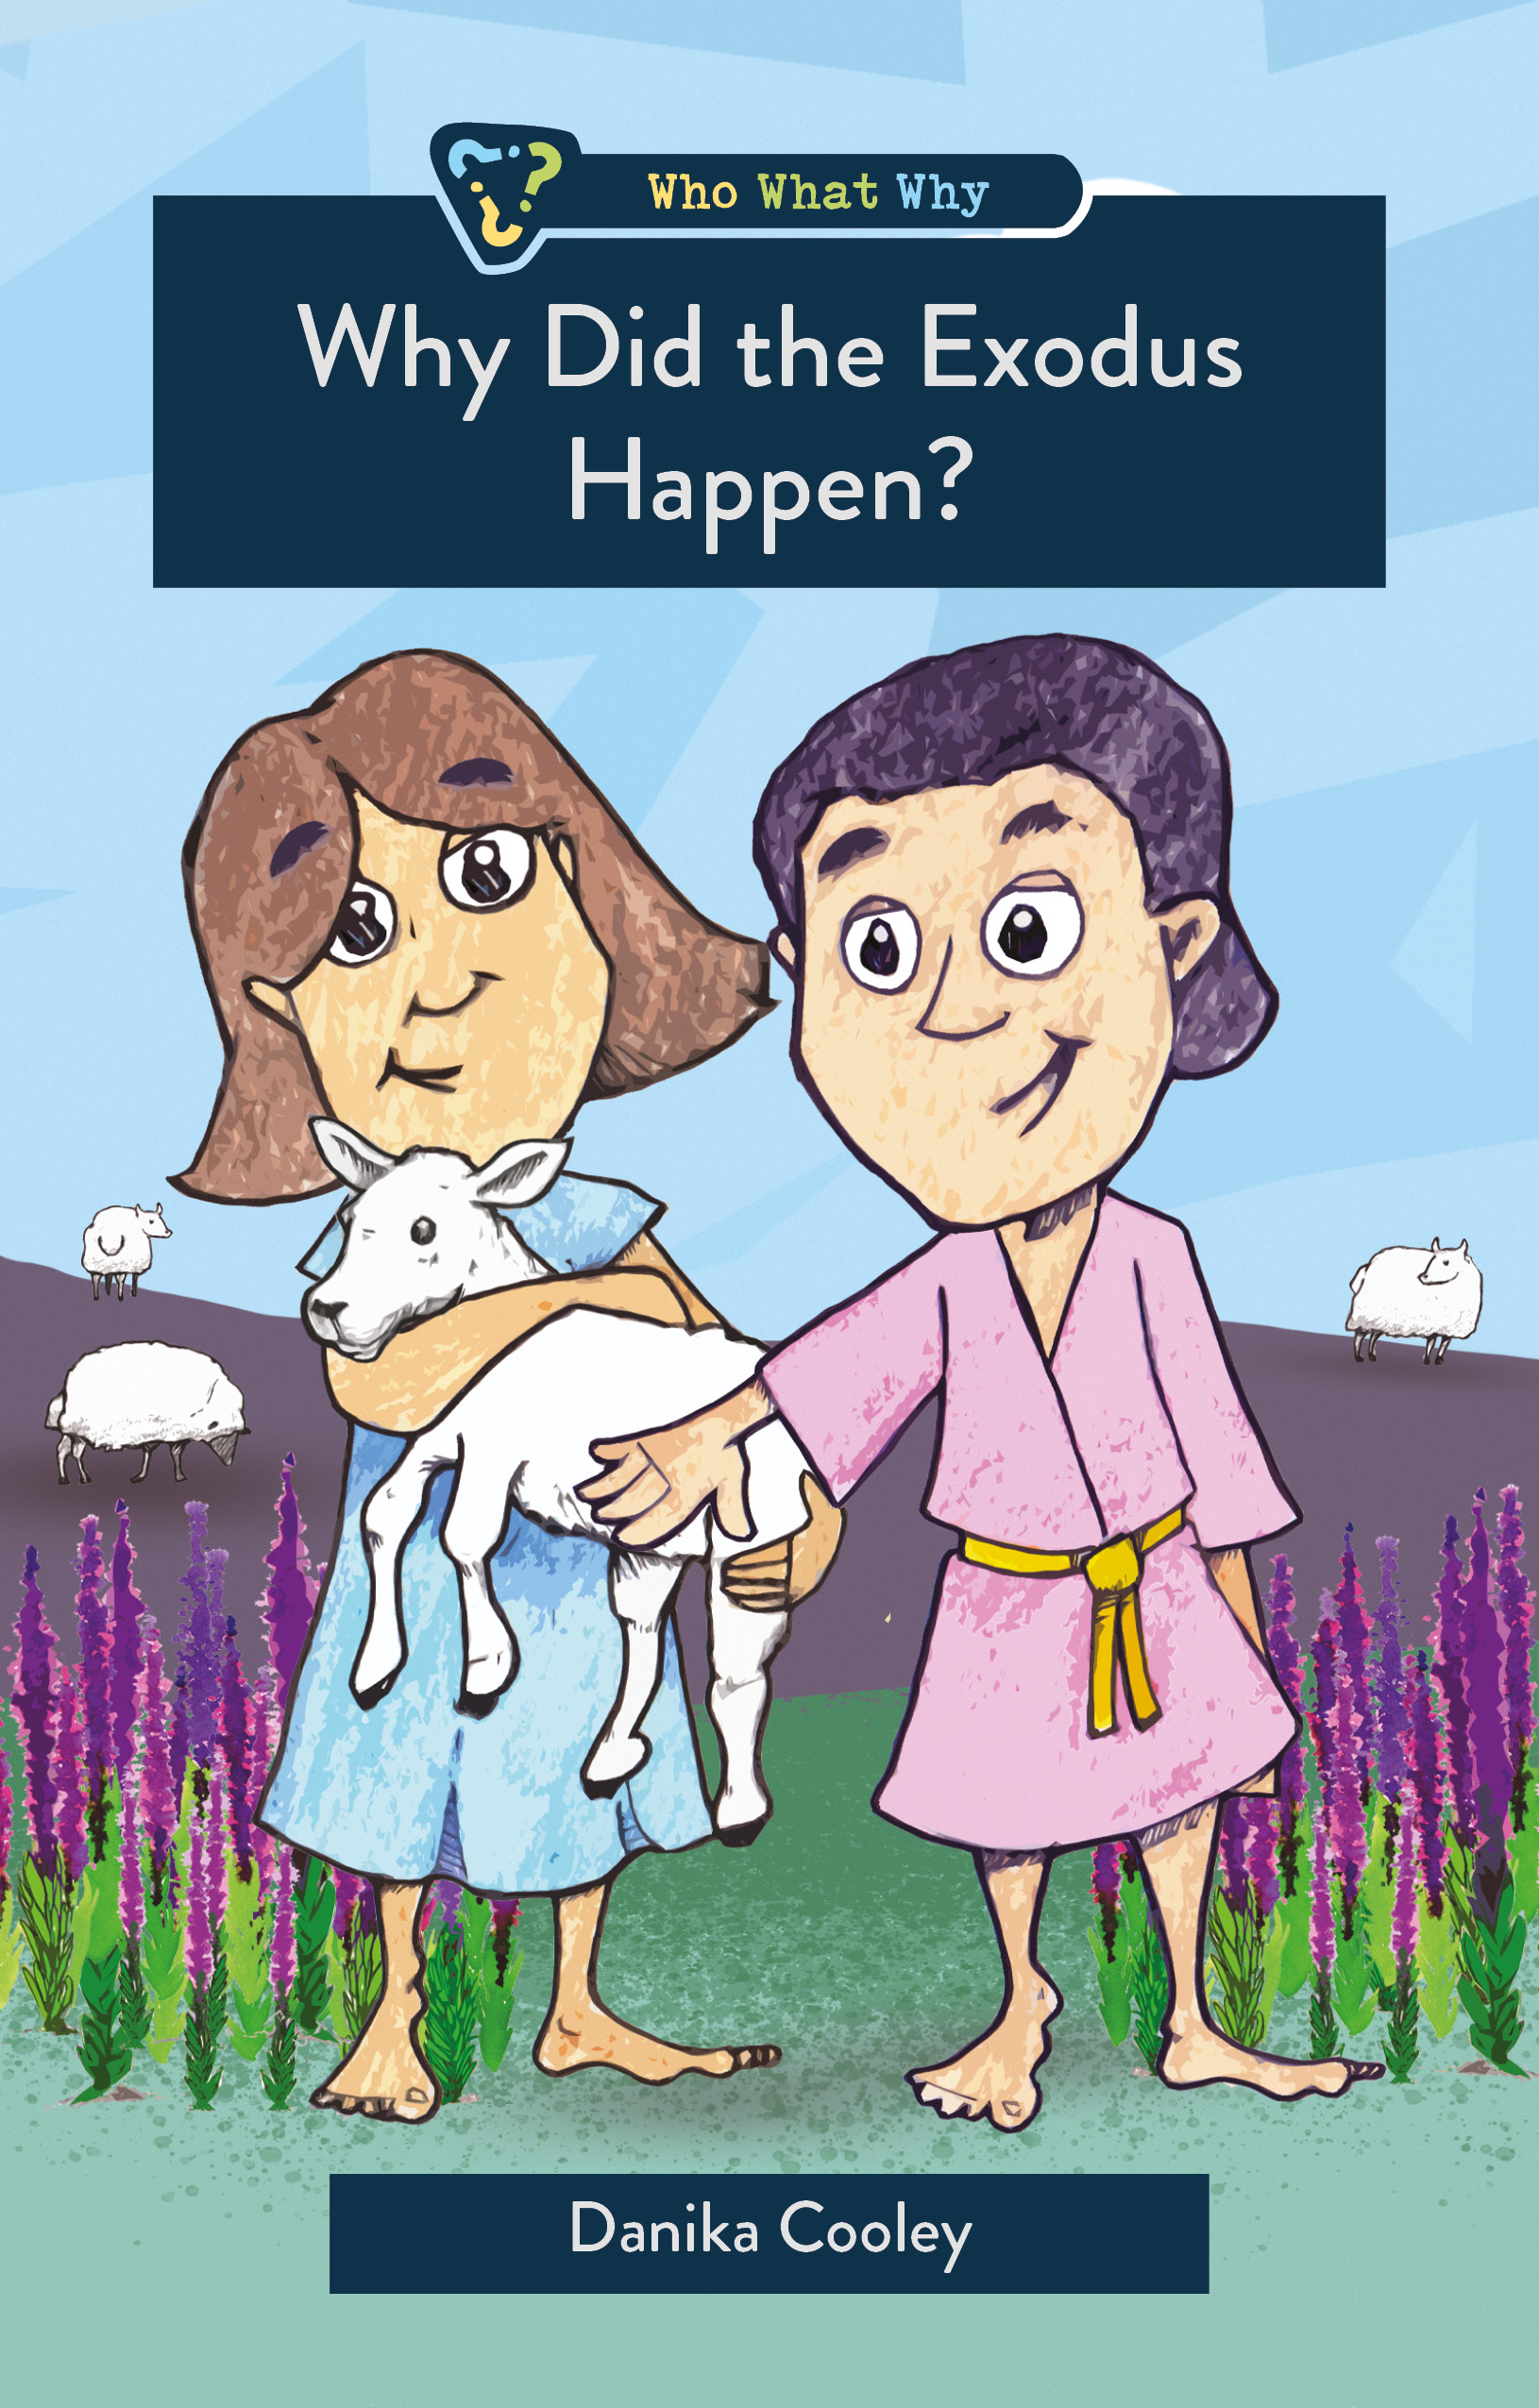
Teach the kids about the Bible and Christian history…
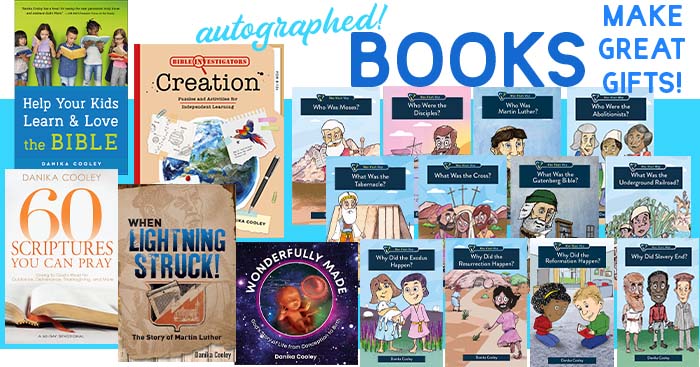
…with fun books they’ll love reading!
Introduce your children to engaging stories written in an engaging narrative they’ll want to read. As they learn more about God’s Word and gain real-life heroes, they will learn to apply Scripture to their own lives. And, give yourself the gift of a book that will help your kids learn and love the Bible.


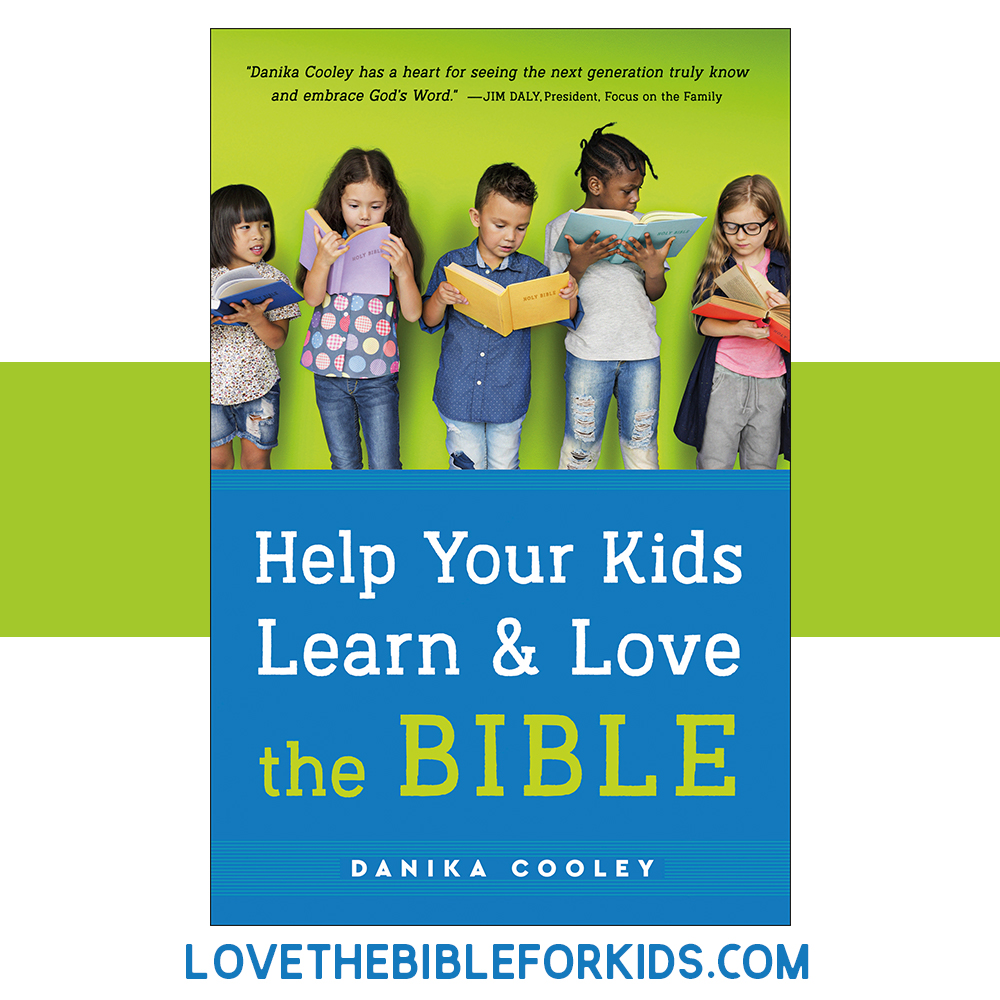
More Thinking Kids Posts You’ll Love!