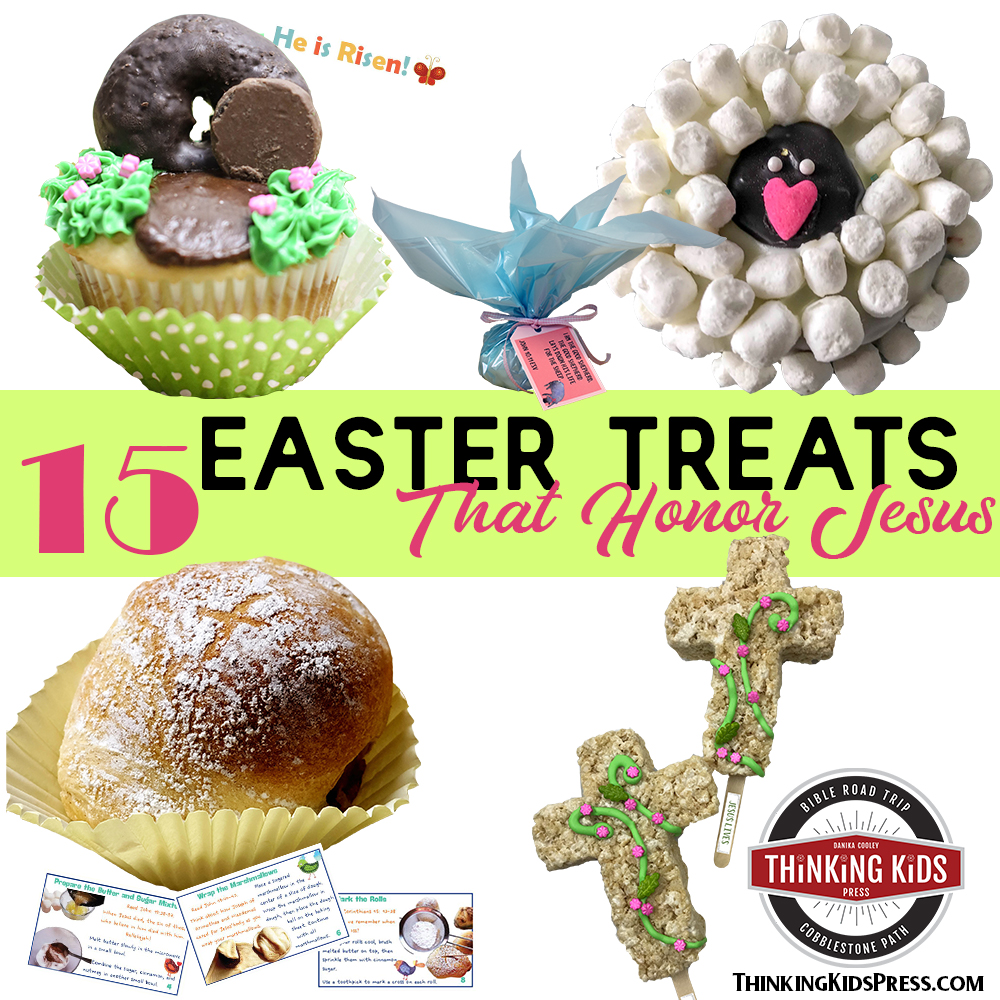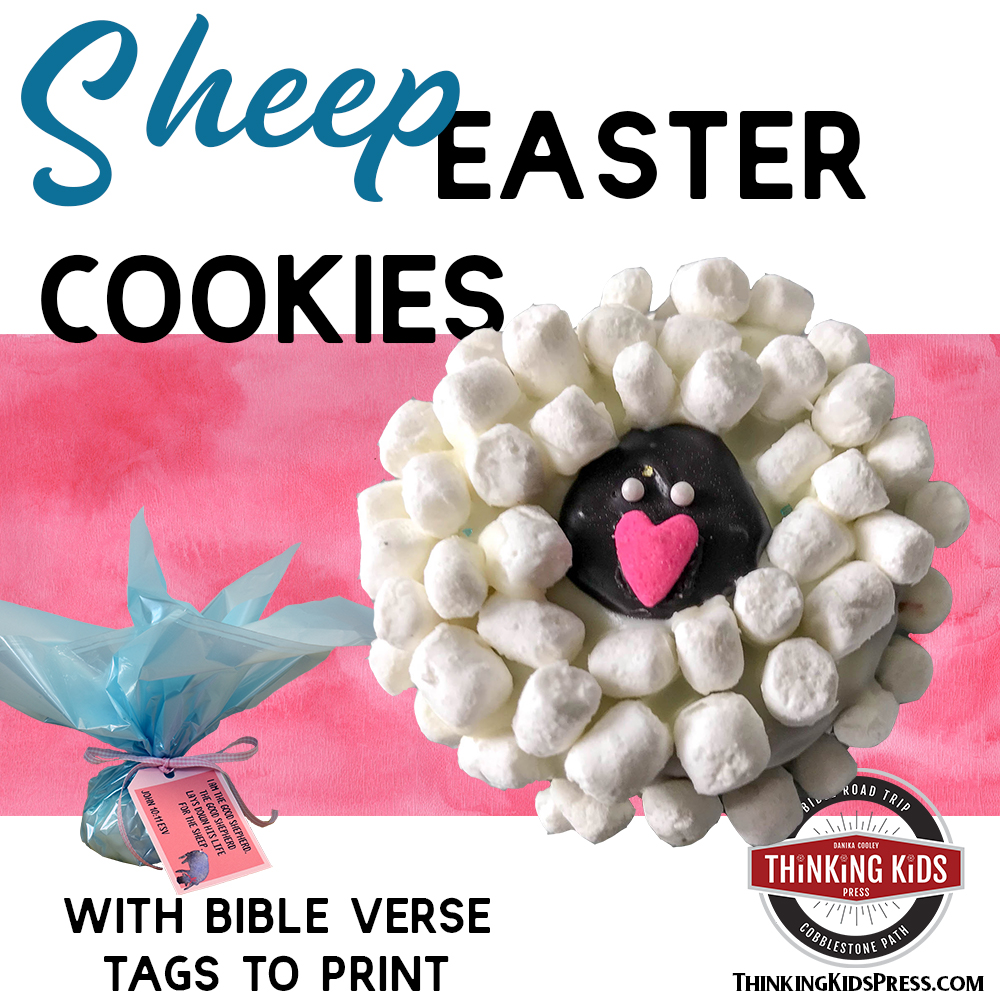
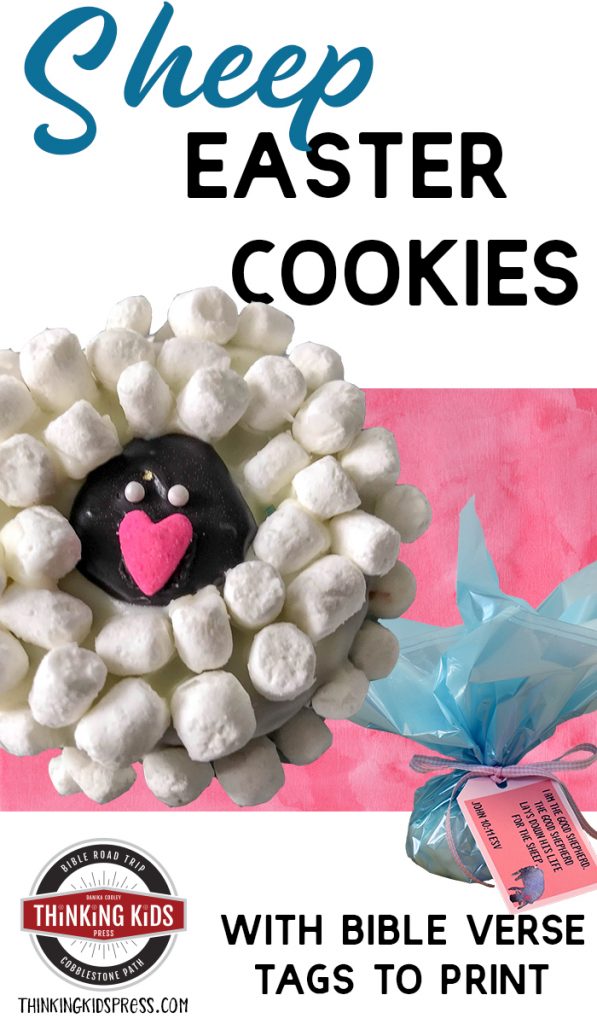
Looking for Easy Easter Cookies? Check out these sheep decorated Easter cookies with Bible verse gift tags you can print. A perfect project to do with kids!
“I am the good shepherd. The good shepherd lays down his life for the sheep.” – John 10:11, ESV
The Lord uses a lot of word pictures–types and symbols–in His Word, the Bible. In his teaching, Jesus–God the Son, did the same. One of the symbols that comes up over and over again in Scripture is sheep.
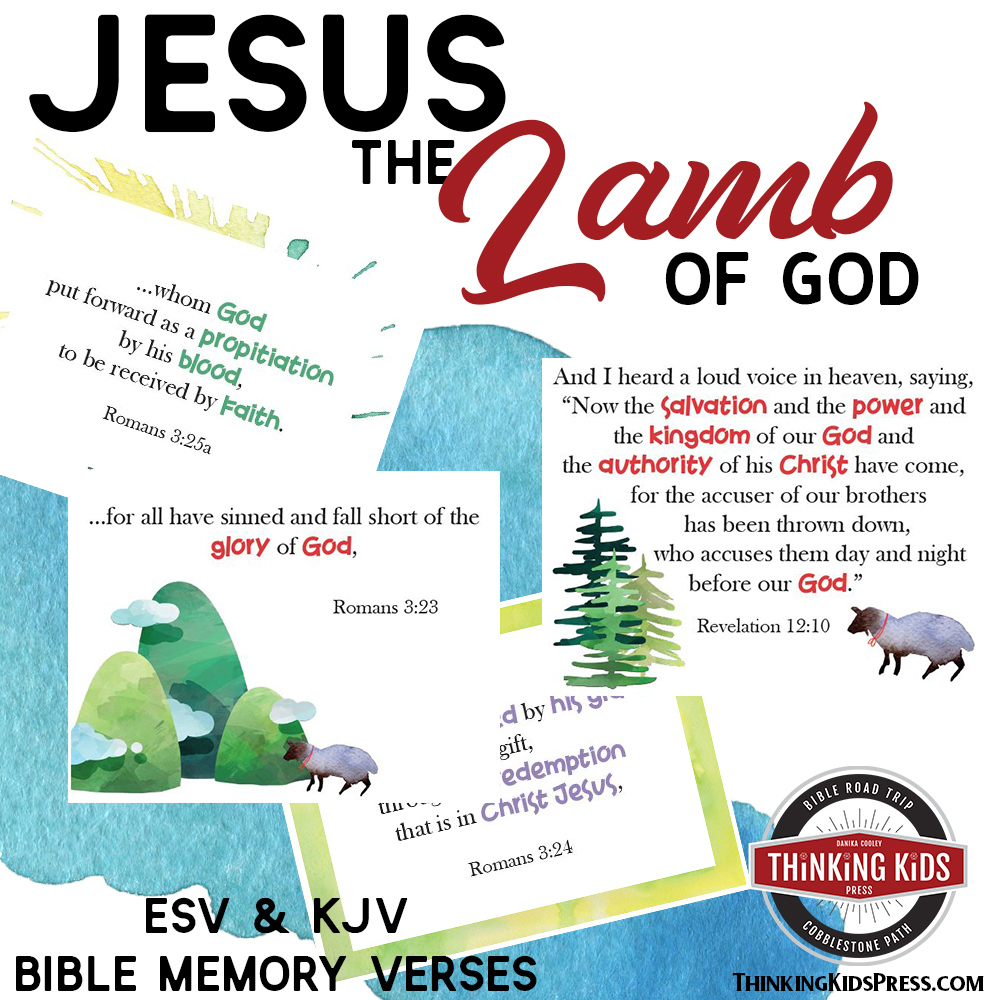
When we read the Bible, we learn that Jesus is the Lamb of God–the sacrificial lamb that takes on the sins of the world, and dies for the forgiveness of all who believe in Jesus, confess their belief verbally, and repent of their sins. Helping kids understand the Lamb of God symbolism in Scripture is a wonderful way to teach about the doctrine of atonement in a way they can really grasp. Click here for a tool to help you teach about Jesus, the Lamb of God!

The Bible also teaches that followers of Jesus are sheep. Jesus is the Good Shepherd who lays down his life for the sheep, protecting them from false teachings, and ushering them into his kingdom.
Teaching kids that Jesus is the Lamb of God, and that he is the Good Shepherd, are both really important concepts. What better time to cover both than Easter?
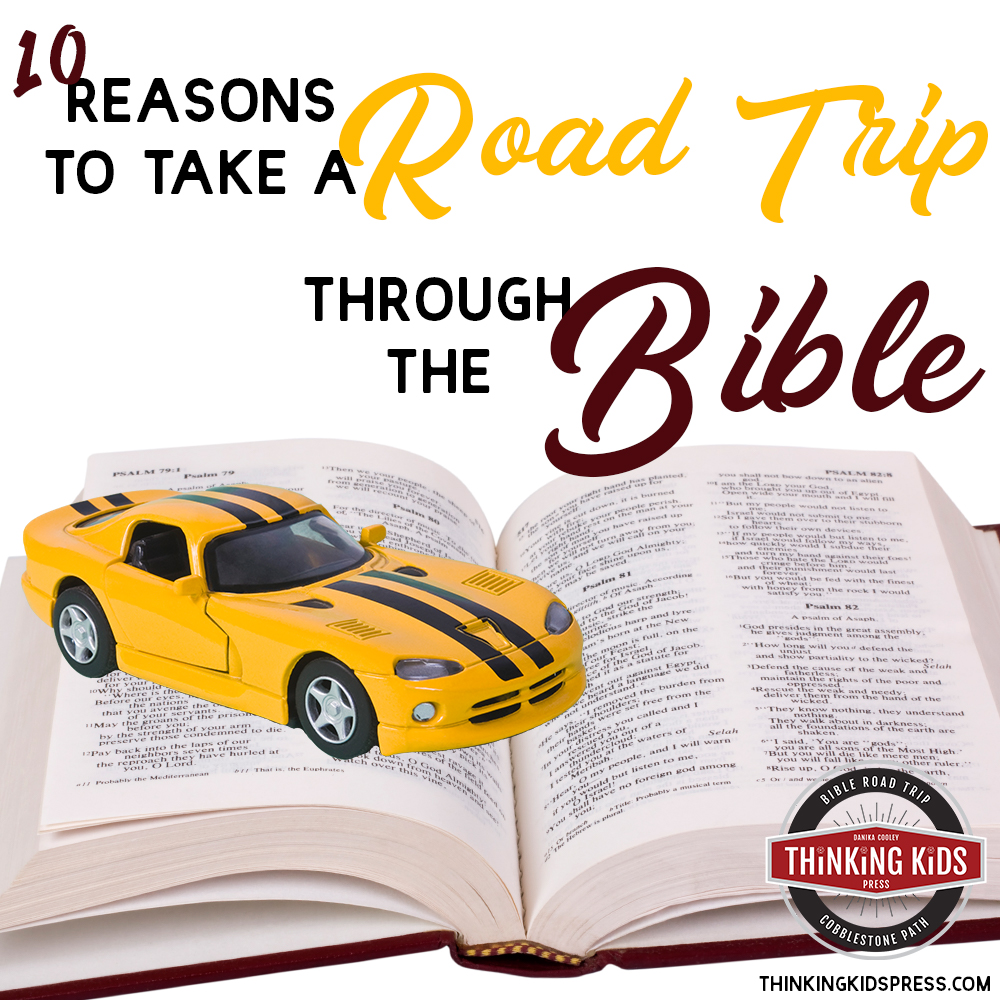
I don’t think there’s any better way to teach kids about the themes and symbolism of the Bible than to read the Bible. That’s the reason I wrote Bible Road Trip™–to help you go through Scripture as a family. That said, there are so many ways we can make learning about Scripture fun for our kids.
These sheep cookies are a fun way to talk about how believers in Christ are sheep. There are some cute printable tags with John 10:11 on them you can tie to the cellophane-wrapped sheep cookies. This easy Easter cookie project would be a fun gift to make a for neighbors, at Sunday school, or in a homeschool group.
Easy Decorated Easter Cookies
Check out this fun video I made of the Sheep Cookies!
Tips for Making Easter Cookies with Kids
Working on snack projects with kids is so much fun, but it can be a challenge. If you choose to involve your kids, I have a few suggestions for you.
- Expect a mess. Put your child’s long hair up, wash little hands, and have them wear washable clothes.
- Prepare the food before hand. For little ones, the real fun is in the decorating, so do as much of the prep work as you can before you involve the kids.
- Keep basic supplies on hand. I’m embarrassed to tell you how many types of sprinkles I have. We eat really healthy, but when we celebrate, there are always sprinkles involved. It’s nice to have a little supply of food decorations. You know, for emergencies.
- Set the food to be decorated on a child-size table or on a plastic table cloth on the floor. Nothing ruins the food decorating fun faster than having a child fall off a kitchen stool. Your kids will be intent on their decorating task. They may not remember they’re standing high above the ground. (Don’t ask me how many children fell off before I realized this!)
- It’s OK to do easy. For special celebrations, there’s nothing wrong with using store-made supplies!
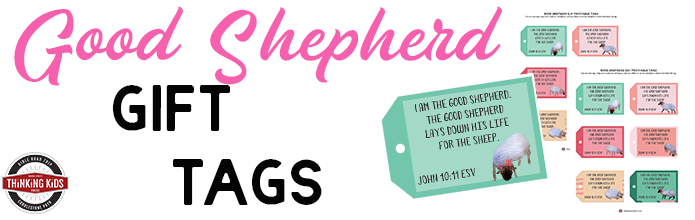
Gift Tags to Print
Sign up for the Thinking Kids newsletter, and you’ll receive encouragement, free gifts, and exclusive offers. Grab your FREE Good Shepherd gift tags (with the cookie instructions).

- Sometimes readers are concerned about using colored ink. If this is the case for you, there should be a setting on your printer that allows you to print in black and white. Printing in grayscale will still use some color, but it will come out prettier than black and white
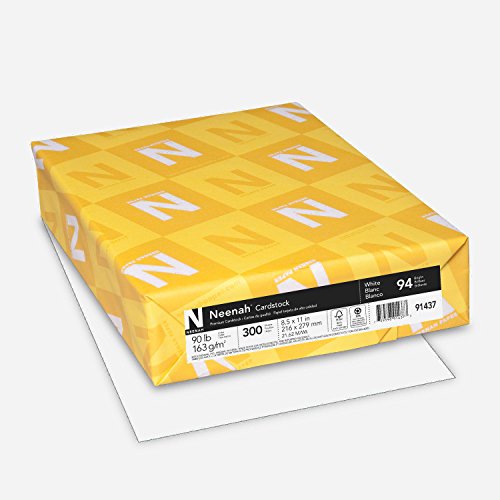
- I recommend printing on white cardstock so the cards will be more durable and the back won’t show through on the front. This is my very favorite cardstock: Neenah Premium Cardstock.
- You’ll need to cut them out and glue them onto toothpicks. You can choose the black and white flags for your kids to color in, or the already colorful set.

Supplies Needed to Make Your Sheep Cookies
You’ll need a few supplies to make your project. You may have a few of these items already. If not, these are all fairly inexpensive and will serve you well for multiple projects.
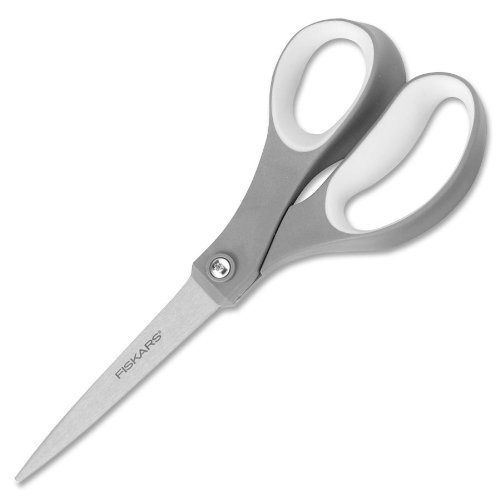
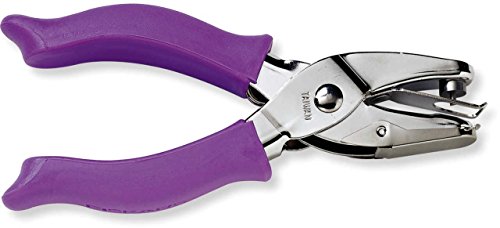
Oreo Mega Stuf Chocolate Sandwich Cookies Wilton Candy Melts, 12 oz.Wilton Black Candy Melts, 10-OunceKraft Jet Puffed Mallow Bits, Vanilla, 3 ozCK Products Non-Pareils White, 3.8 Oz.Confetti Jumbo Red Hearts 2.8 oz. CONJRHBamboo Wooden ToothpicksNeenah Cardstock, 8.5Fiskars 01-004761J Softgrip Scissors Straight Stainless Steel, 8 InchFiskars 23517097J Circle Hand Punch, 1/8 Inch, Purple
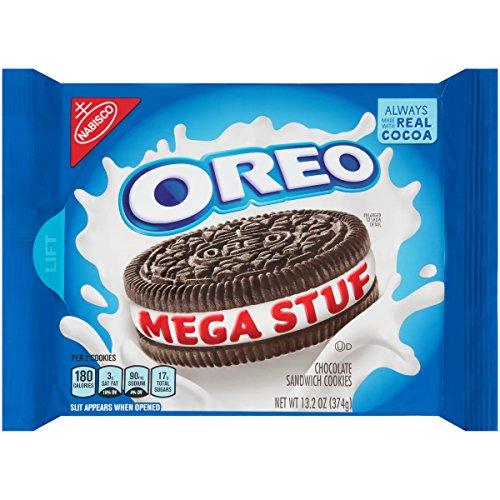

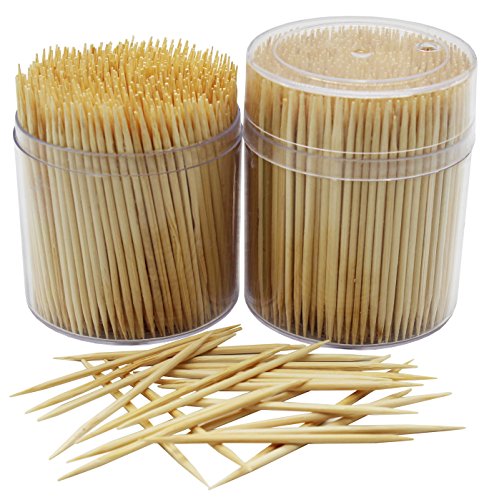
- 1 package Double Stuf Oreo Chocolate Sandwich Cookies
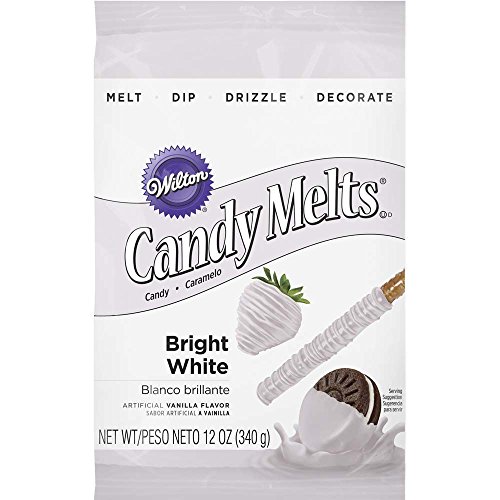
- 2 (11 ounce) packages white chocolate chips or candy melting wafers
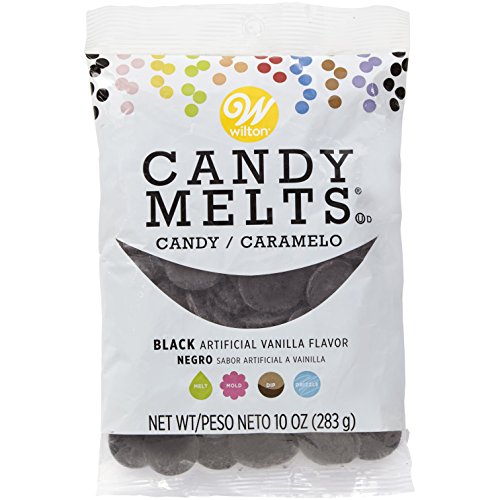
- 1 (10 ounce) package black candy melting wafers
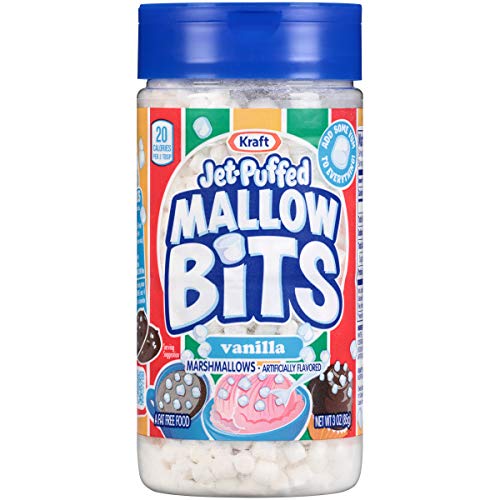
- 1 (3 ounce) container vanilla marshmallow bits
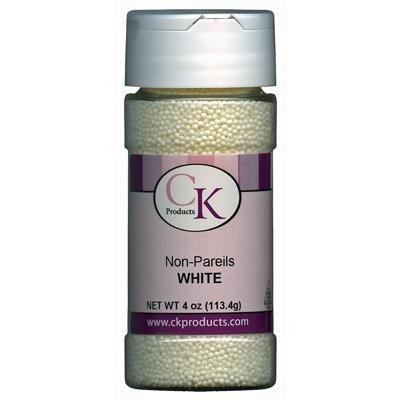
- White nonpareil sprinkles
- Heart sprinkles
- Good Shepherd gift tags
- Scissors
- Hole Punch
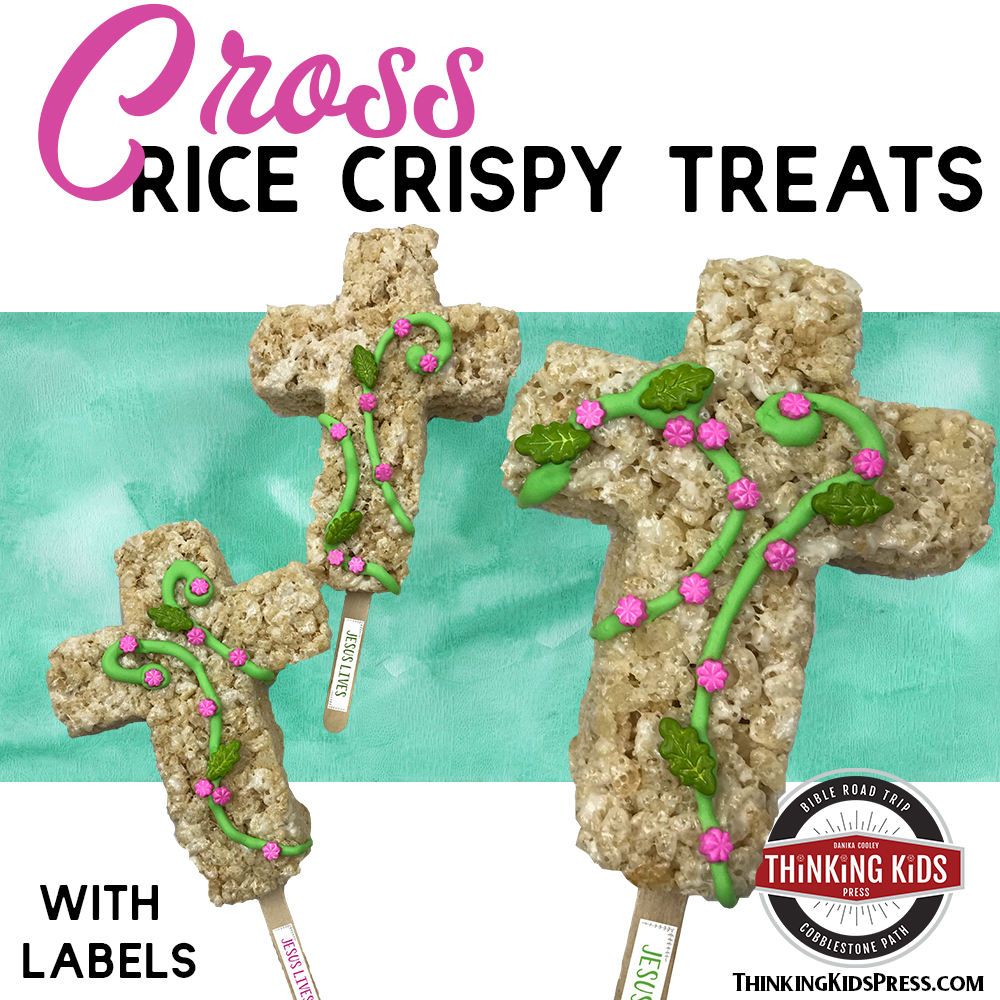
Creating Your Decorated Easter Cookies
Before you get started on the cookies, read John 10:11-15 with your kids.
Talk about how Jesus is the Good Shepherd, who lays down his life for the sheep. Talk about what it means that Jesus laid down his life for us–so that our sins can be forgiven, and about how he rose from the dead. One day, the Good Shepherd will return for his sheep!
Here are the steps for your Easter sheep cookie assembly:

1) Print Your Good Shepherd Gift Tags.
Print out your gift tags in the version of your choice (ESV or KJV). Use cardstock to make them durable. You can print as many sheets as you’d like!

2) Cut Out Your Gift Tags and Punch a Hole in the Top of Each.
Cut out your gift tags and use a hole punch to make a hole in the top of each one.
3) Line Your Baking Sheet.
Line your baking sheet with wax paper to protect it.
4) Heat Your White Chocolate Chips.
Place white chocolate chips in a microwave safe bowl. You’ll just want to heat one bag at a time. Heat on high for 30 seconds and stir. Repeat in 30-second increments, stirring each time, until completely melted. Do not overheat as the chocolate will seize and become unusable. If the chocolate is too thick to pour, you can add coconut oil or vegetable shortening to the chocolate, 1 teaspoon at a time, until you reach a pourable consistency.

5) Coat Your Cookie with White Chocolate.
Drop cookie into melted chocolate and turn to coat completely. Place cookie in a fork, tapping the fork gently against the side of the bowl, allowing excess chocolate to return to the bowl. If air bubbles form, pop them with a toothpick.

6) Put Marshmallows on Your Cookie.
Slide the coated cookie onto the baking sheet. Using a clean piping tip to protect the middle of the cookie, sprinkle marshmallow bits over the cookie and press into place. Remove the piping quickly with a slight twist. Allow cookies to set completely before proceeding to the next step.

7) Make Your Sheep’s Face.
Melt black candy melts according to package directions. Transfer to a piping bag or zip-top freezer bag with the corner snipped. Pour candy into the middle of the cookie to create the sheep face.

8) Give Your Sheep a Candy Face.
While the candy is wet, use sterilized tweezers and/or a toothpick to place the white nonpareils as eyes and a heart as the snout.

9) Wrap Each Cookie in Cellophane.
Allow cookie to set completely at room temperature or refrigerate for faster results. Wrap each cookie in colored cellophane, tie a ribbon around the top.

10) Attach the Gift Tag to Your Cookies.
Thread one end of your ribbon through a Bible verse gift tag and make a bow.
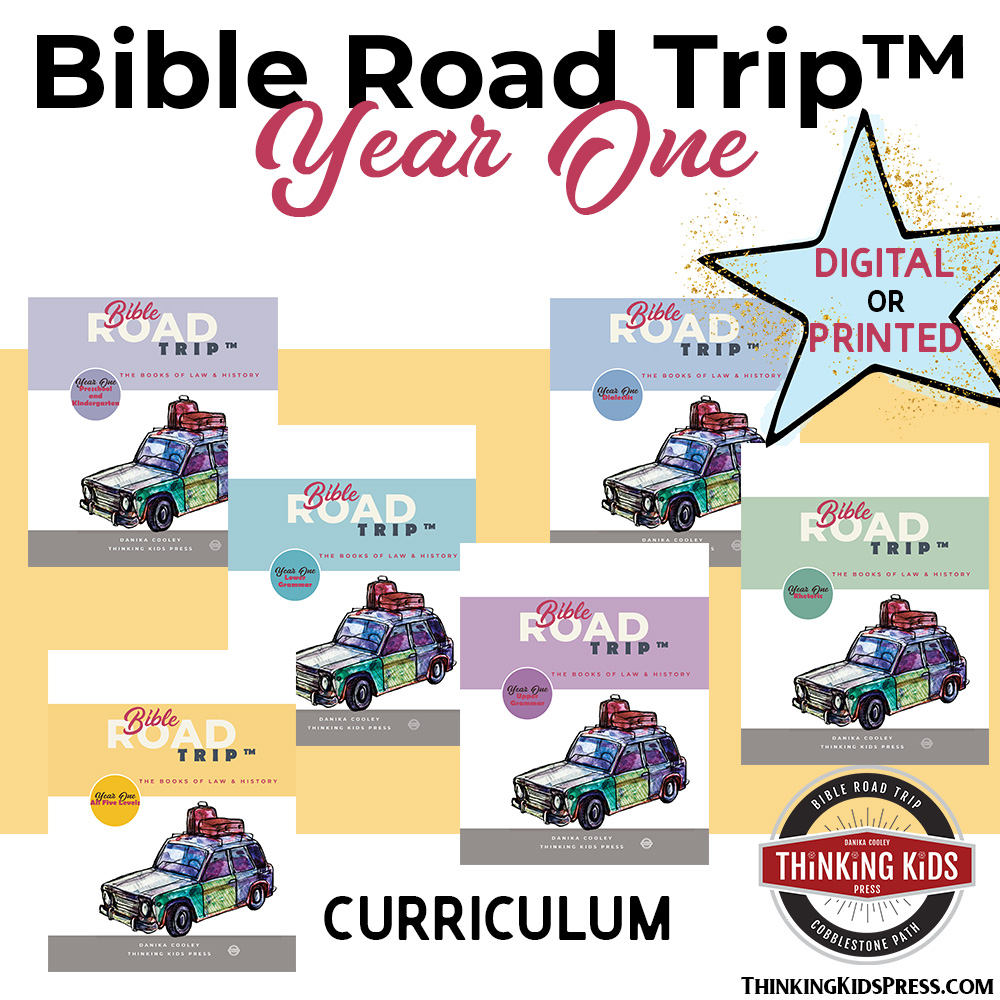
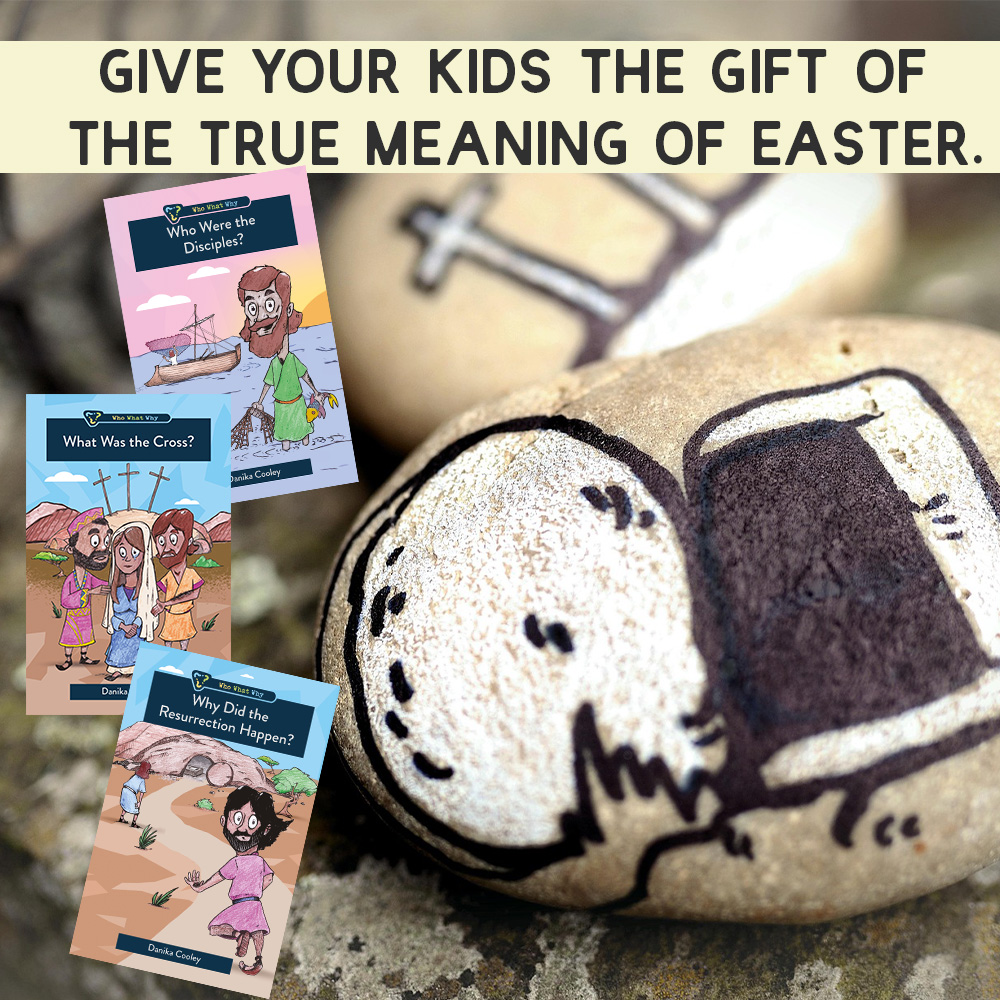
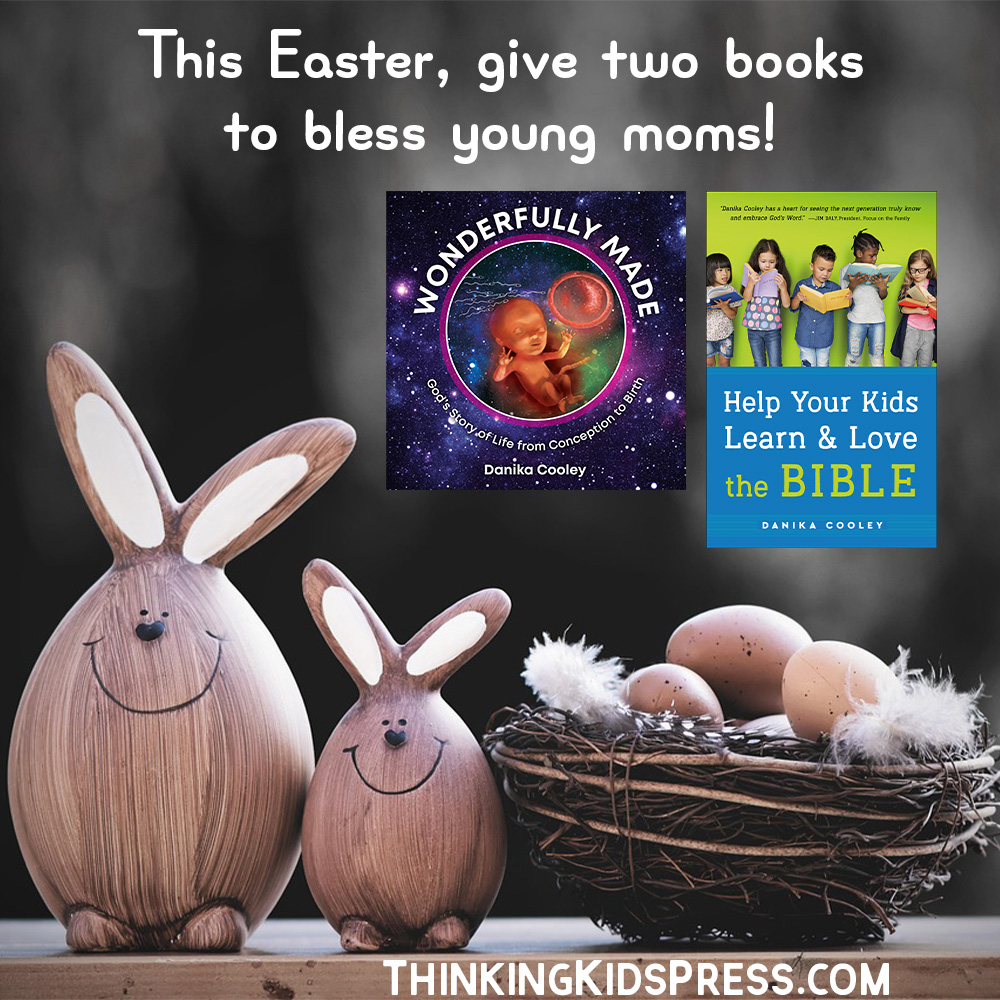
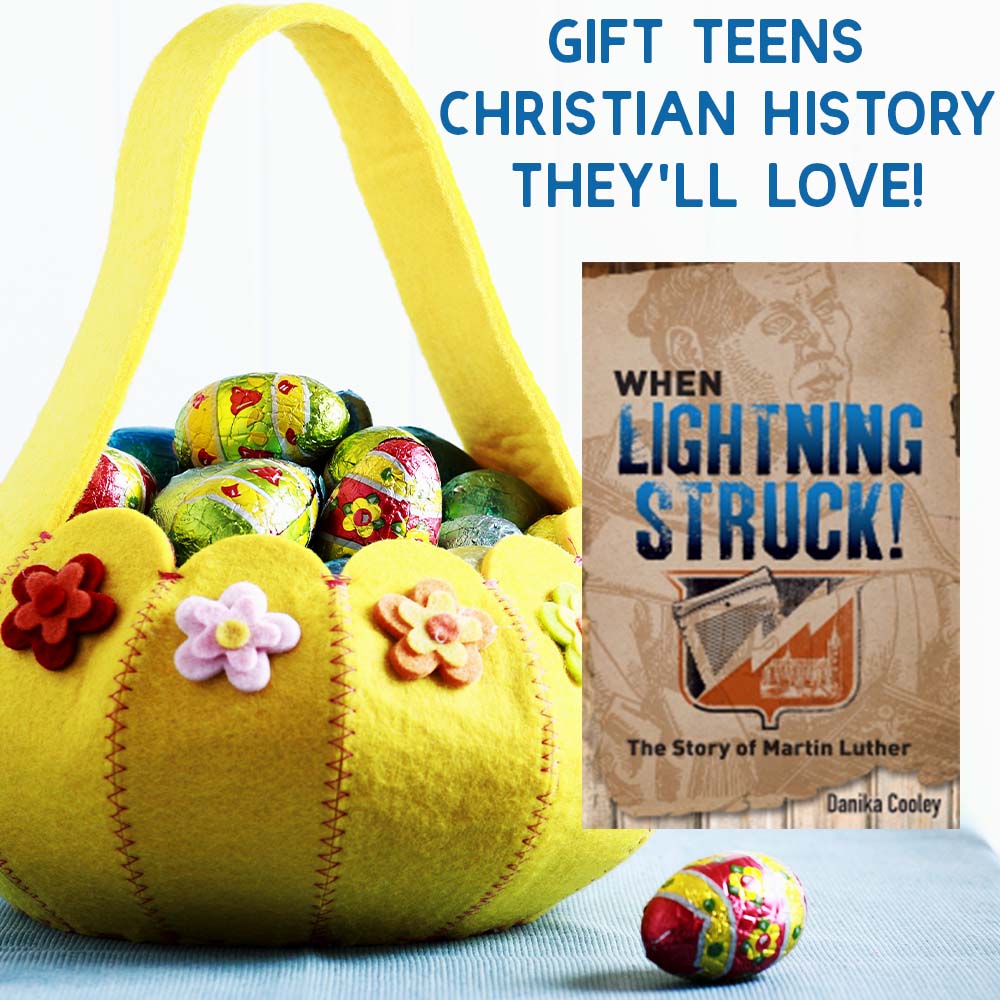
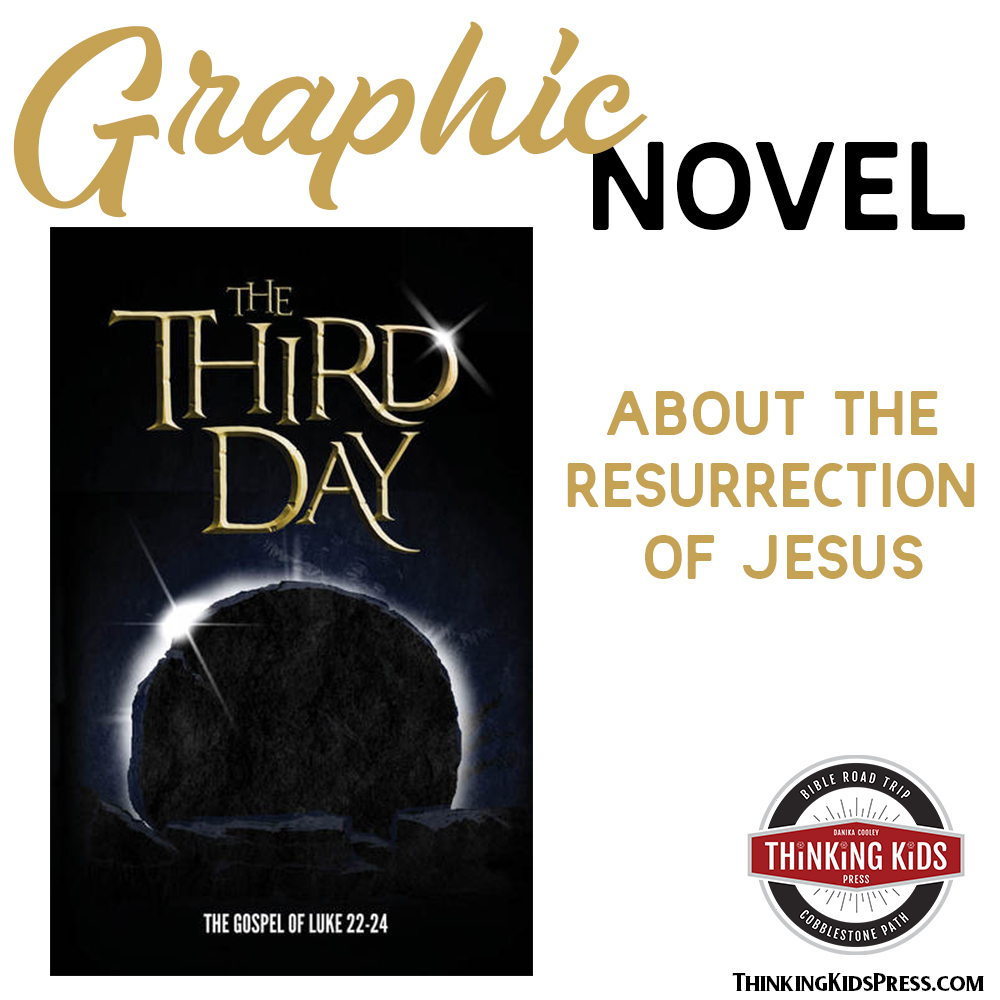
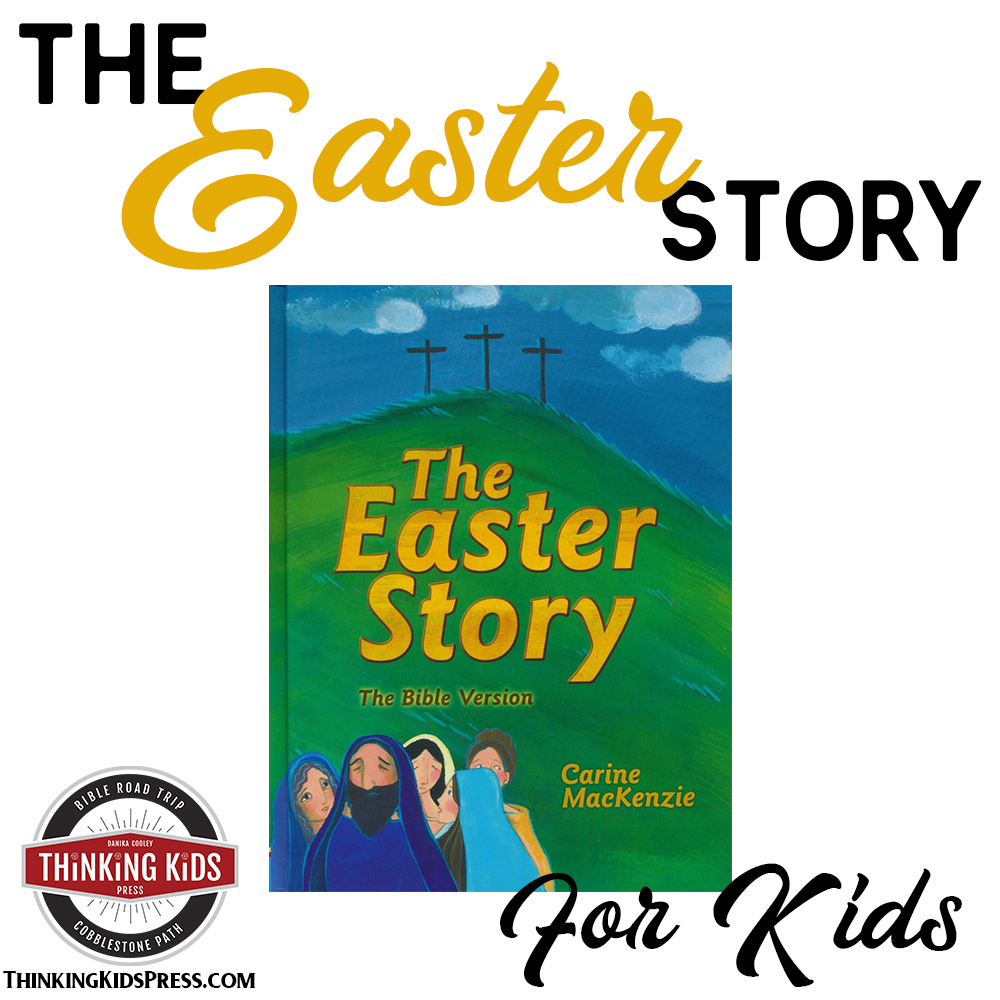
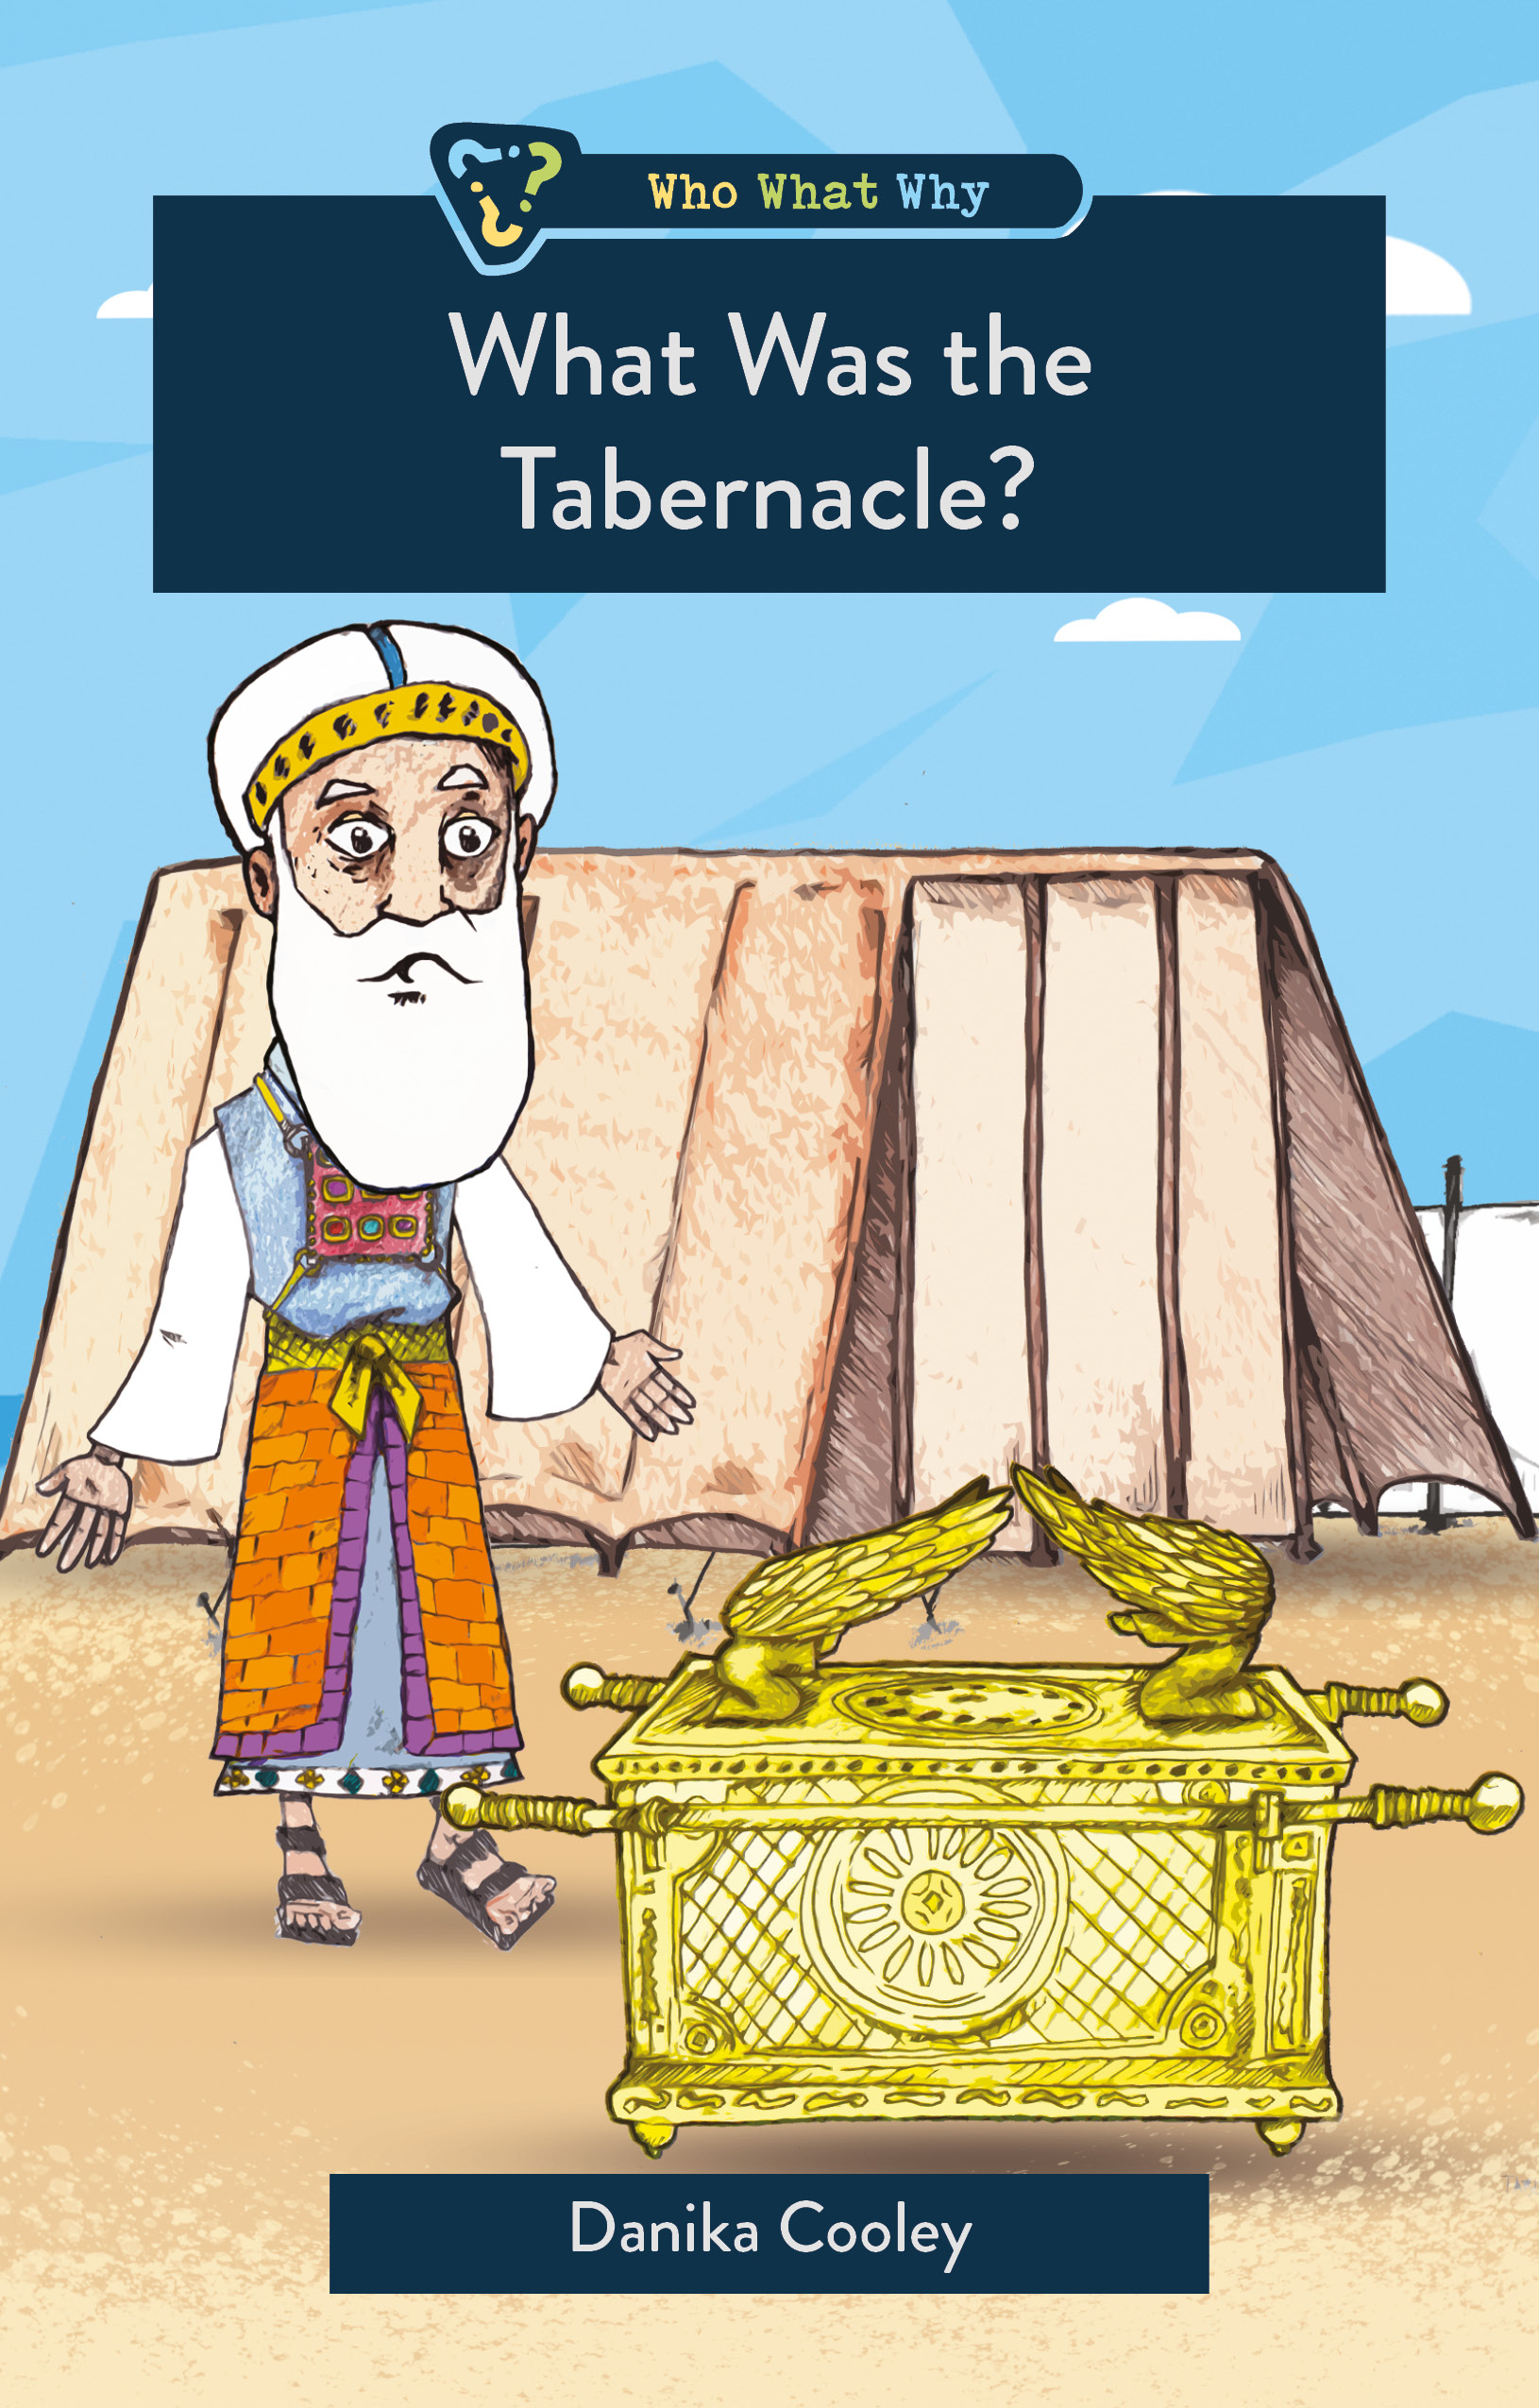
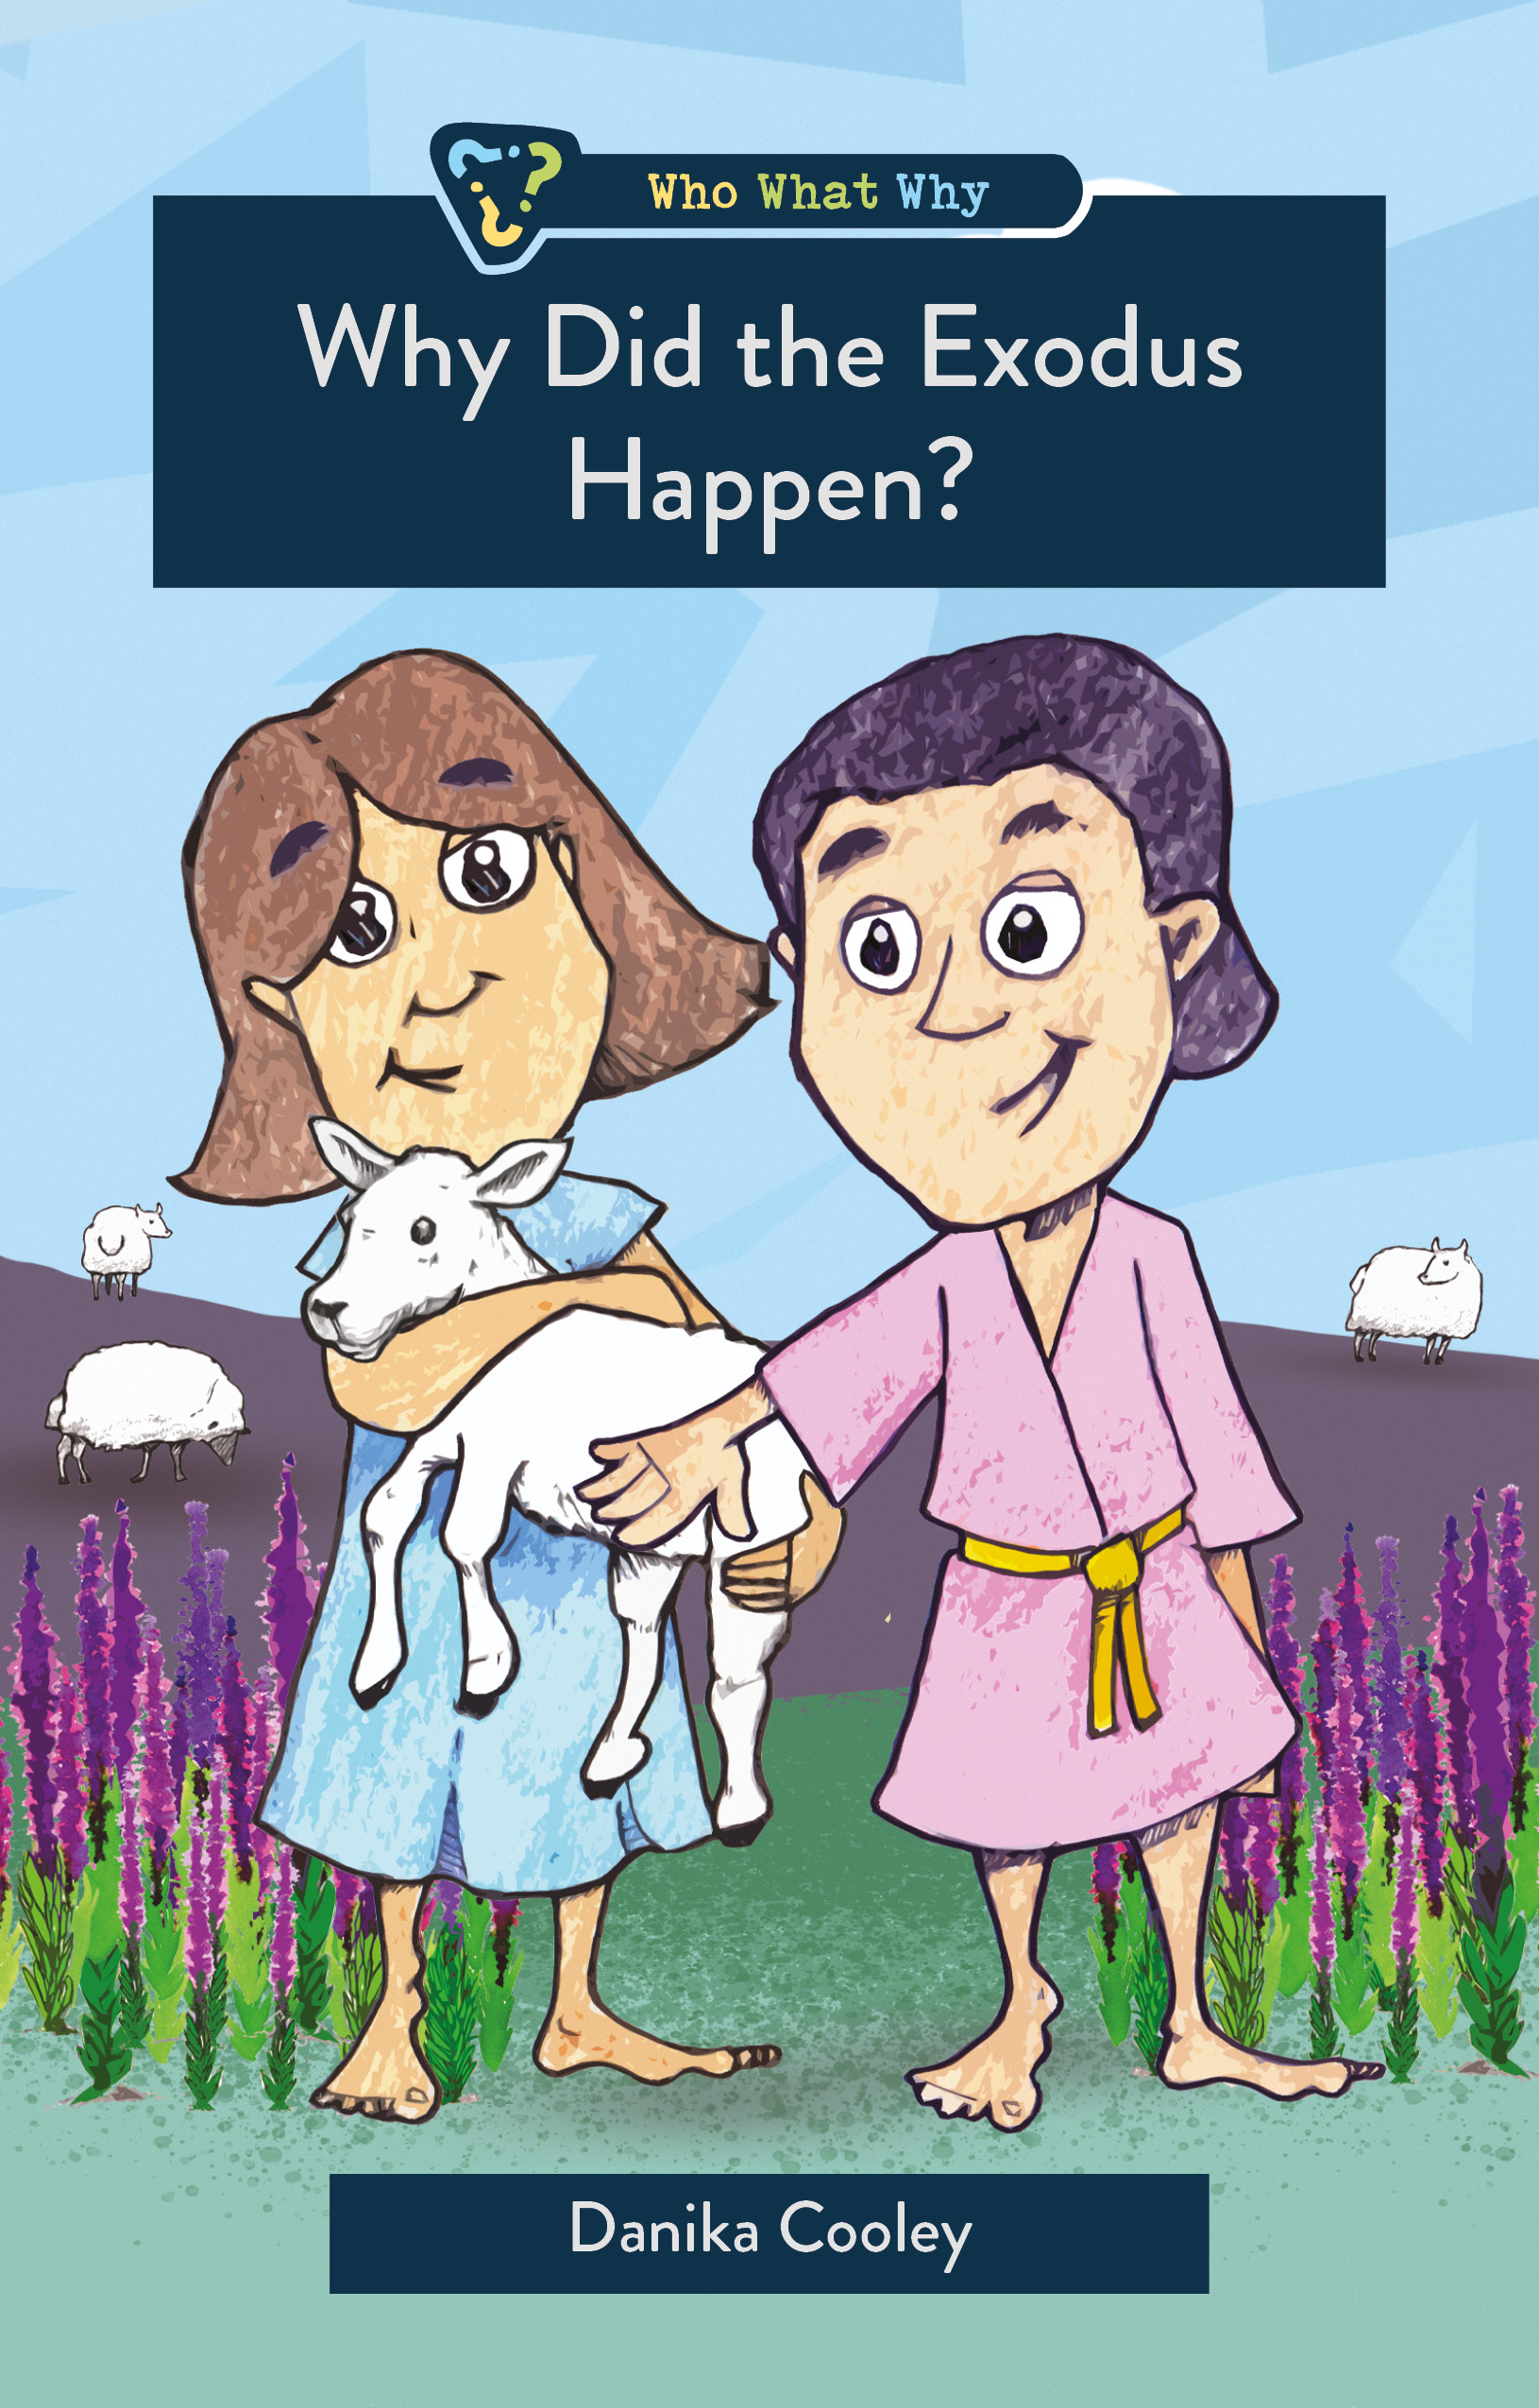
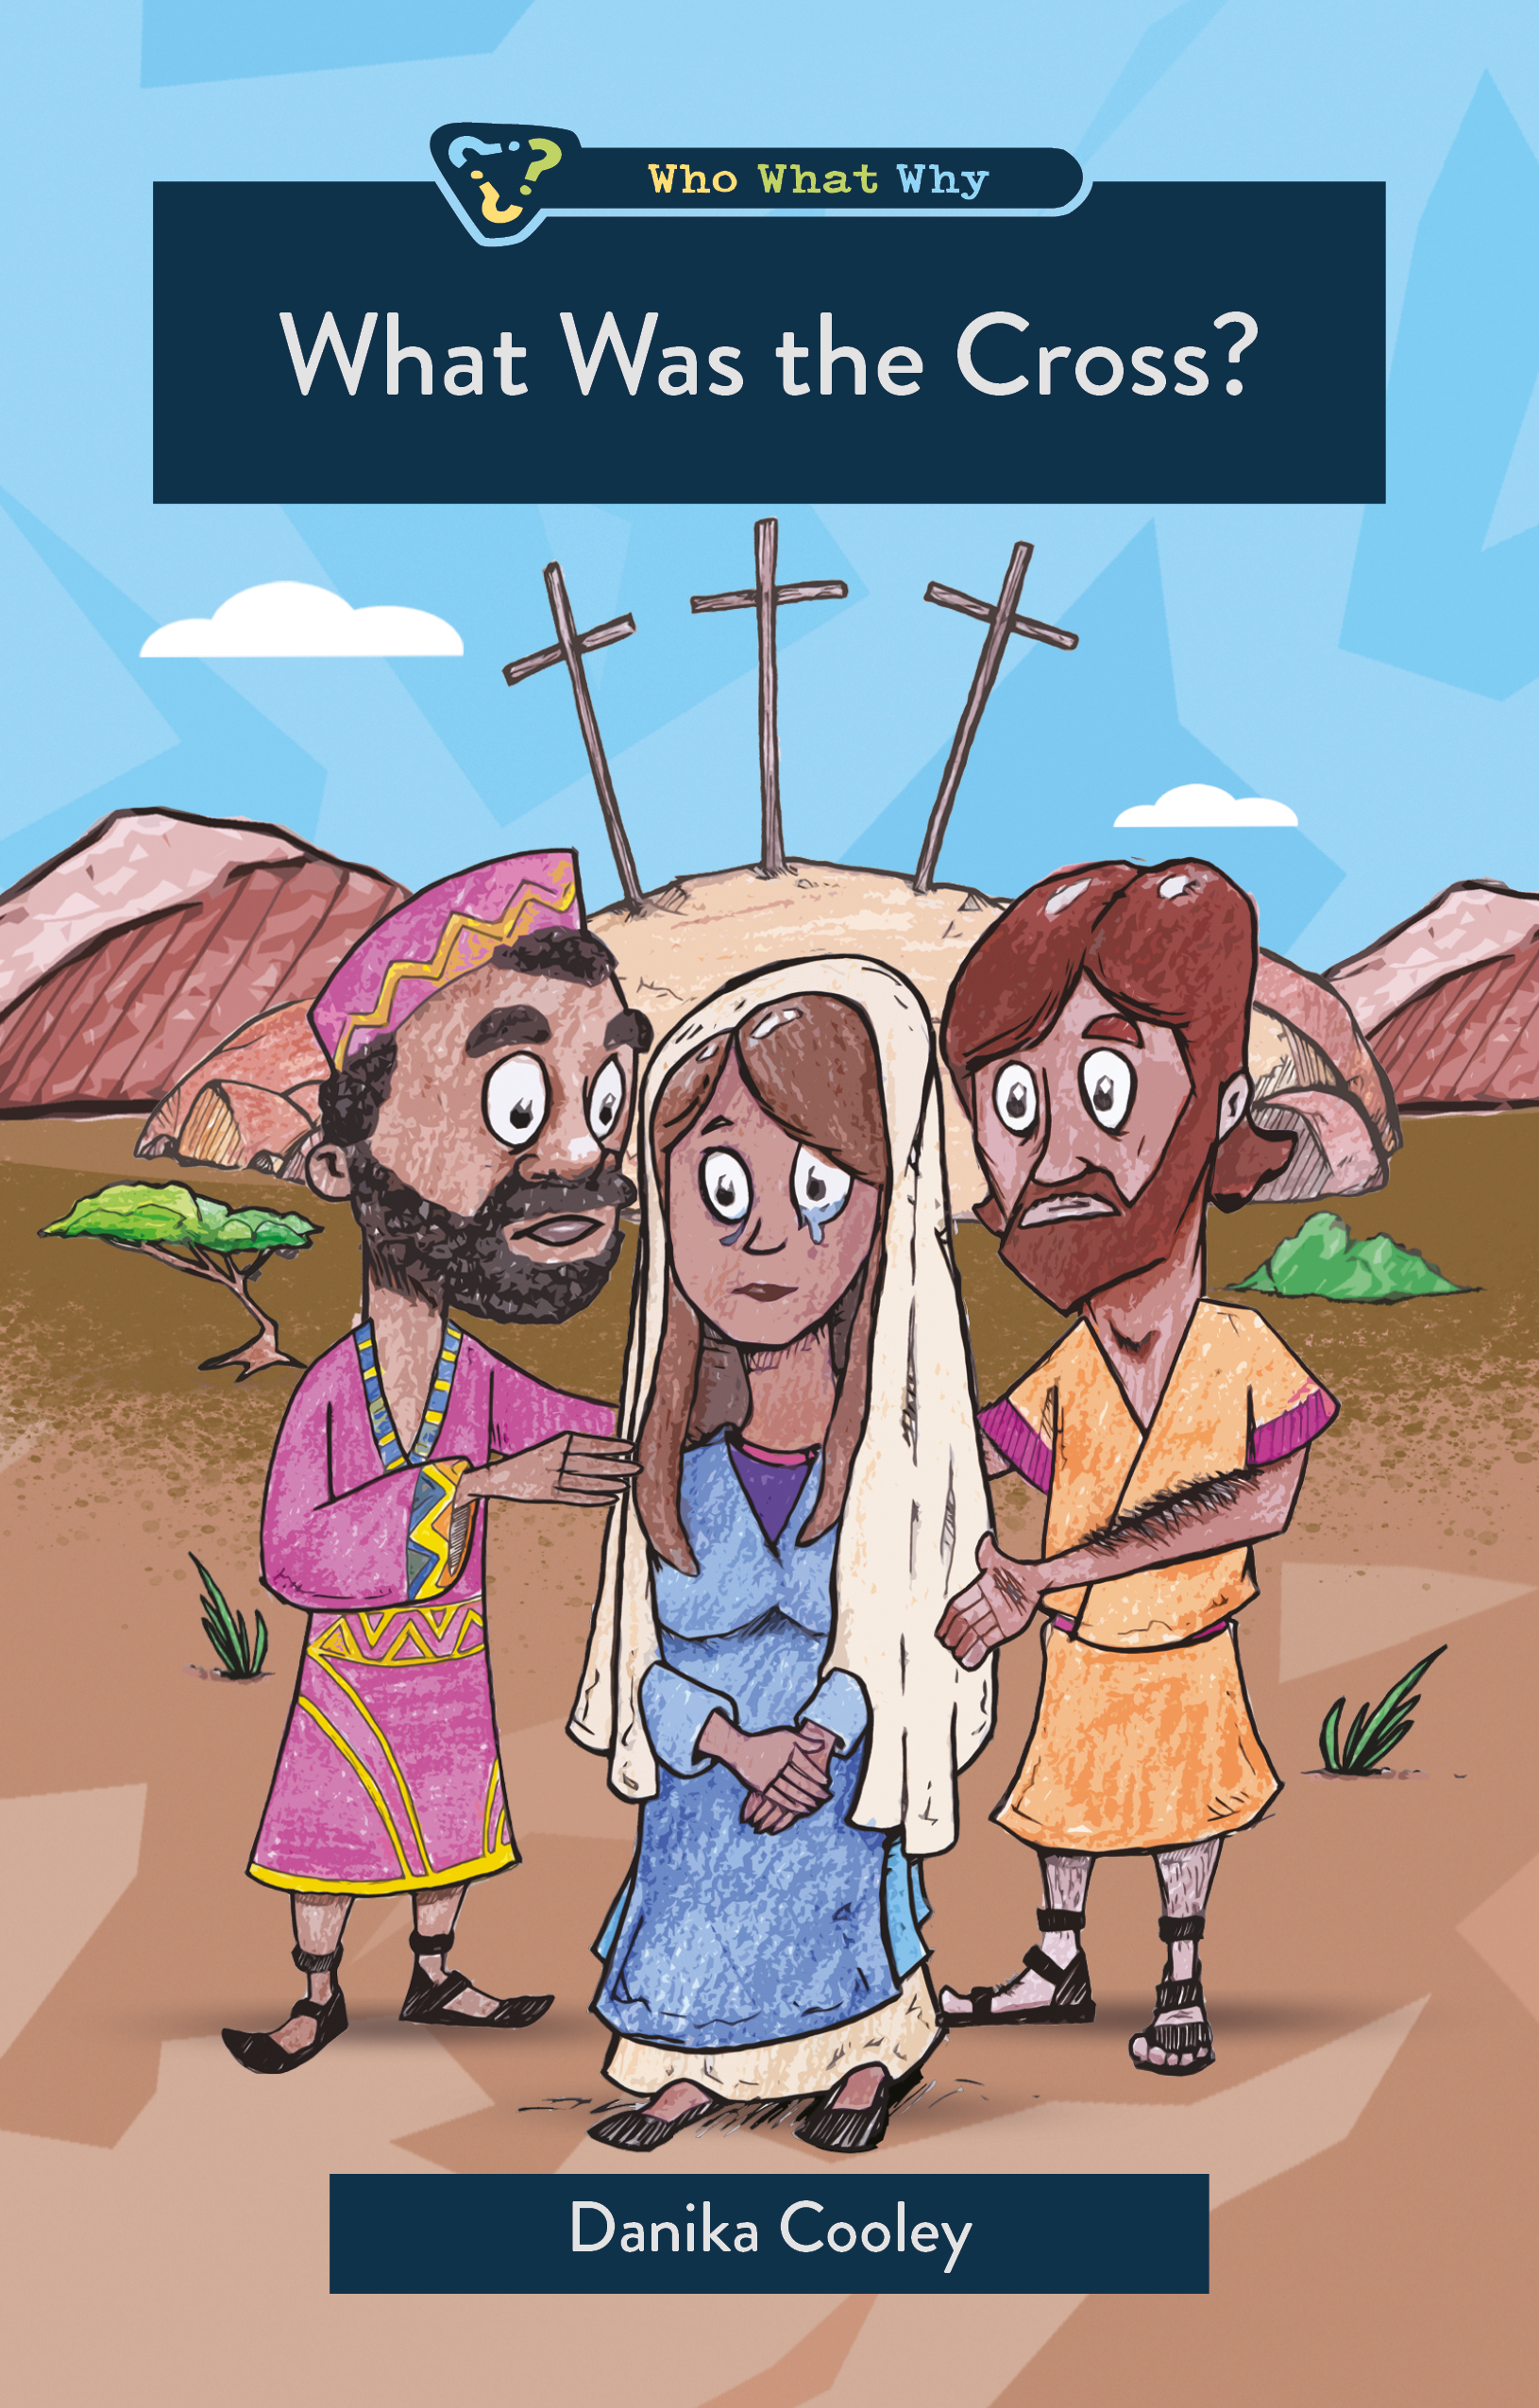
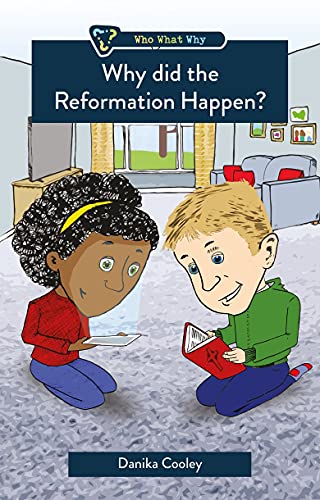
Books Make Great Gifts!
Teach the kids about the Bible and Christian history…
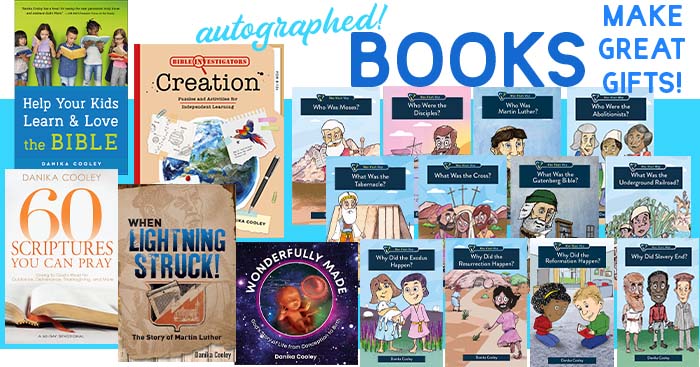
…with fun books they’ll love reading!
Introduce your children to engaging stories written in an engaging narrative they’ll want to read. As they learn more about God’s Word and gain real-life heroes, they will learn to apply Scripture to their own lives. And, give yourself the gift of a book that will help your kids learn and love the Bible.


More Thinking Kids Posts You’ll Love!