
The story of Moses and the Pharaoh of the Exodus is a story that demonstrates God’s power and sovereignty.
God called his servant, Moses, to be his prophet before the Pharaoh of Egypt, and before God’s chosen people, the Israelites. What a frightening thing it must have been for Moses to appear before Pharaoh and demand that he let God’s people go, even with his brother Aaron there to help.
Yet, God used Moses and Aaron to show his mighty power to Pharaoh, to the Egyptians, to the Israelites, and to Moses and Aaron, as well.
Moses and the Pharaoh of the Exodus
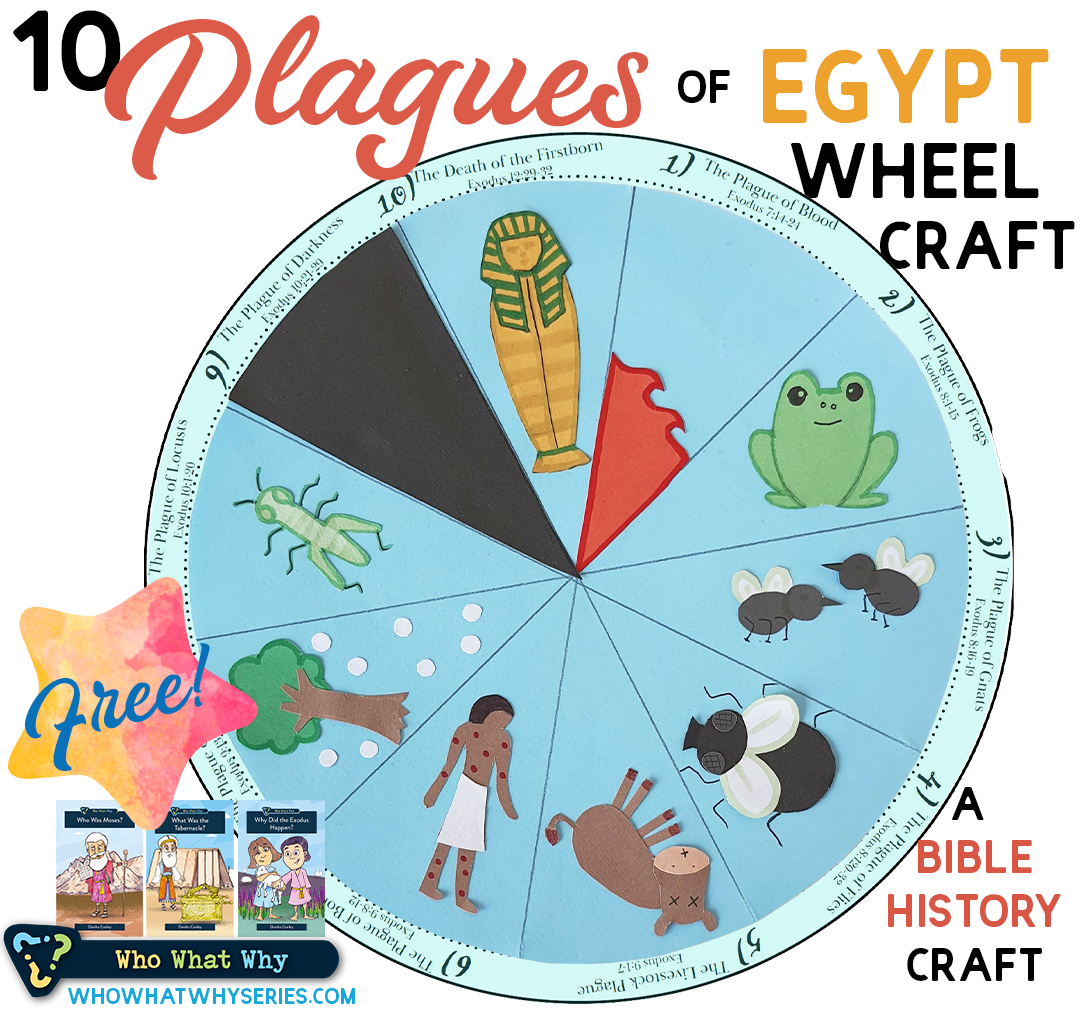
The story of Moses’ meetings with the Pharaoh of the Exodus are found in the book of Exodus, chapters 5-11. God had Moses display miraculous signs before the Pharaoh in order to demonstrate God’s power, might, and sovereignty. Then, the Lord enacted 10 plagues on Pharaoh and his people to show his glory and majesty.
Still, Pharaoh refused to let God’s people go–until the very last terrible plague.
Your kids can read all about the story of Moses and the Pharaoh of the Exodus in my narrative biography from Christian Focus Publications, Who Was Moses?. The book is a fun way for your kids to learn about a man who knew God face-to-face, wrote 5 books of the Bible, and was an important prophet in the Old Testament.
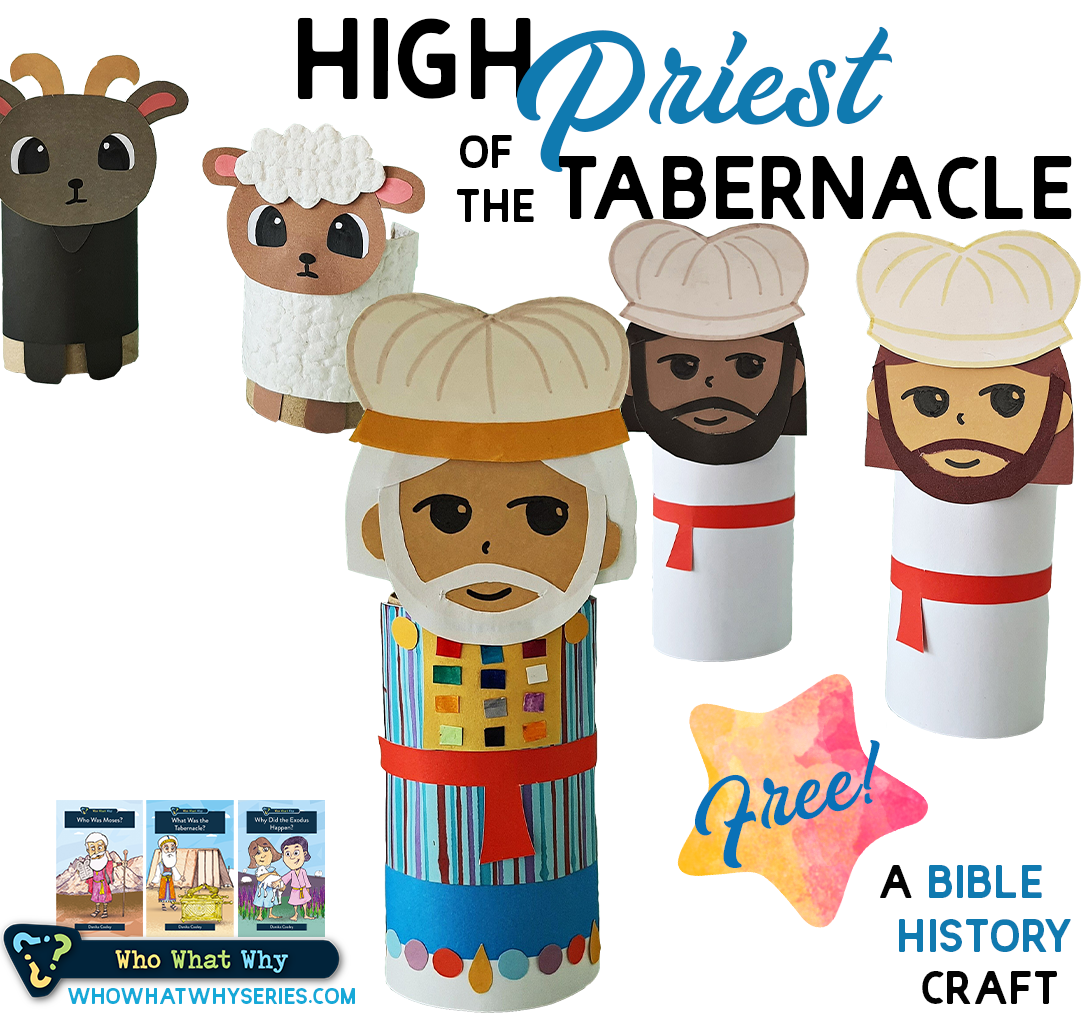
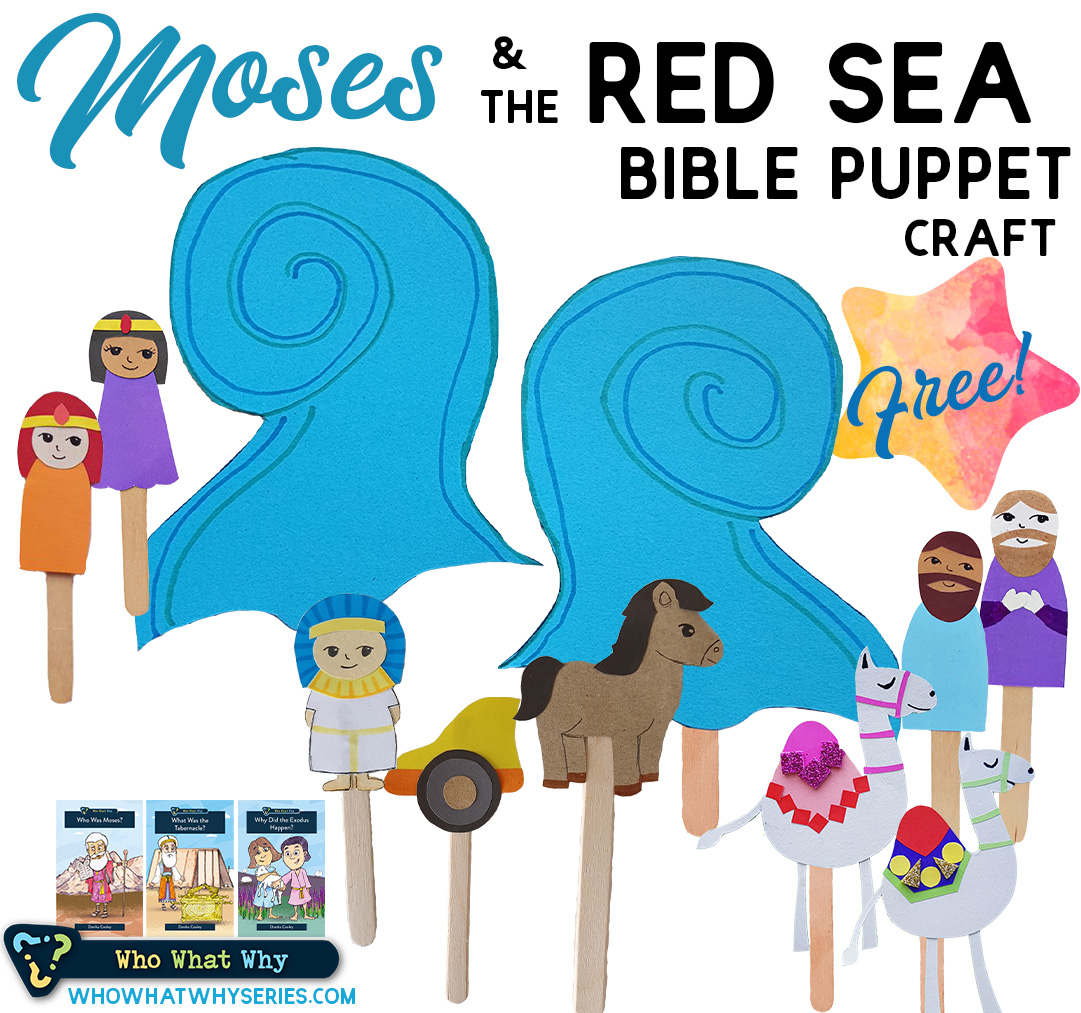
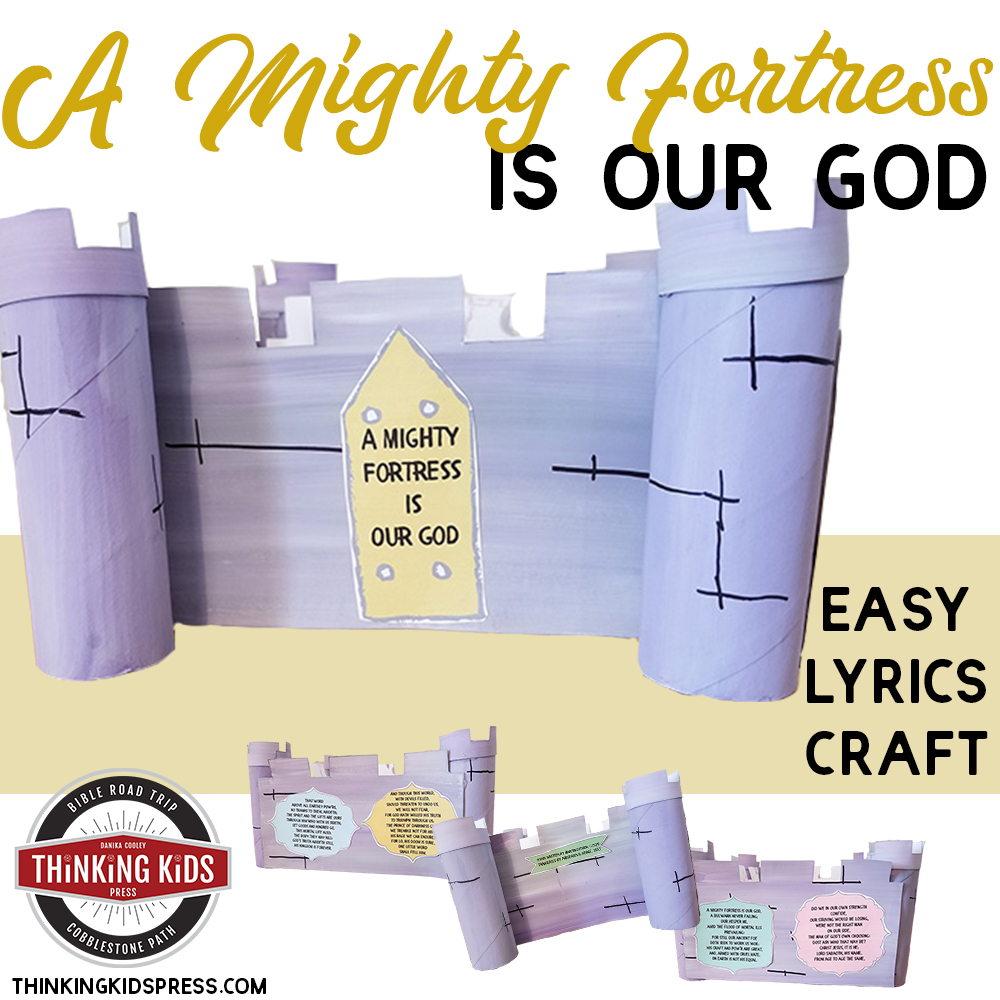
This fun craft will allow your kids to construct Moses, Aaron, the Pharaoh, the Pyramids of Giza, and two camels.
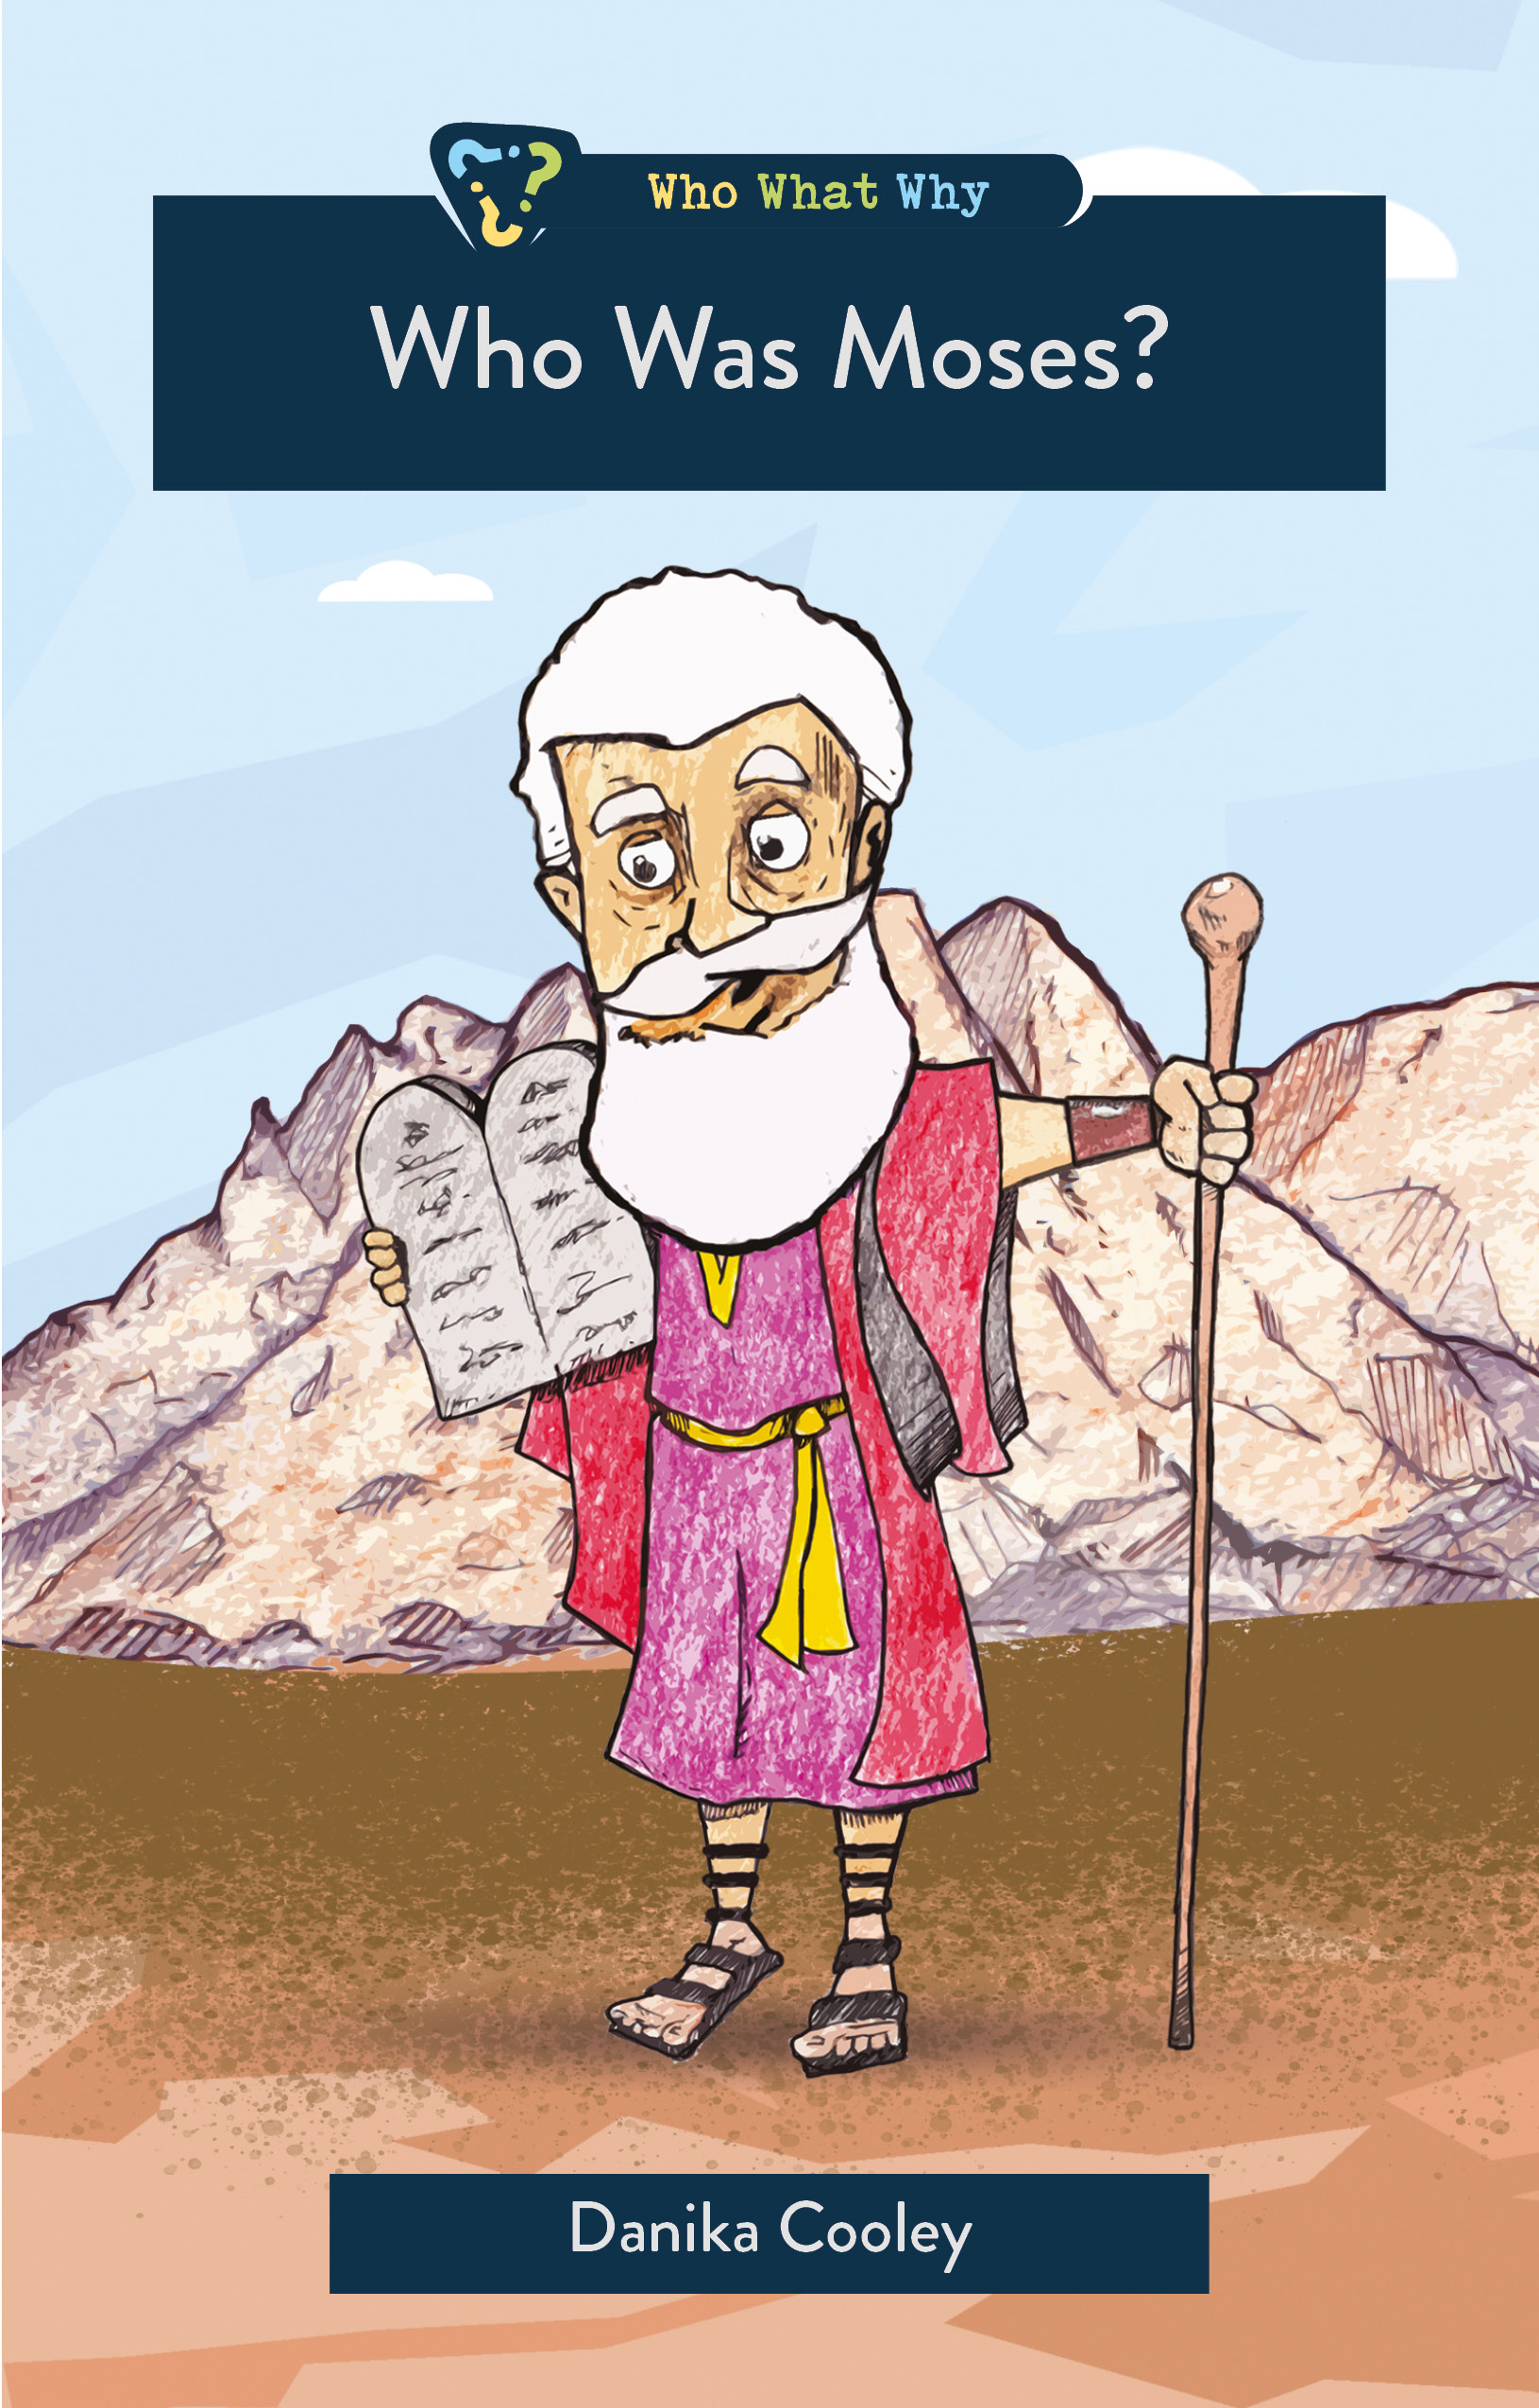
Who Was Moses?
This engaging book follows the life of one of the most important figures in the bible and recounts key events such as the burning bush, the ten plagues, the parting of the Red Sea, and the receiving of the Ten Commandments. Far from being a boring biography, the narrative is engaging and there are plenty of pictures and maps included. Readers are also pointed to God’s big picture and will discover how the life of Moses relates to us today.
Amazon | Thinking Kids Press | Christian Focus Publications | Barnes and Noble
Now, in the land of Egypt, there were grand palaces with giant statues of pharaohs who ruled before. Towering pyramids held elaborate mazes leading to kingly burial chambers. Egypt was a place of learning where people wrote in pictures, called hieroglyphs, that stood for letters, sounds, or sometimes words. Dentists and doctors put fillings in teeth, set broken bones, diagnosed cancer, and even performed basic brain surgery.
The land was also a place of false worship, where the people followed fake gods they thought looked like bulls, cows, frogs, and even the sun. In fact, each pharaoh believed he was the god of the sun, born into human flesh. Many of the people of Israel also followed the idols of Egypt. This is something the true God, Yahweh, hates–the worship of creatures, statues, and people.
Who Was Moses?, Danika Cooley (Christian Focus Publications, 2024), page 15
Moses and the Pharaoh Craft
You can help your kids commemorate what they’re learning about biblical history in a hands-on way! Check out this fun video of the Moses and the Pharaoh craft!
Moses, Aaron, and Pharaoh Supplies
You’ll need a few supplies to make your Moses and the Pharaoh craft:
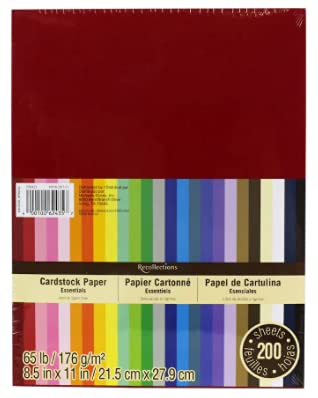
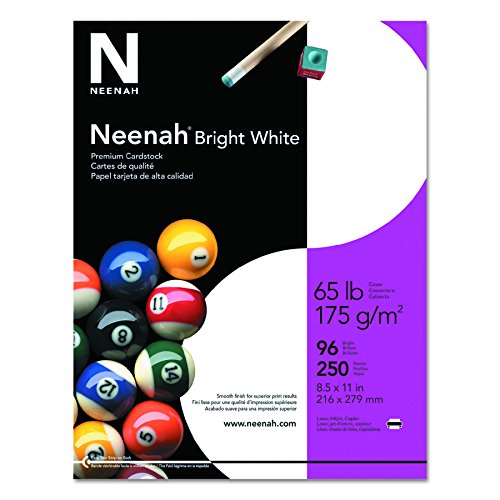
- Cardstock (colored and white)
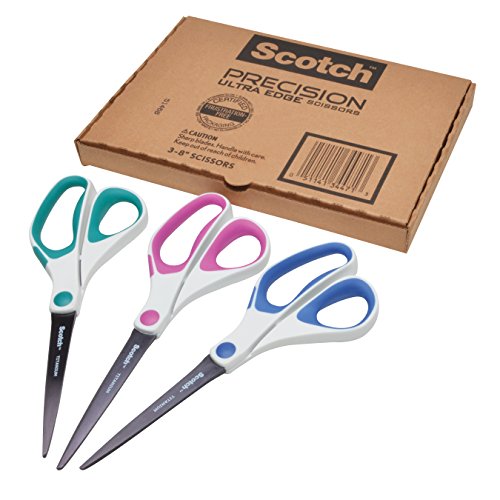
- Scissors
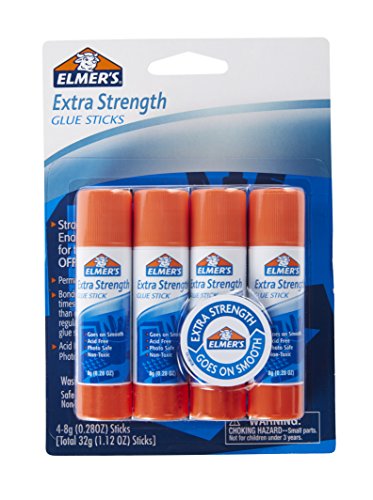
- Glue
- Pencil
- Permanent Marker
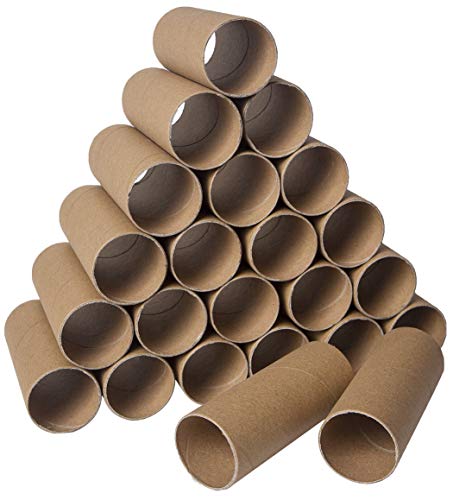
- Toilet Paper Rolls
- Printable Templates with Instructions
- Don’t forget this fun book that will teach your kids about Moses: Who Was Moses?


Moses and the Pharaoh of the Exodus Craft | Instructions
Your child’s representation of Moses, Aaron, Pharaoh, camels and the Pyramids of Giza is a great way to help them consider what they learn as they read Who Was Moses? from the Who What Why series!
1) Print your templates.

Print the templates on cardstock. Each figure will need a base body clothing layer. You will use the same rectangular piece for each figure.
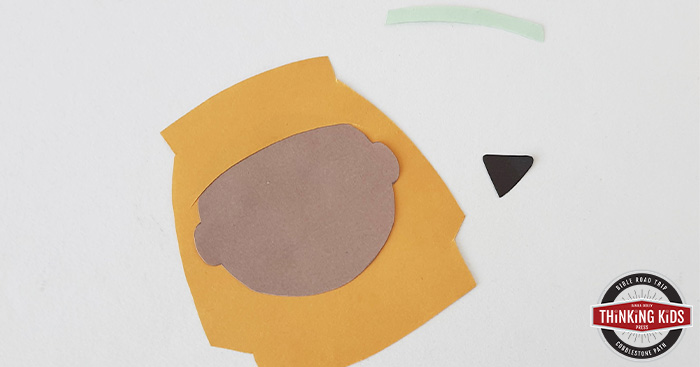
2) Assemble your Moses and Aaron figures.

Lay the template pieces over the cardstock in the colors your child would like to use for Aaron. Trace the pieces on the cardstock and cut out the pieces.

Glue the hair to the top of Aaron’s head.

Glue the beard to the face, as shown.

Glue the mustache over the beard, leaving room for the lower lip.

Cut a slit into the head scarf, slip the head through the slit, and glue the back of the head to the long scarf piece.
 Glue the headband to the front of the scarf. Use permanent markers to give Aaron a simple face.
 Trace the base piece onto a piece of colored cardstock and cut it out.

Glue the belt to the middle of the body piece.

Glue the cloak pieces on either side of the body piece, leaving room for the belt, as shown.

Glue Aaron’s head to the top of the body piece, centering it above the opening in the cloak.

Wrap the body piece around the toilet paper roll and glue it on.

Glue Aaron’s staff to the front of his body.

Repeat the steps to create your Moses figure.
3) Assemble your Pharaoh figure.

Lay the template pieces over the cardstock in the colors your child would like to use for Pharaoh. Trace the pieces on the cardstock and cut out the pieces.

Cut a slit in the headdress to allow Pharaoh’s head to be inserted.
Insert Pharaoh’s head and glue it to the headdress.

Glue the headband to the front of the headdress, and the goatee to Pharaoh’s chin.

Use permanent markers to add a design to the headdress and band as shown.
 Use markers to color in the designs, as shown.
 Trace the base piece onto a piece of white cardstock and cut it out.
 Glue the band and belt to the base piece, as shown.
 Apply glue to the back of the inside of the headdress.

Slide the headdress over the body piece, as shown, and press to glue it to the back of the body piece.

Wrap the body piece around the toilet paper roll and glue it on.
4) Assemble your Camels.

Lay the template pieces over the cardstock in the colors your child would like to use for the camels. Trace the pieces on the cardstock and cut out the pieces.
 Glue the tassels to the two largest saddle pieces, as shown.

Trace the base piece onto a piece of colored cardstock and cut it out. Wrap the piece around the toilet paper roll and glue it on.
 Cut small slits on either end of the roll. One slit will be for the tail, and the other for the head.
 Cut four leg slits on the bottom side of the roll, opposite the head and tail slits.

From another roll, cut four thin strips for legs.

Insert the legs into the slits and glue them, making sure the legs are the same length so the camel can stand.
 Use permanent markers to draw a face on the camel, as shown.
 Insert the camel’s tail and head in the slits and glue them.
 Glue the three layers of saddle together, with the broadest piece on the bottom and the smallest piece on the top. Glue the saddle to the camel. Repeat the steps for additional camels.
5) Assemble your Pyramids of Giza.

Lay the template pieces over gold, brown, or yellow cardstock. Trace the pieces on the cardstock and cut out the pieces.
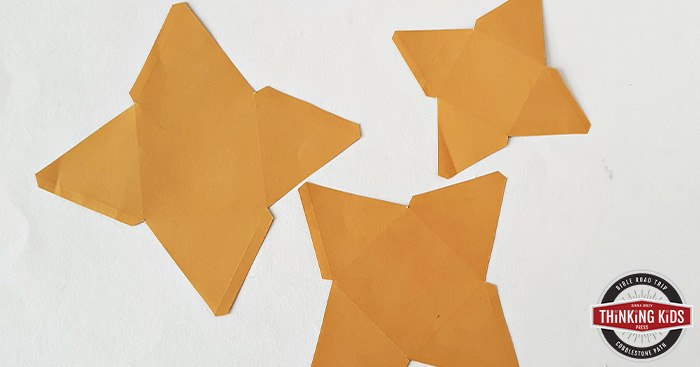
There will be three different sized pyramids.

Use a permanent marker to create a design for the bricks, as shown.
 Fold the thin edges on each side of each pyramid.

Apply glue along the outside of each folded edge, as shown.

Fold the pyramid walls upward.

Press the glued edge to the inside of the nearby pyramid wall.

Repeat this step until the pyramid is complete.
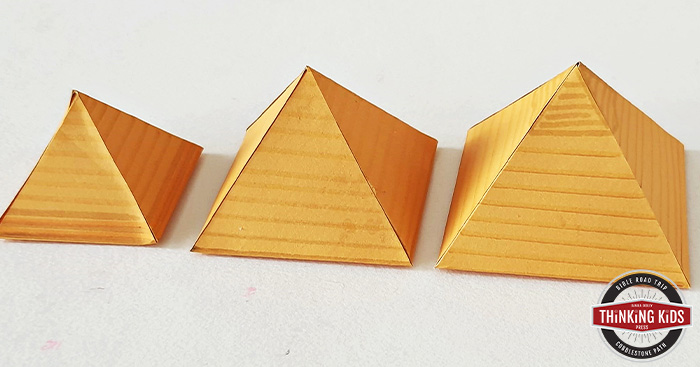
Glue each pyramid together and display them with your Moses and the Pharaoh set.

Display your craft as you read Who Was Moses? to remember God’s display of power and might before the Pharaoh!
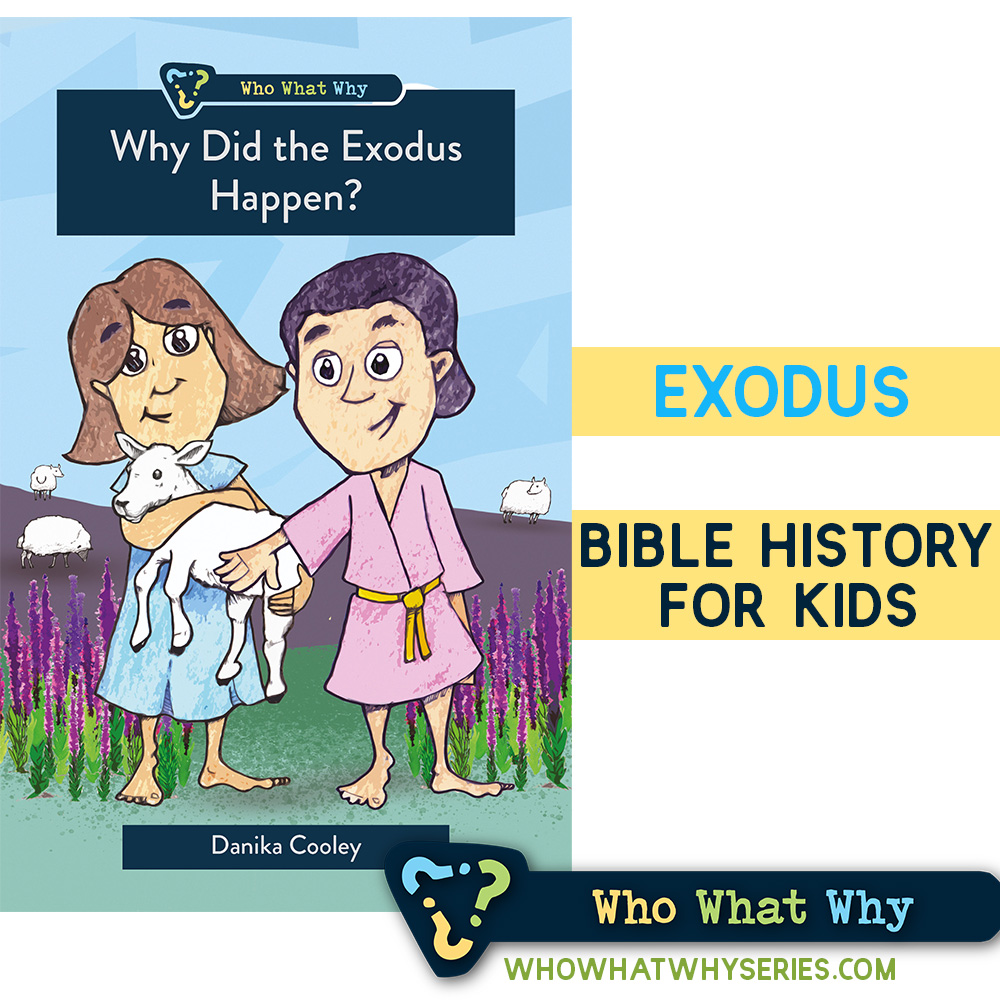
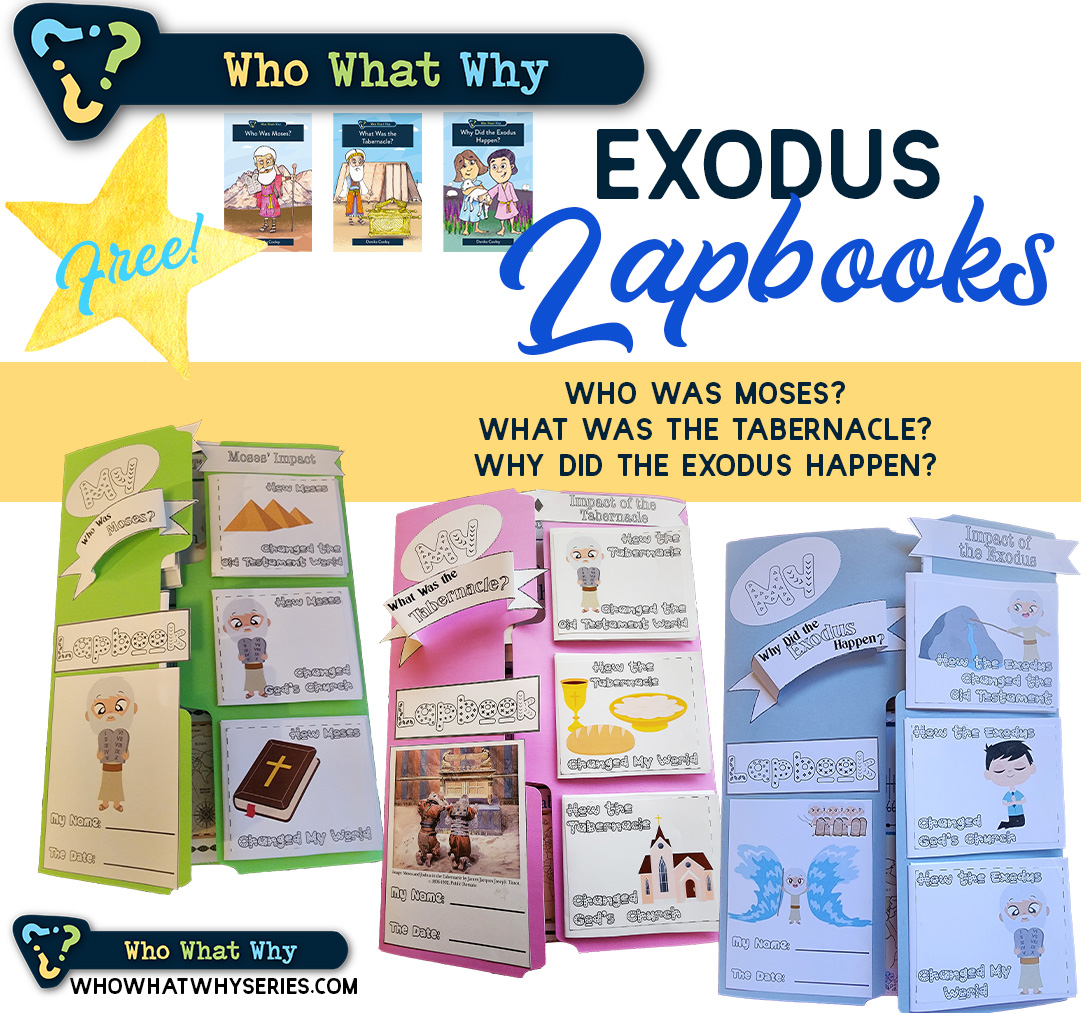
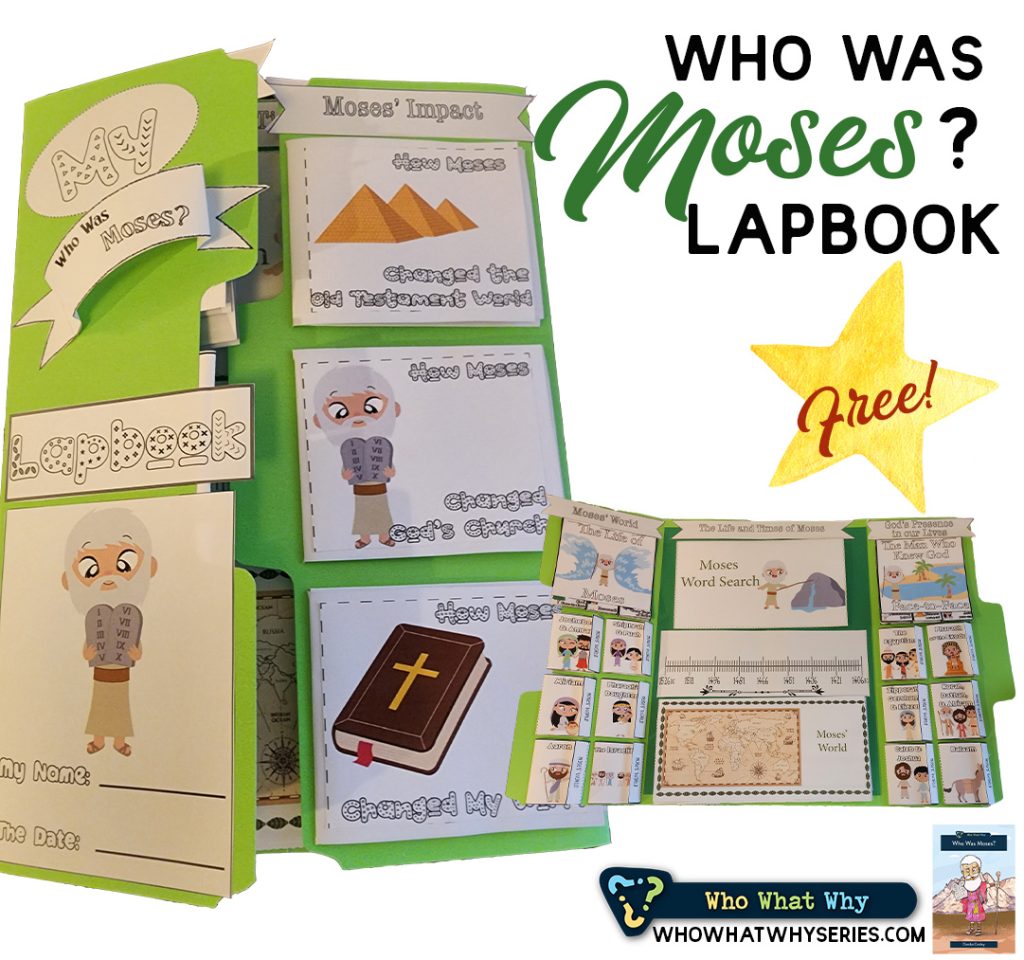
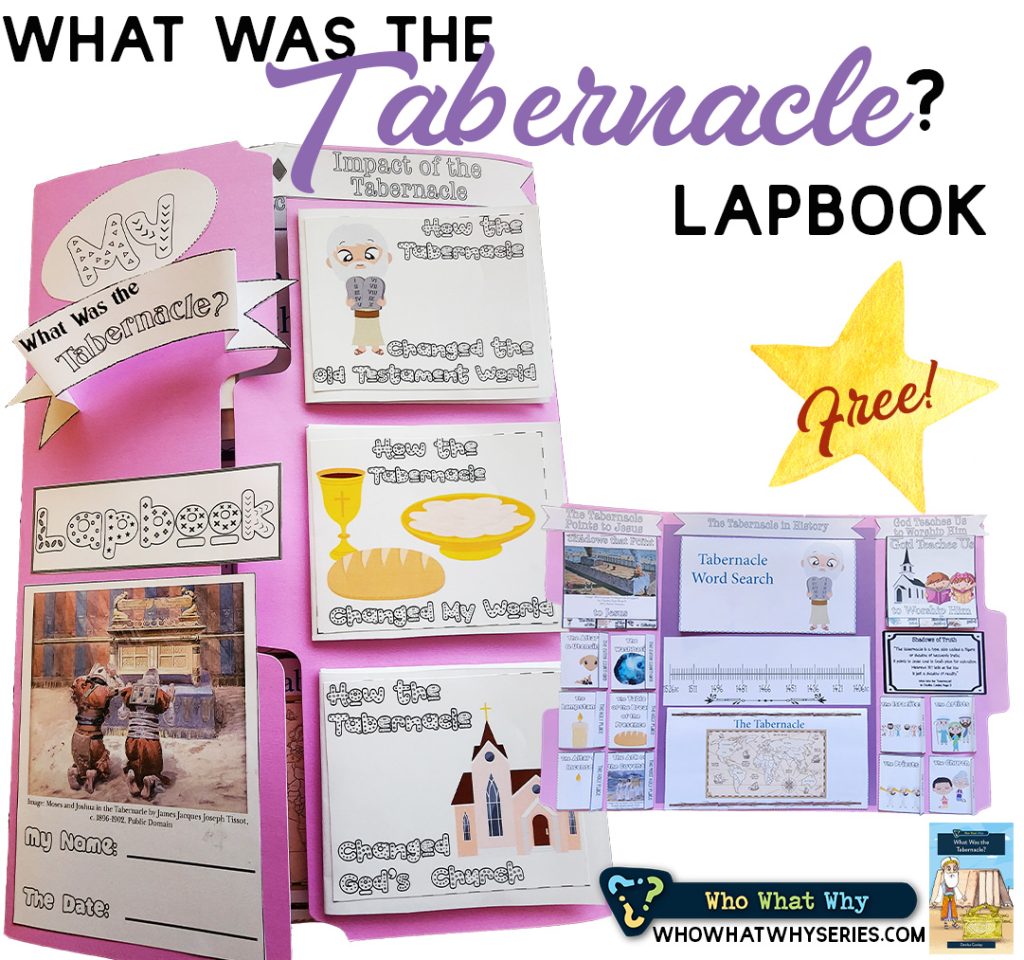
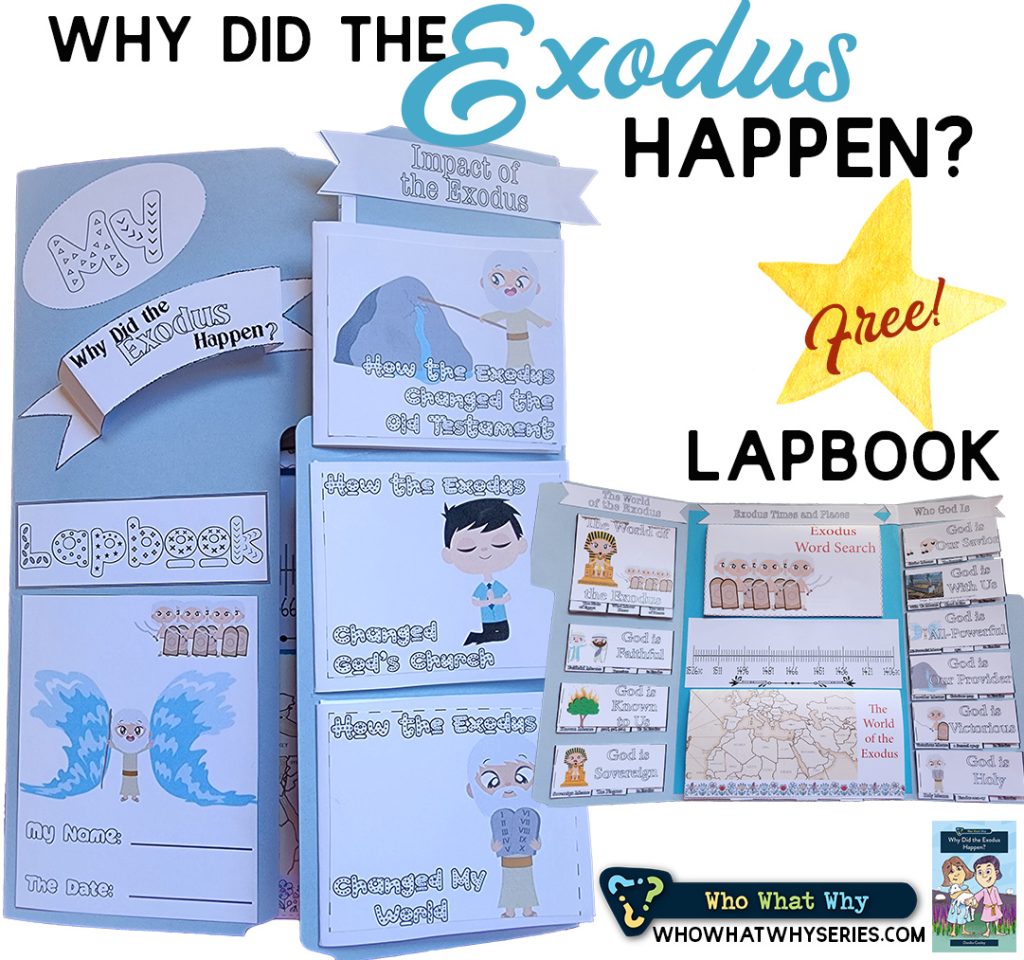
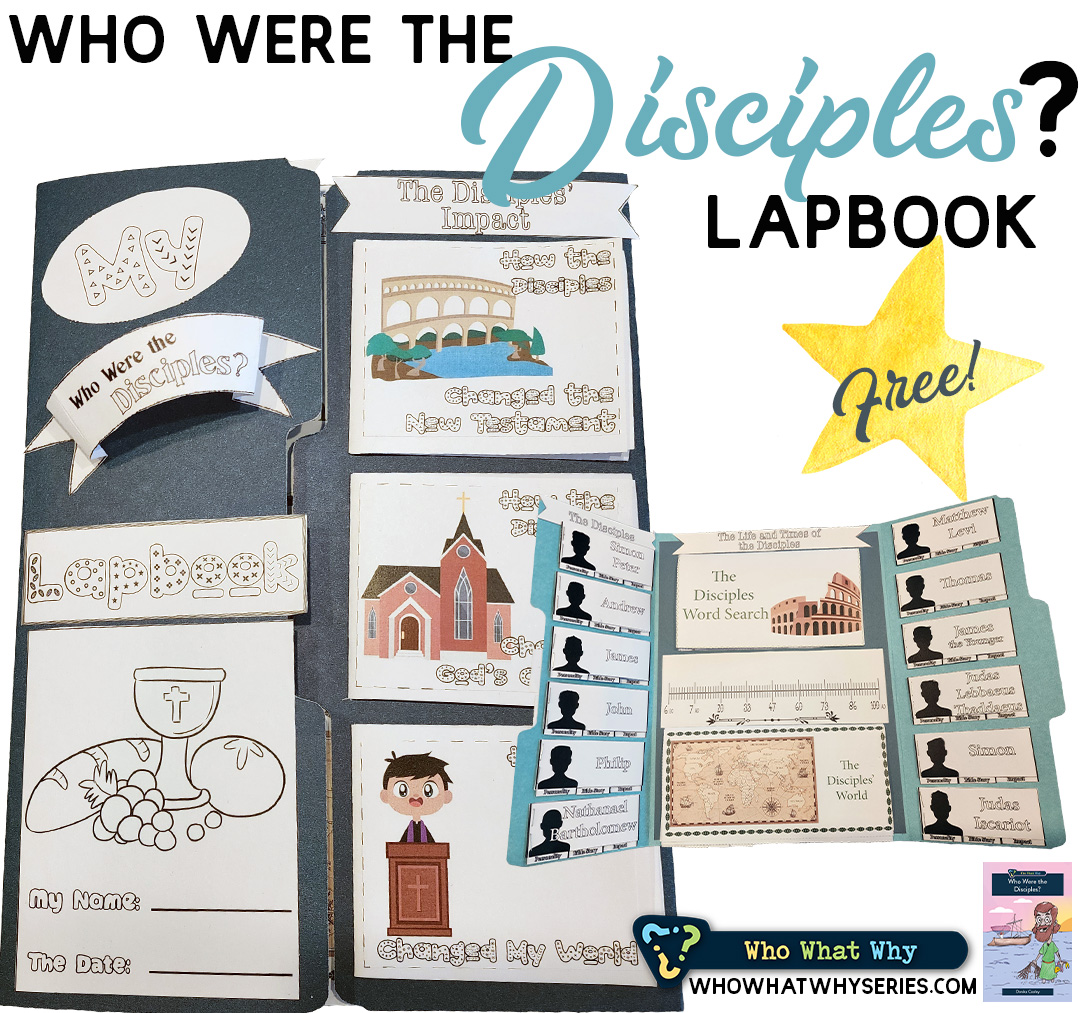
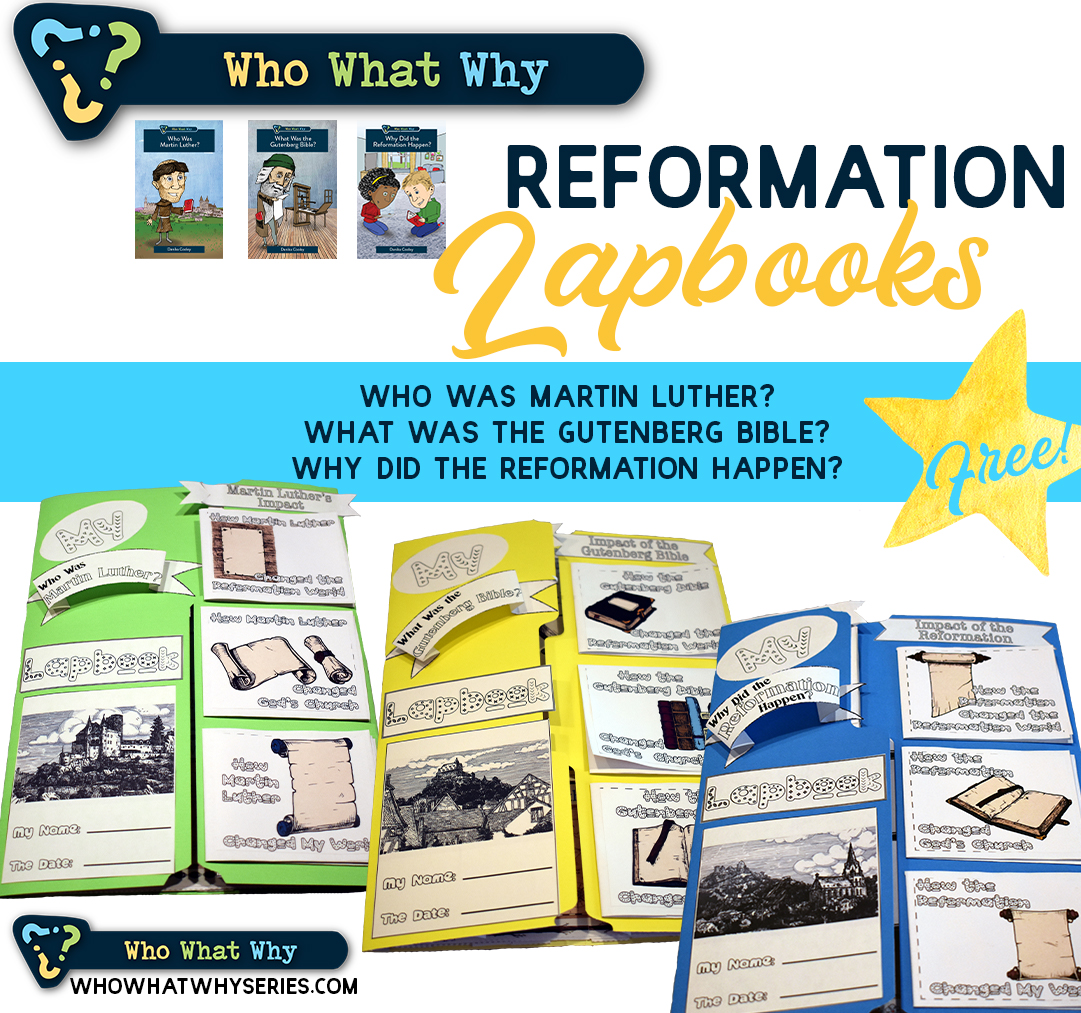
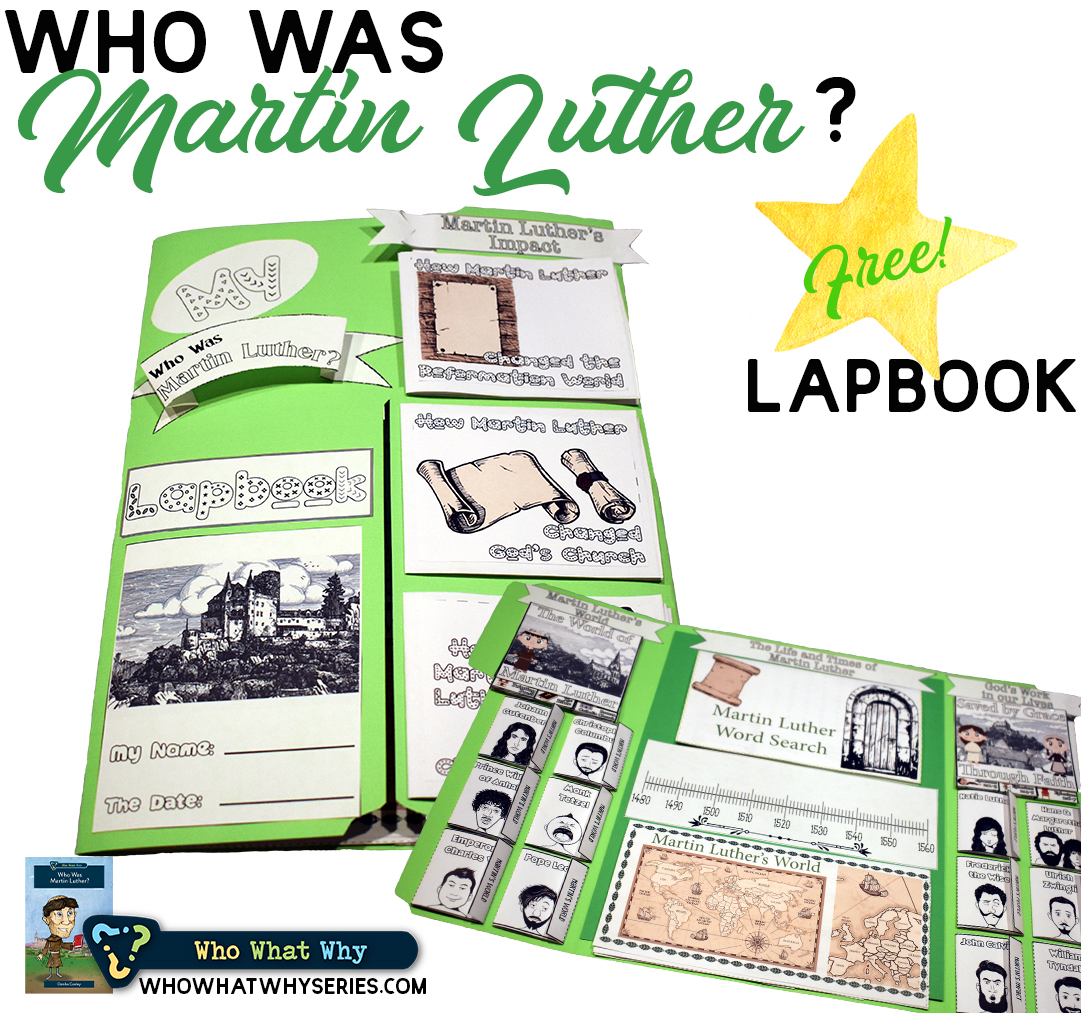
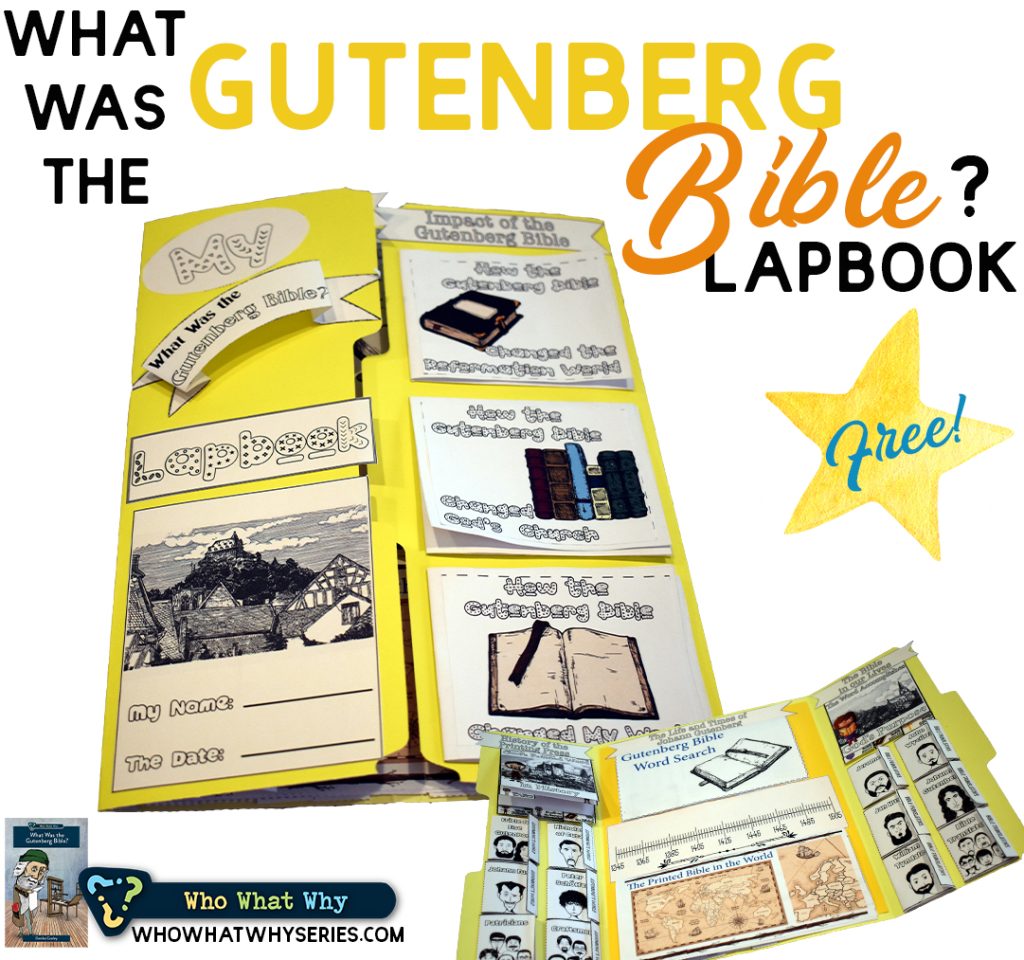
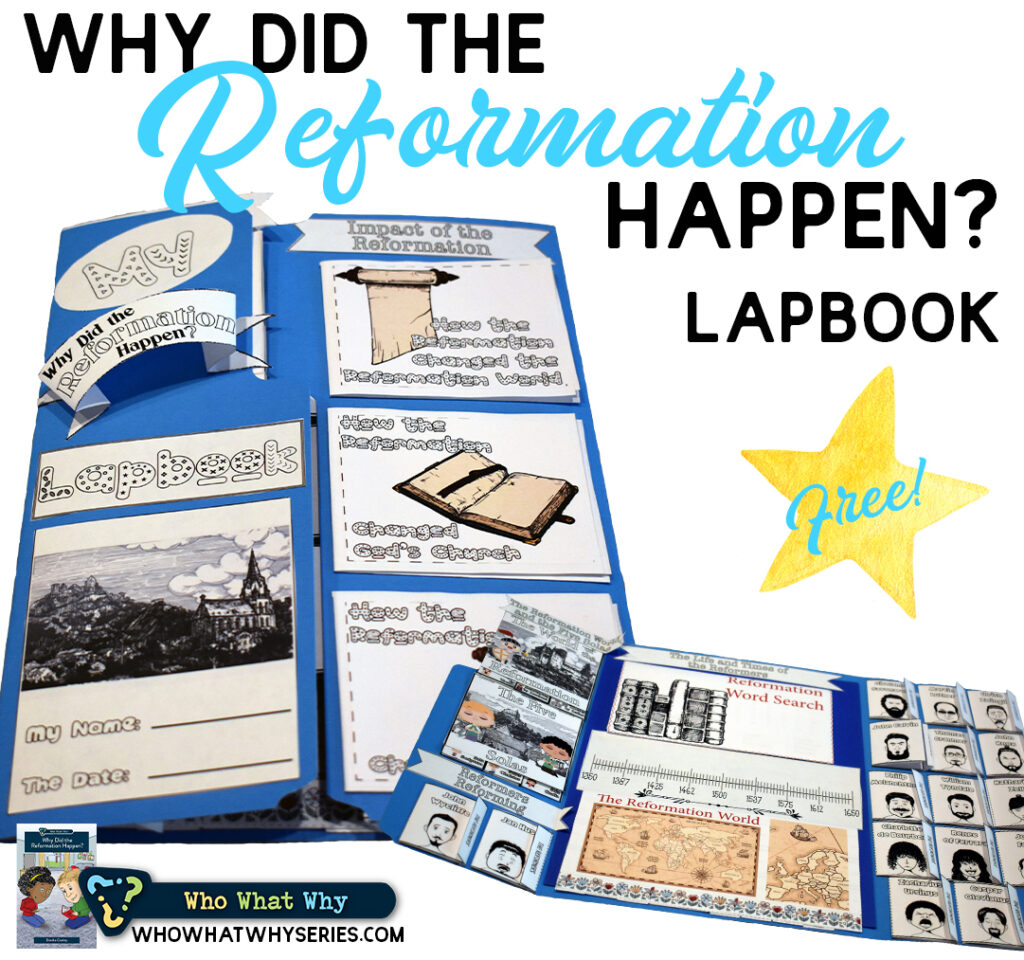
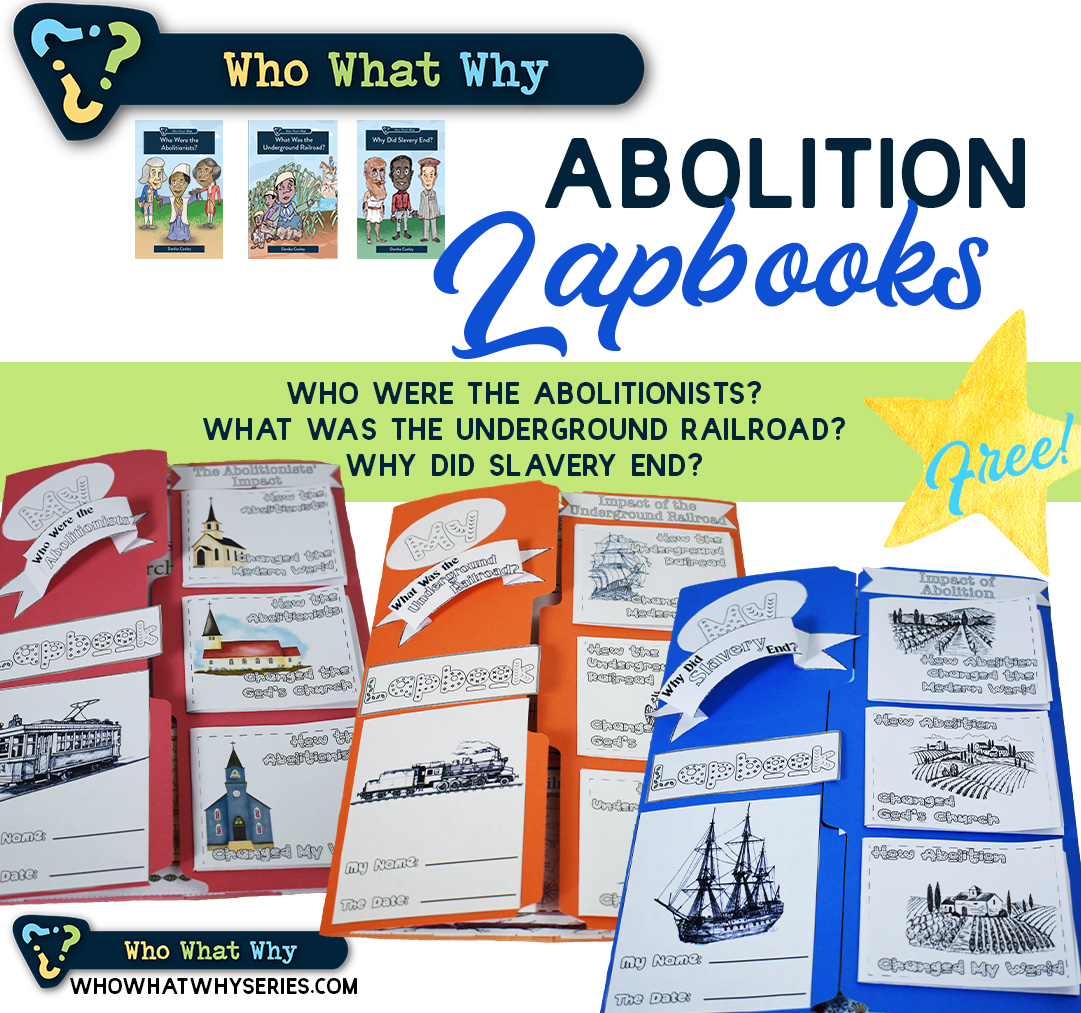
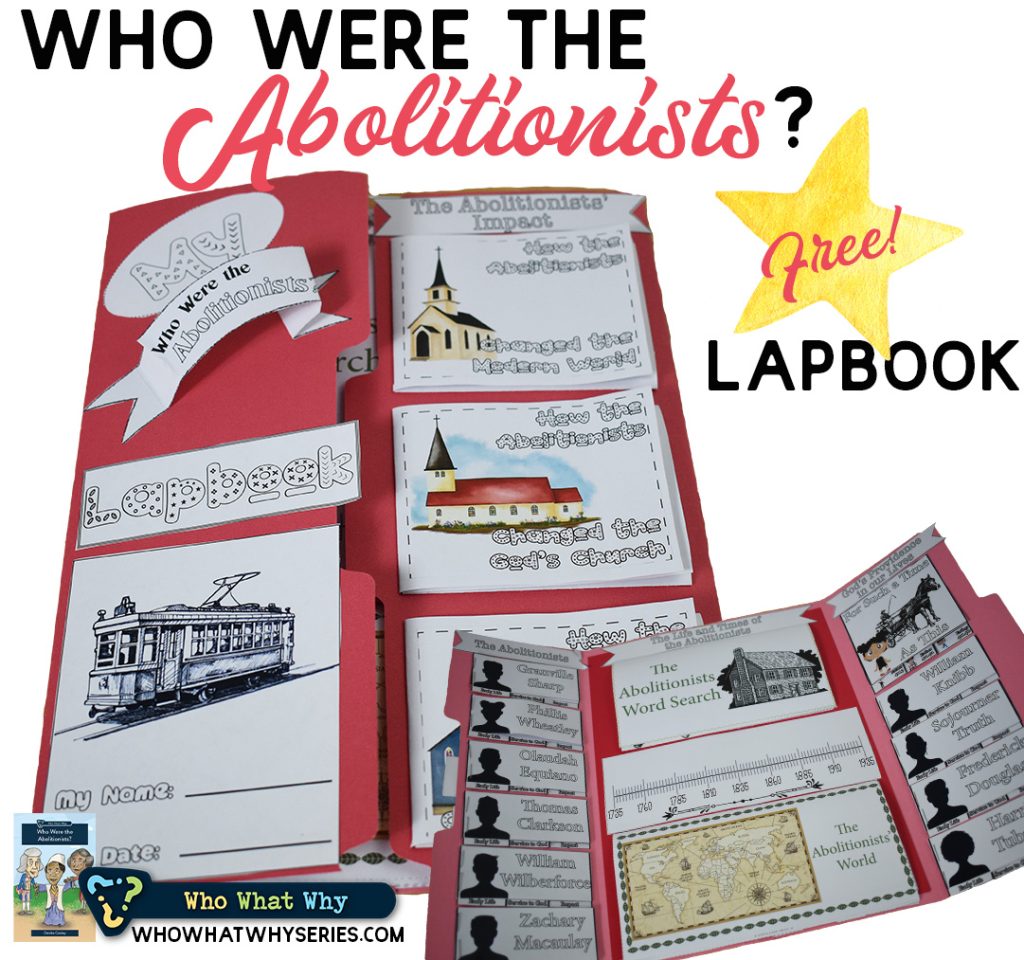
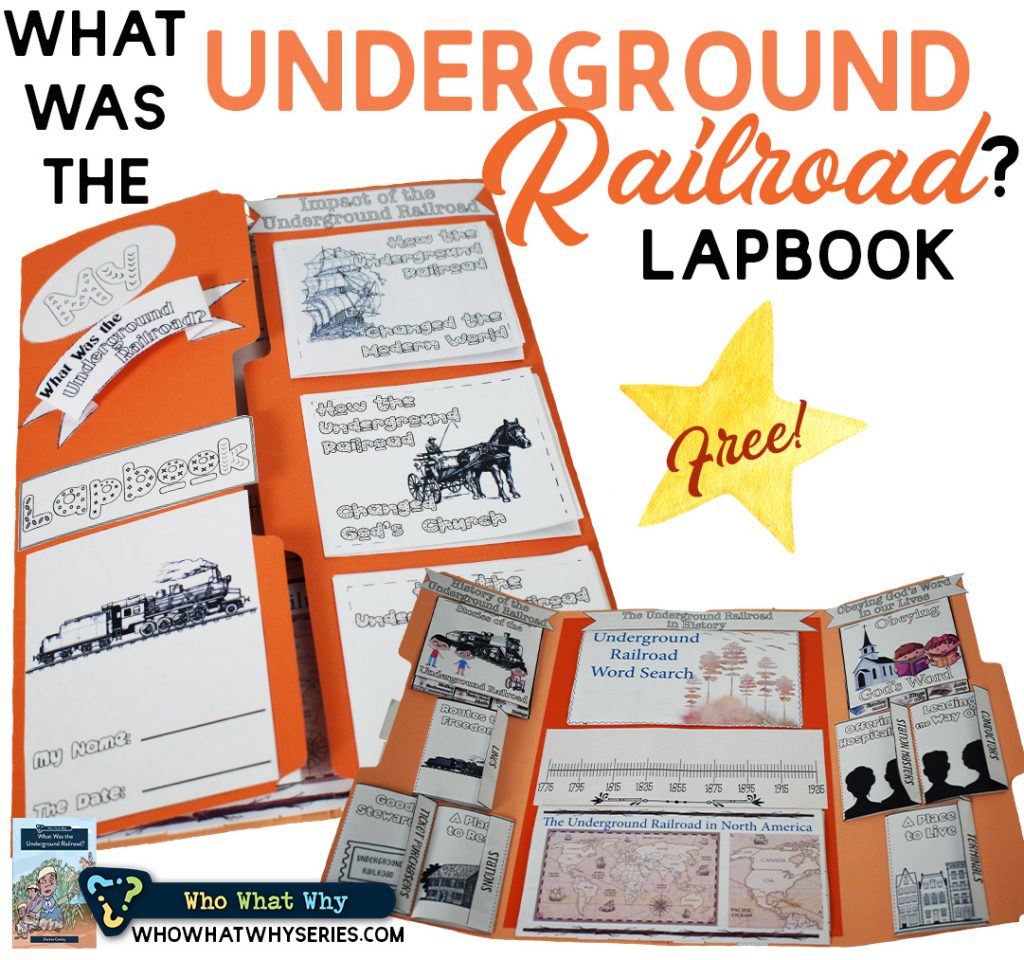
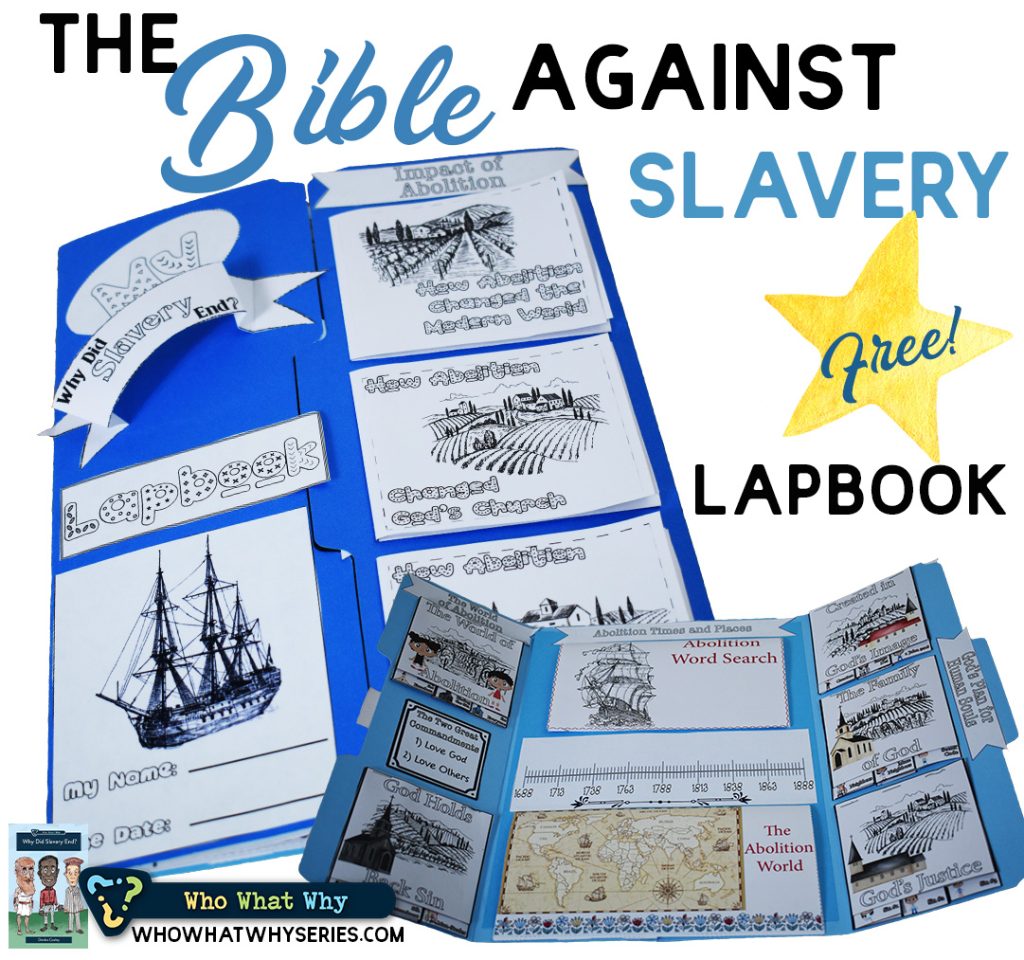
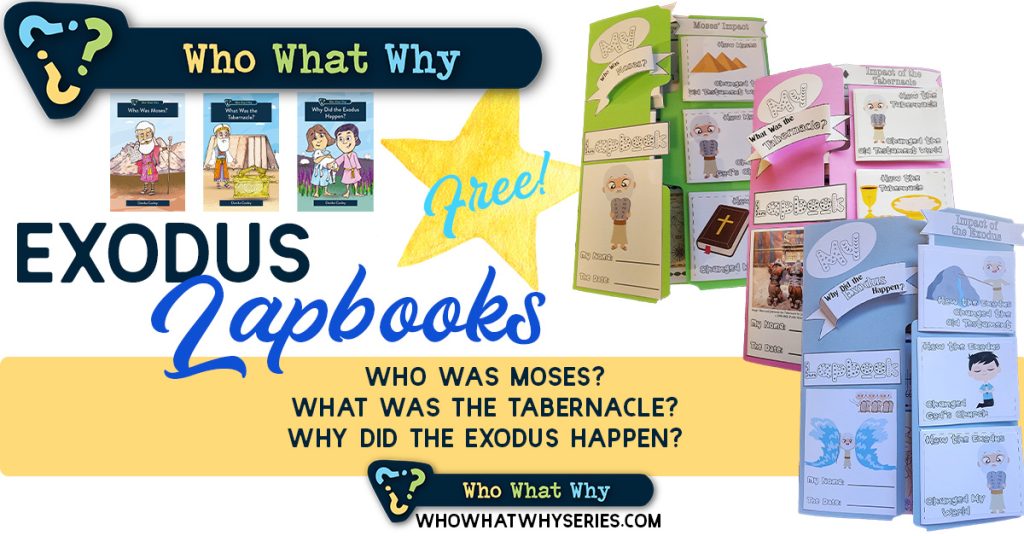
Learn more about the Who What Why series and get your FREE Exodus Lapbooks here.
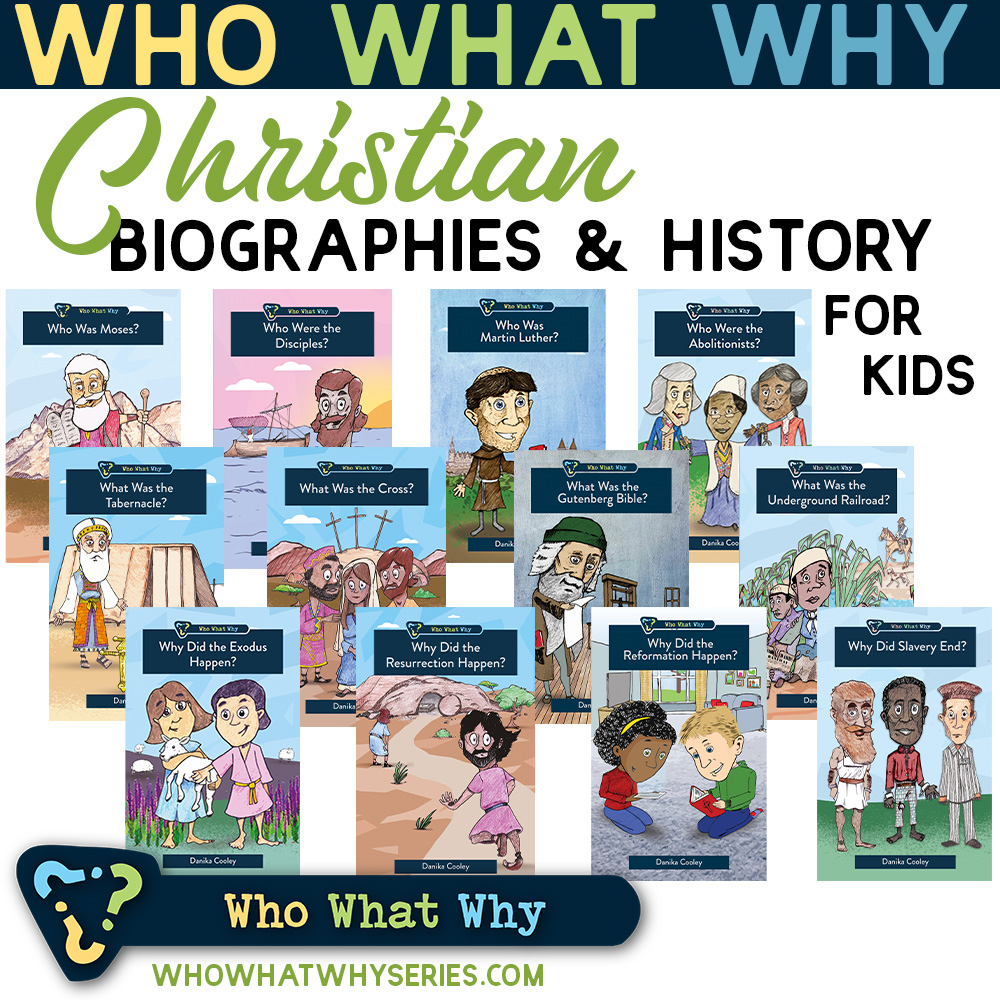
Bible Resources for Your Kids
Learn More HereLearn More HereLearn More HereLearn More HereLearn More HereLearn More Here

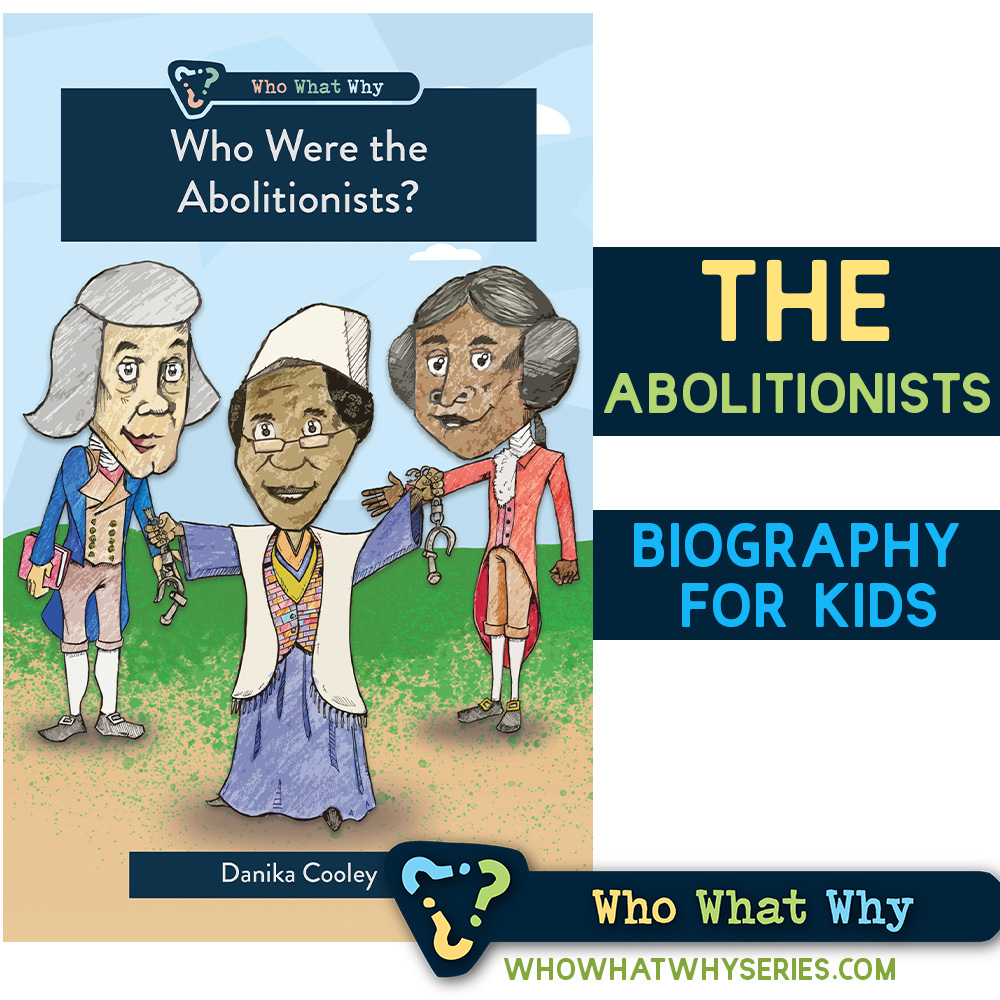
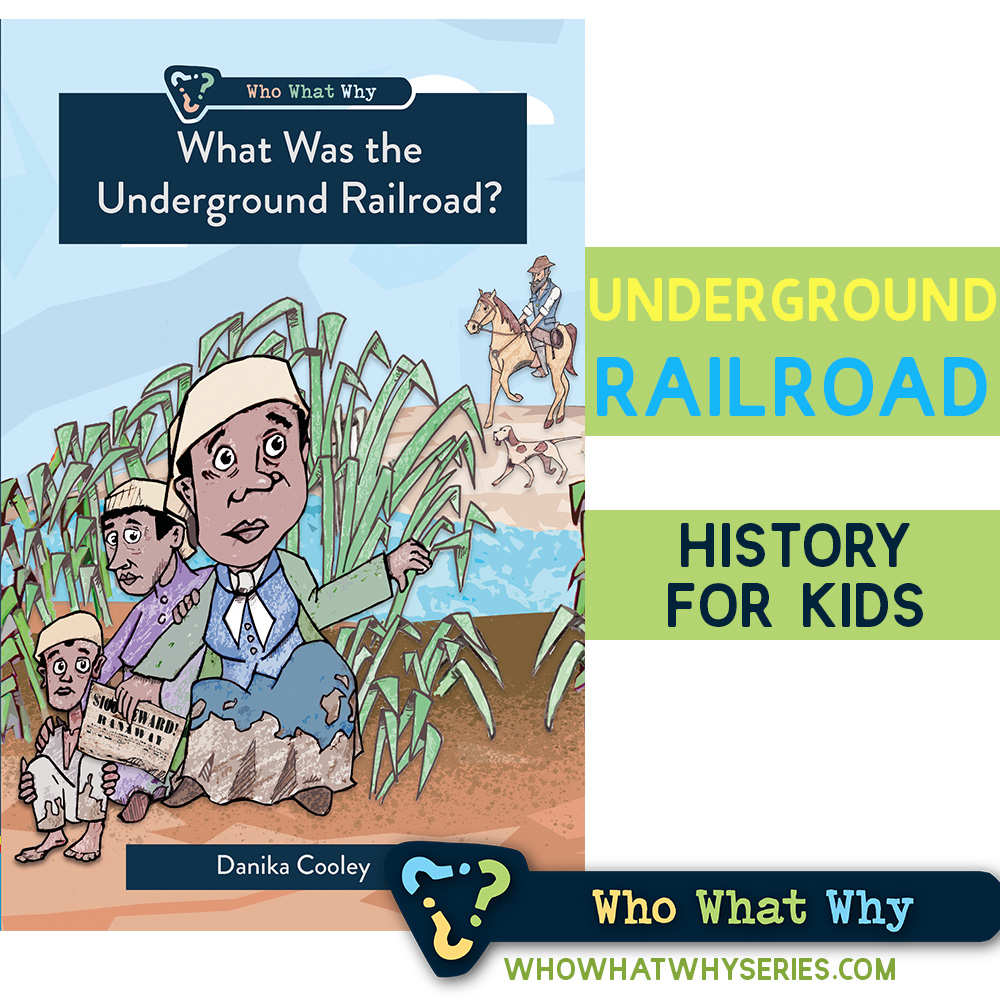
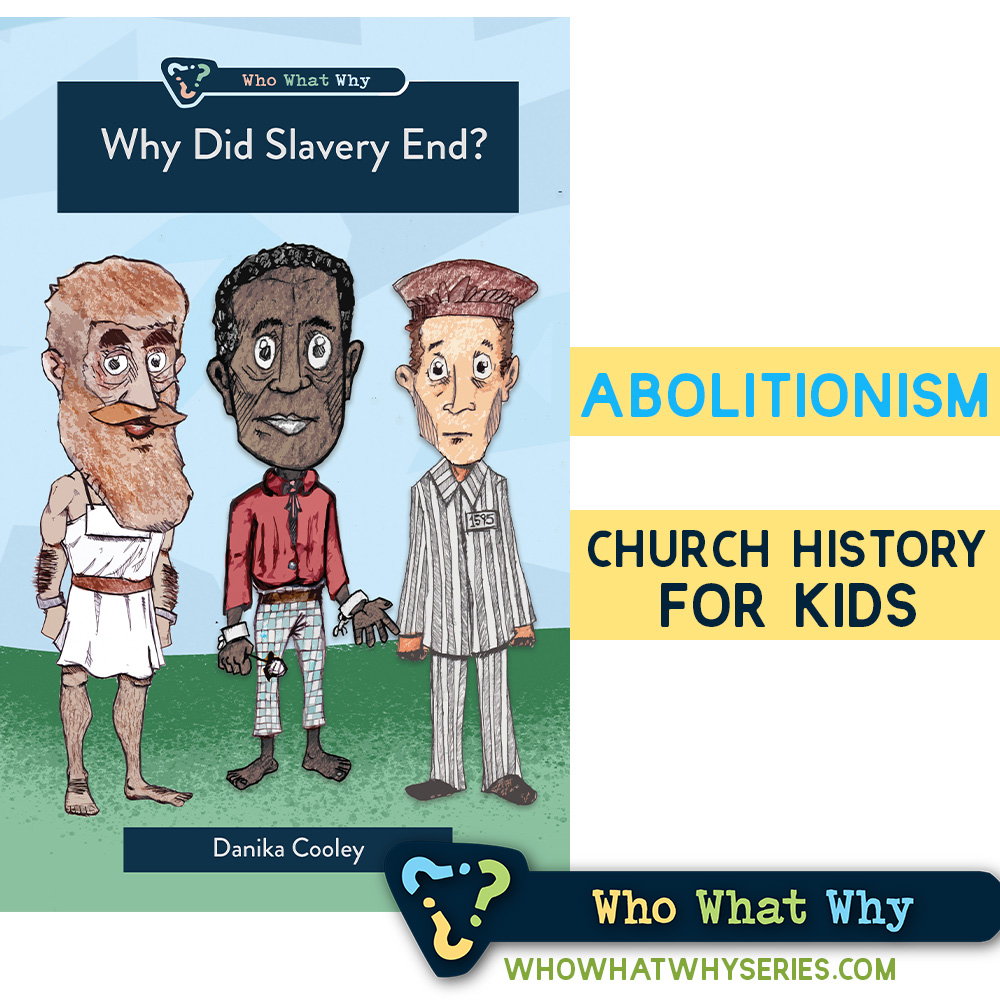
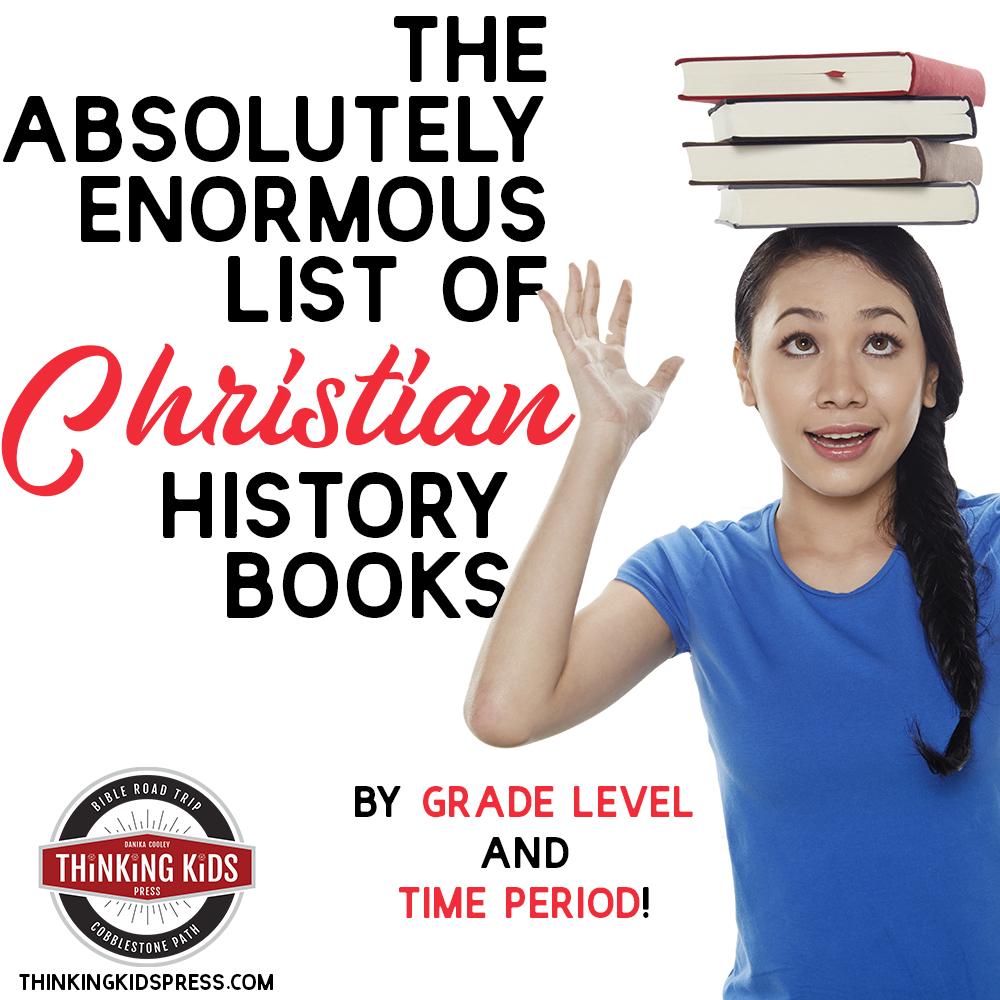
Christian Biographies for Kids | Christian History for Kids | Theology for Kids
Christian History Matters for Our Kids.
History matters. Now, more than ever, we see how important it is for our children to know and understand history and the Bible.
Here’s why:
- God is the sovereign ruler of all things. It’s important for our kids to see his hand in the history of nations and in the lives of both peasants and kings.
- Christian history is the story of our family history. Our kids get to see how people who love Jesus follow him.
- Understanding history can help our kids learn historic and biblical theology. They learn what the Bible says and what that means for us. They also see when the study of Scripture has taken important turns that have changed the Church.
- Reading Christian biographies and history can be a wonderful way for kids to think outside their own time and culture. God’s Church spans centuries and includes people from every nation.
- Christian biographies help kids consider their own faith, walk with Jesus, and the impact their witness may one day have on others–and on history.

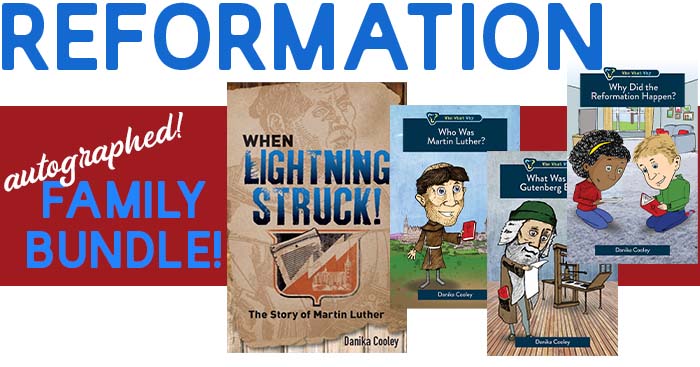
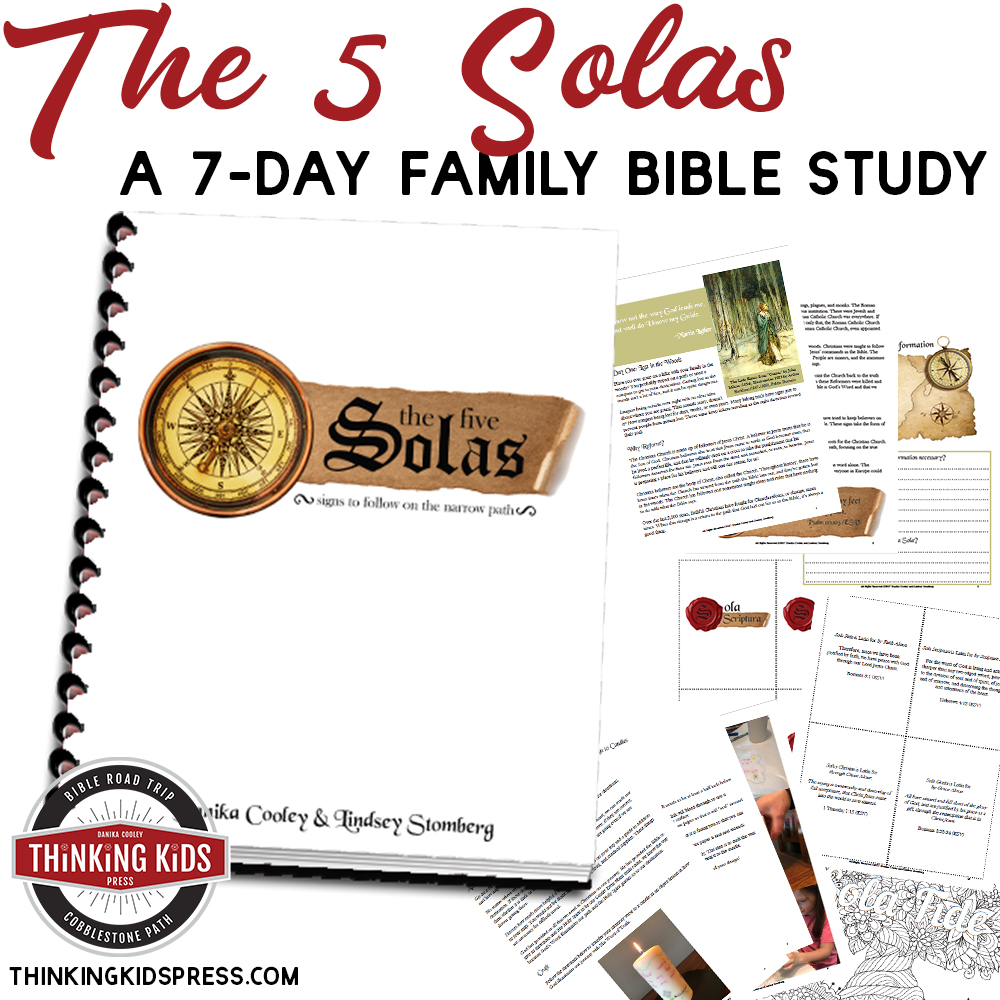
Grab the autographed Reformation Family Bundle!
More Thinking Kids Posts You’ll Love!